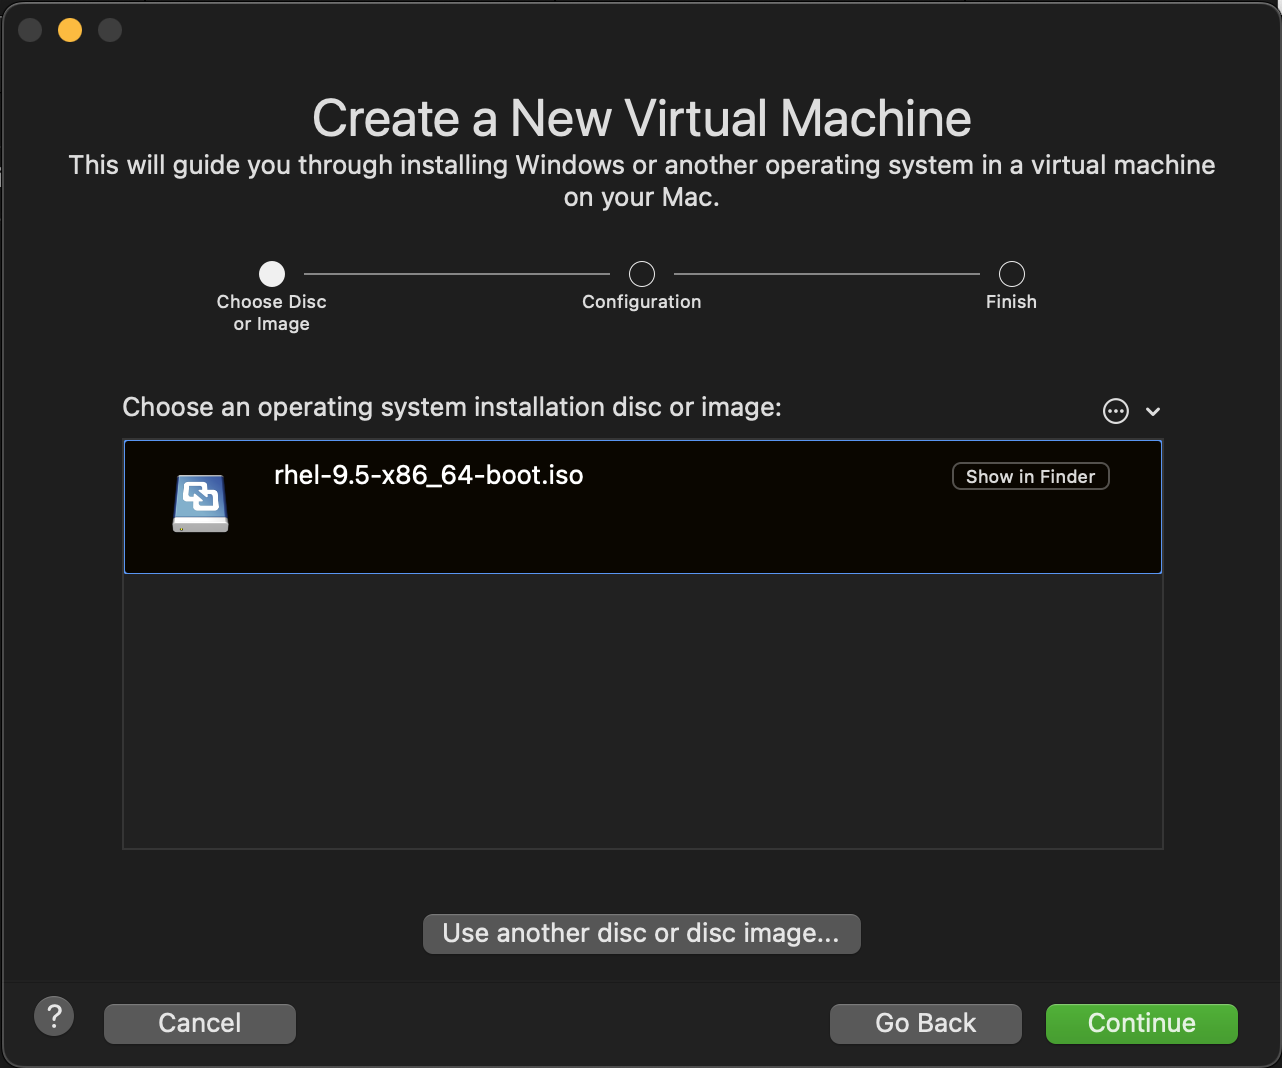
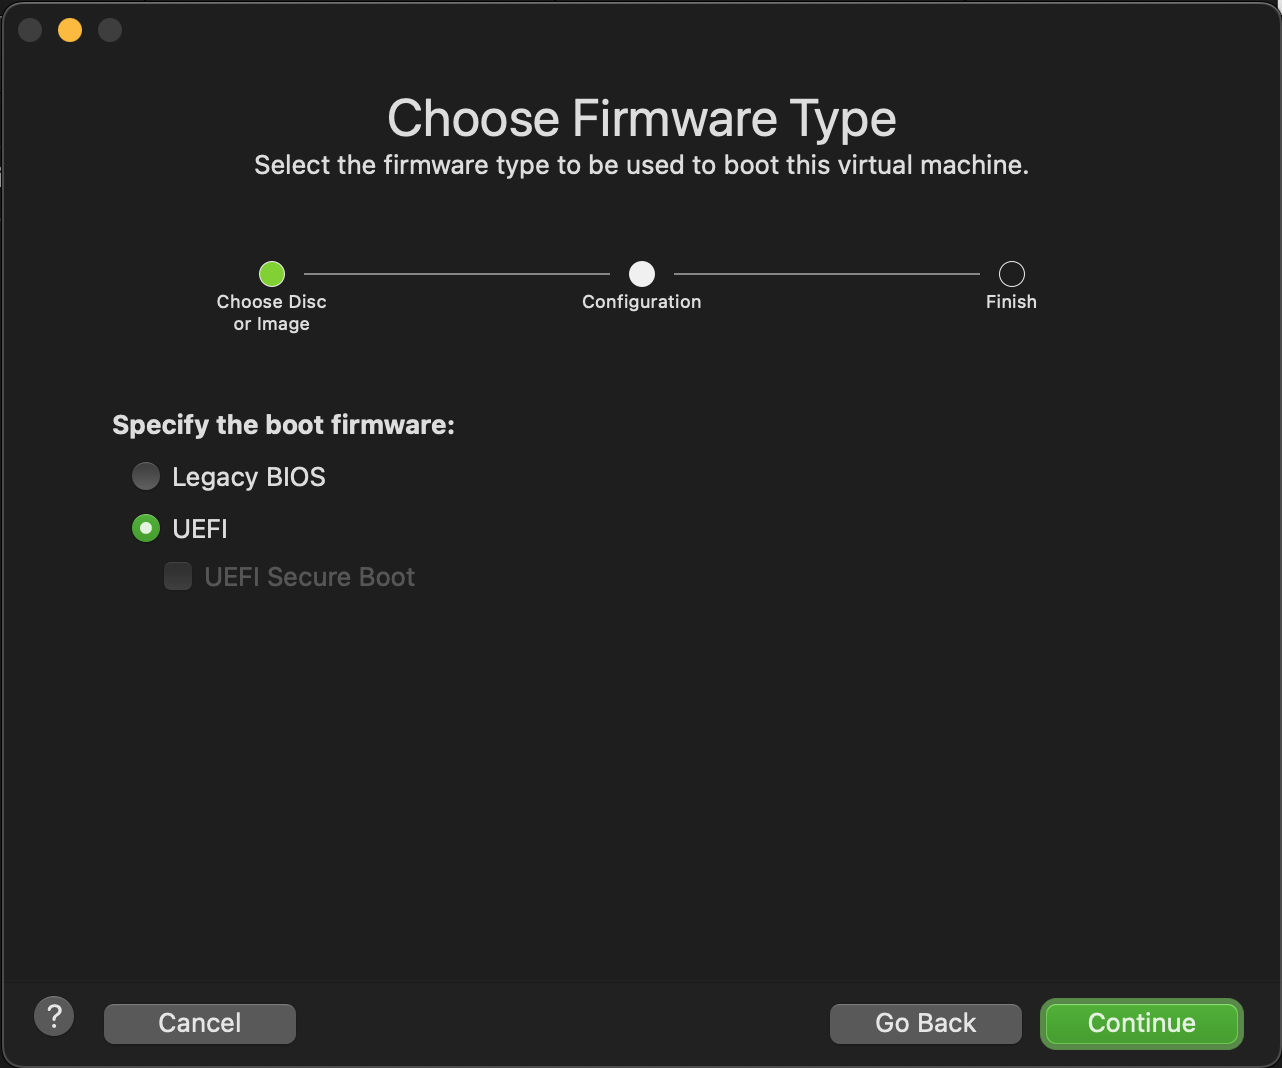
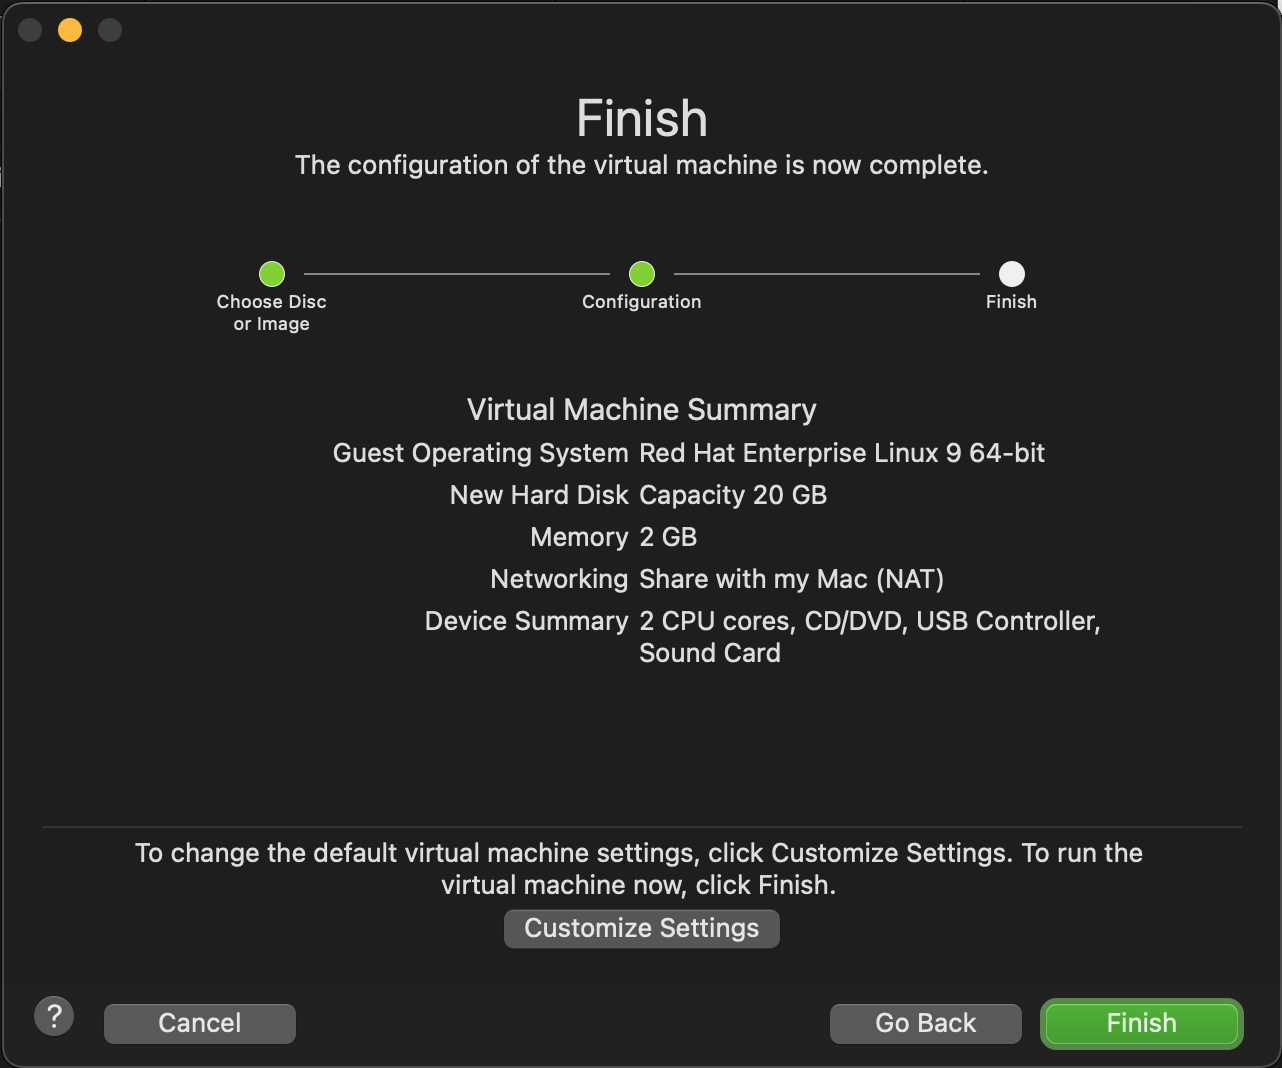
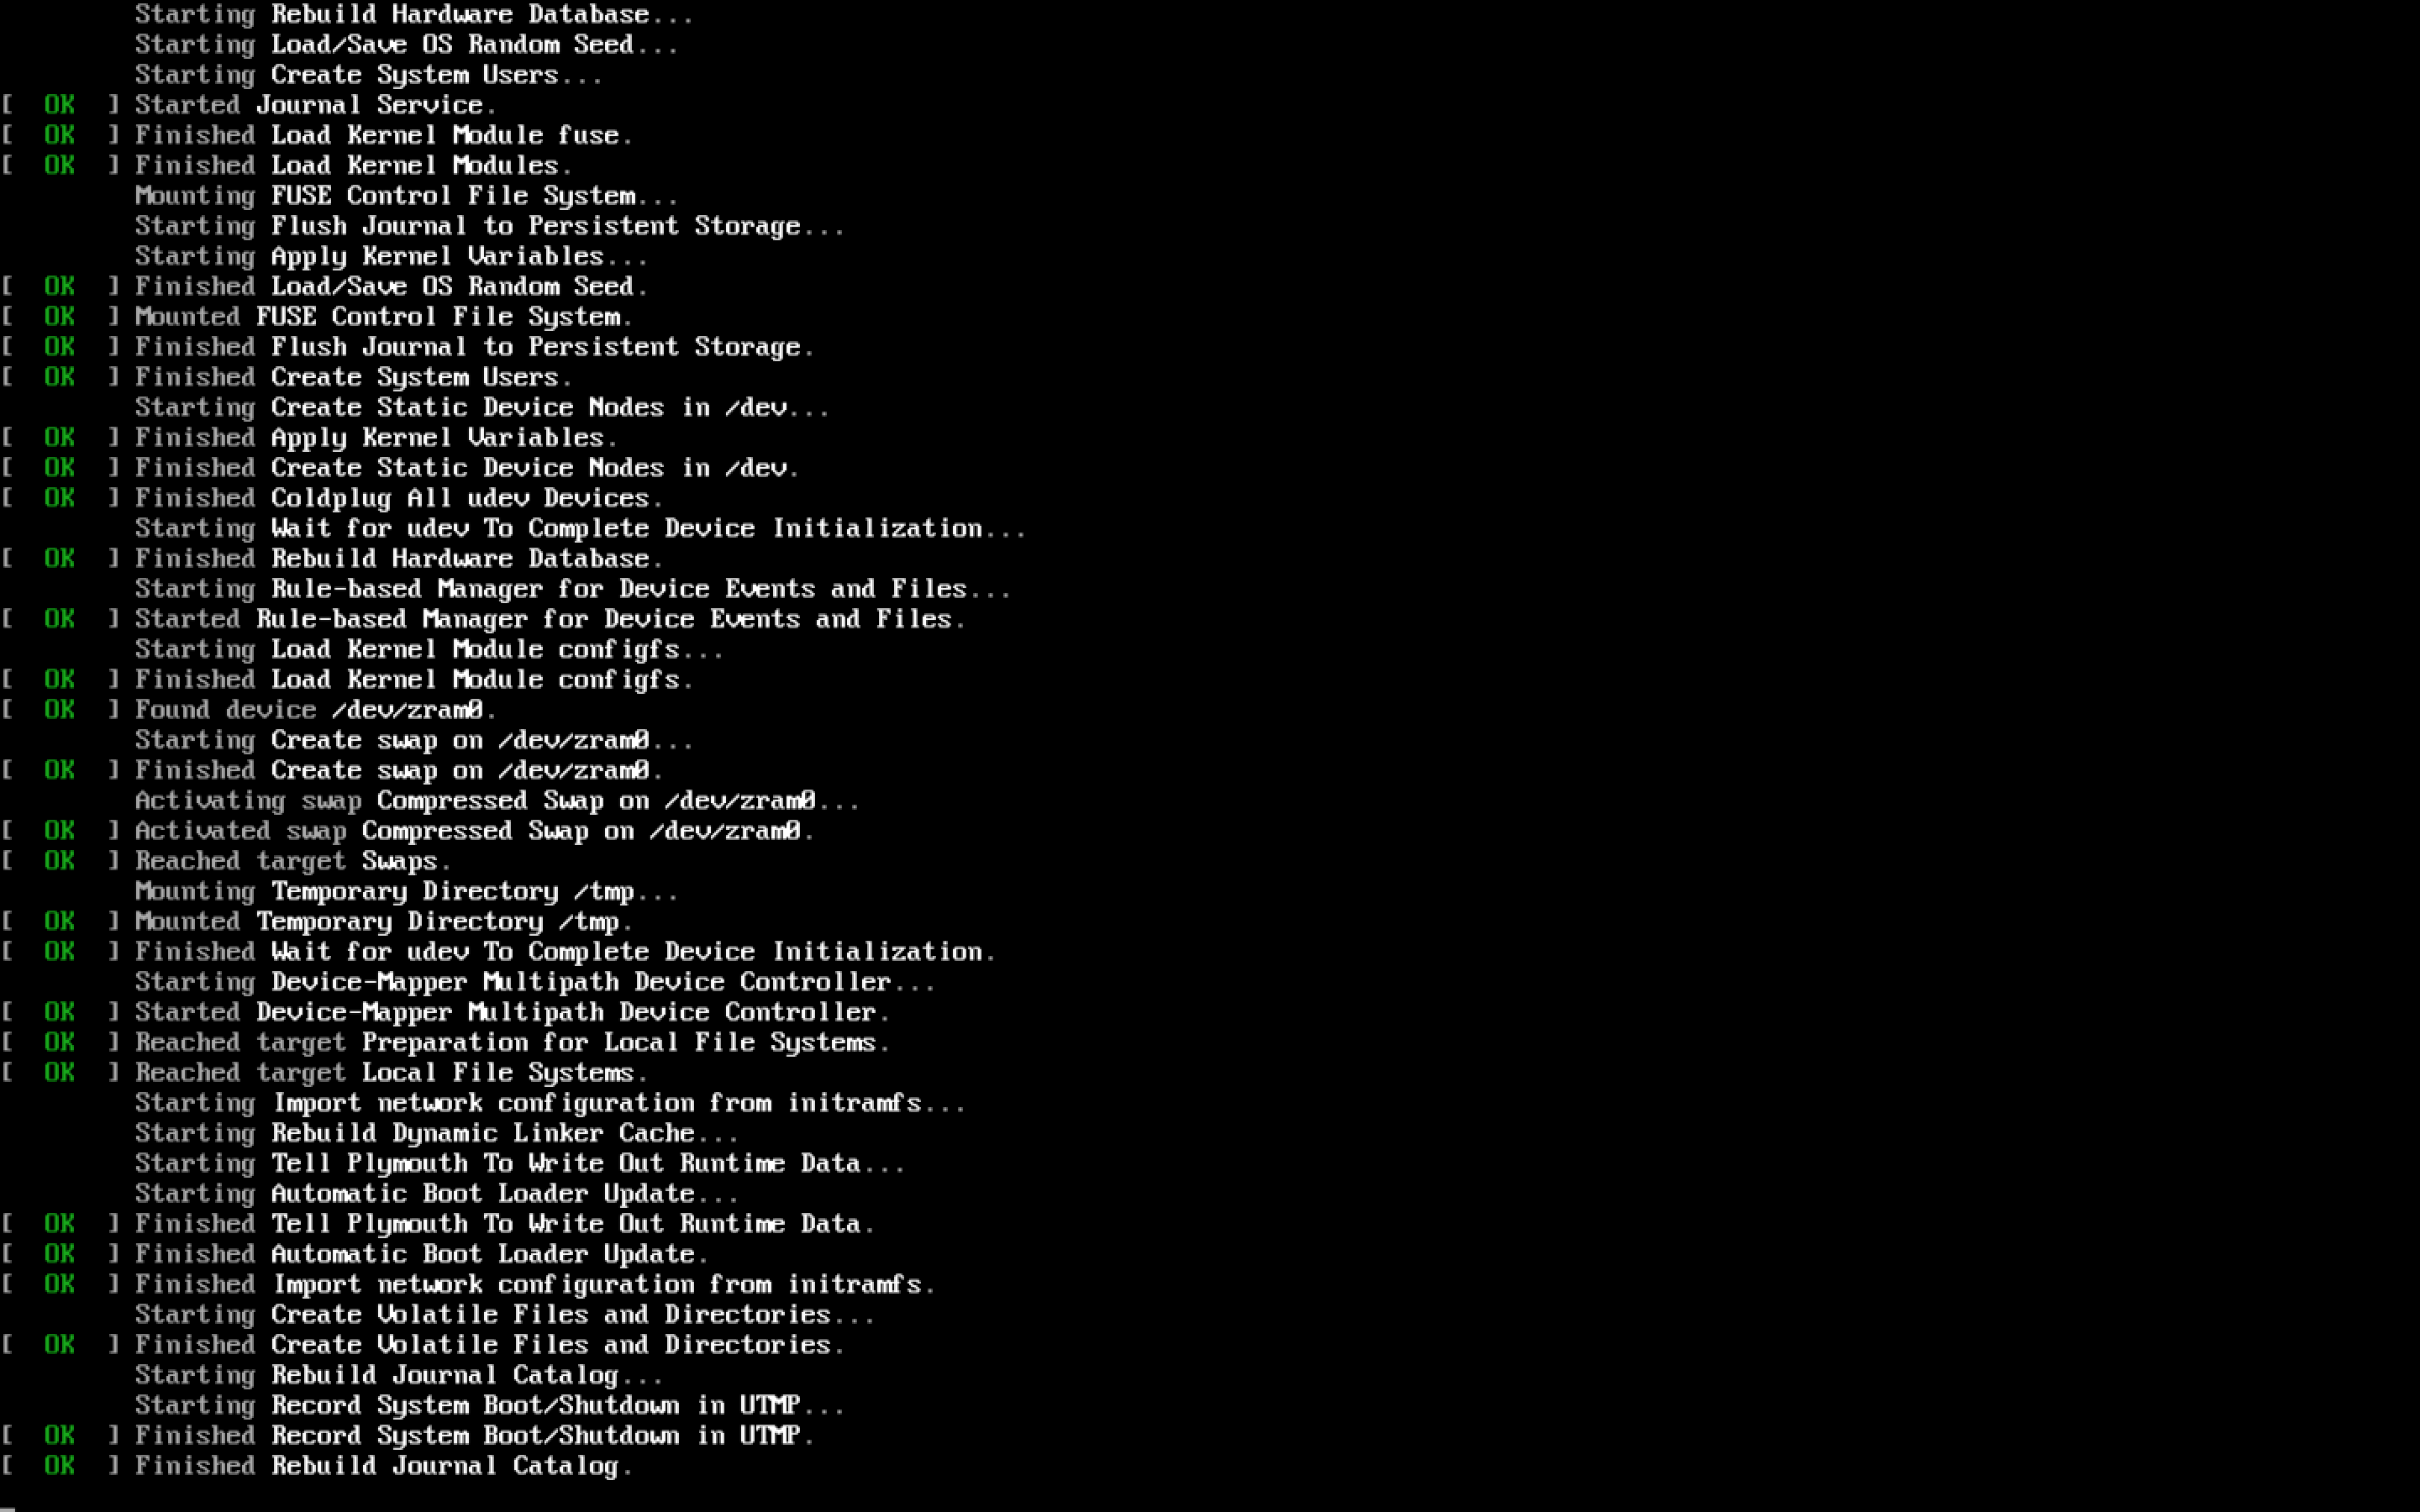
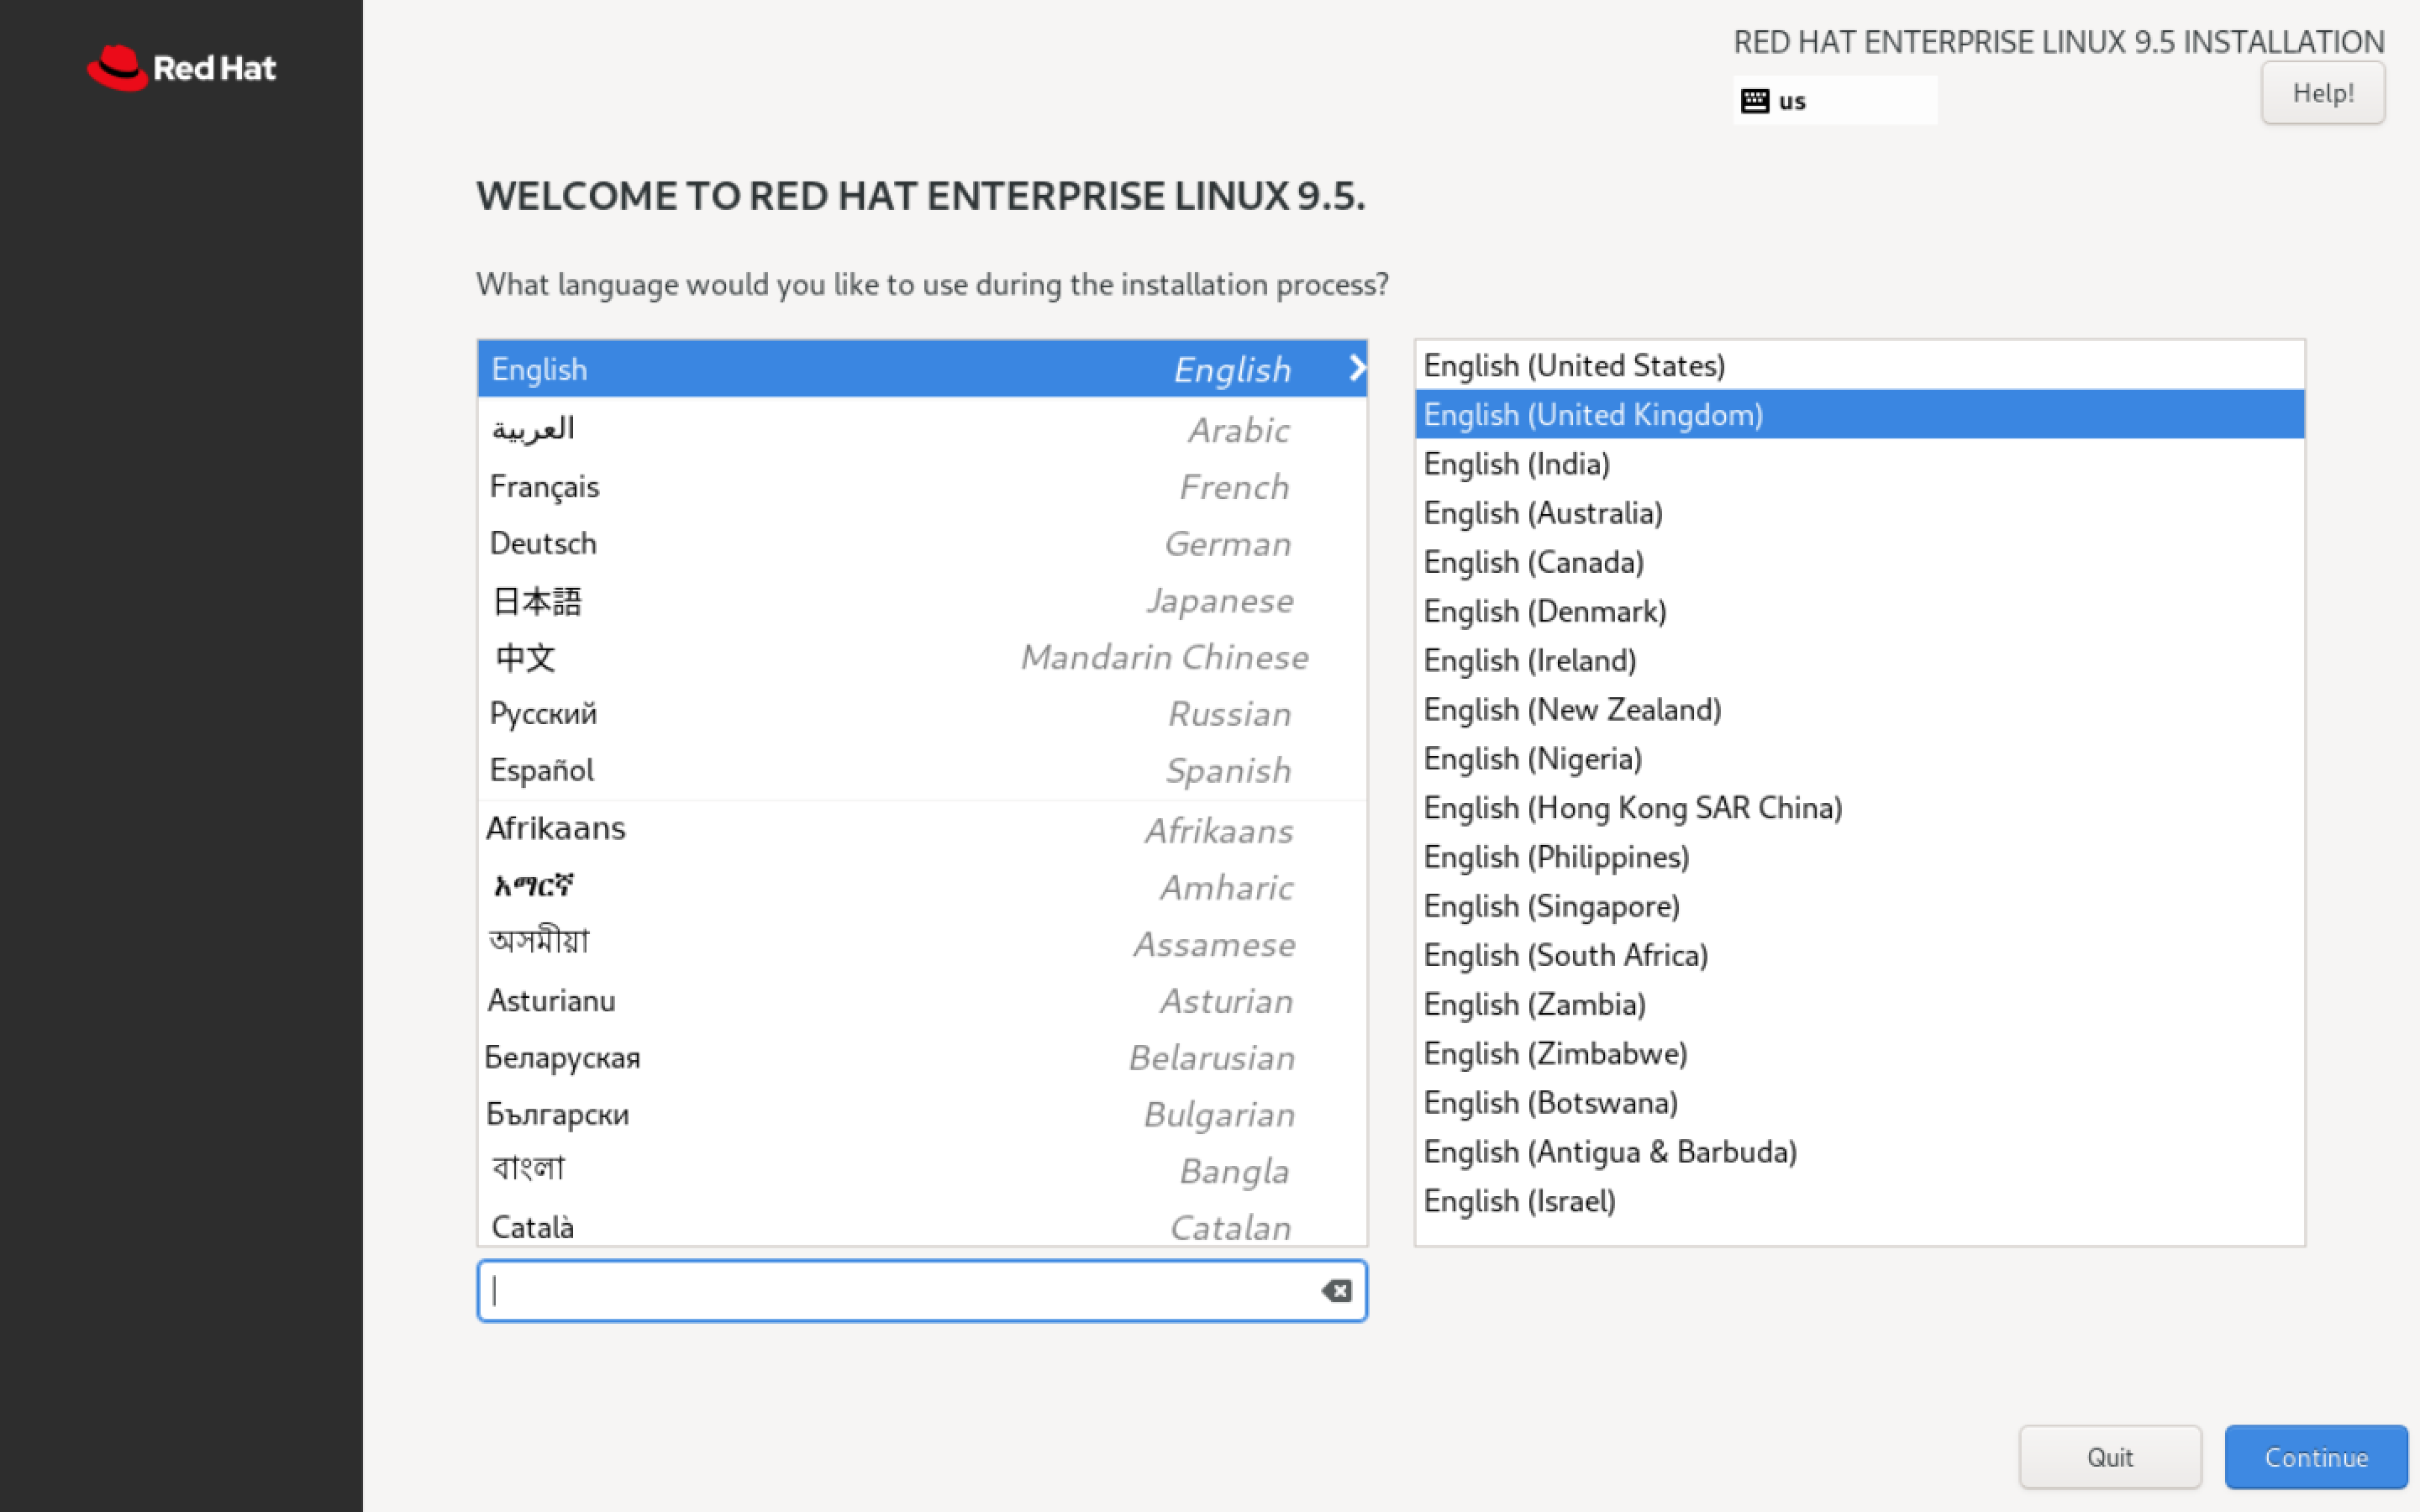
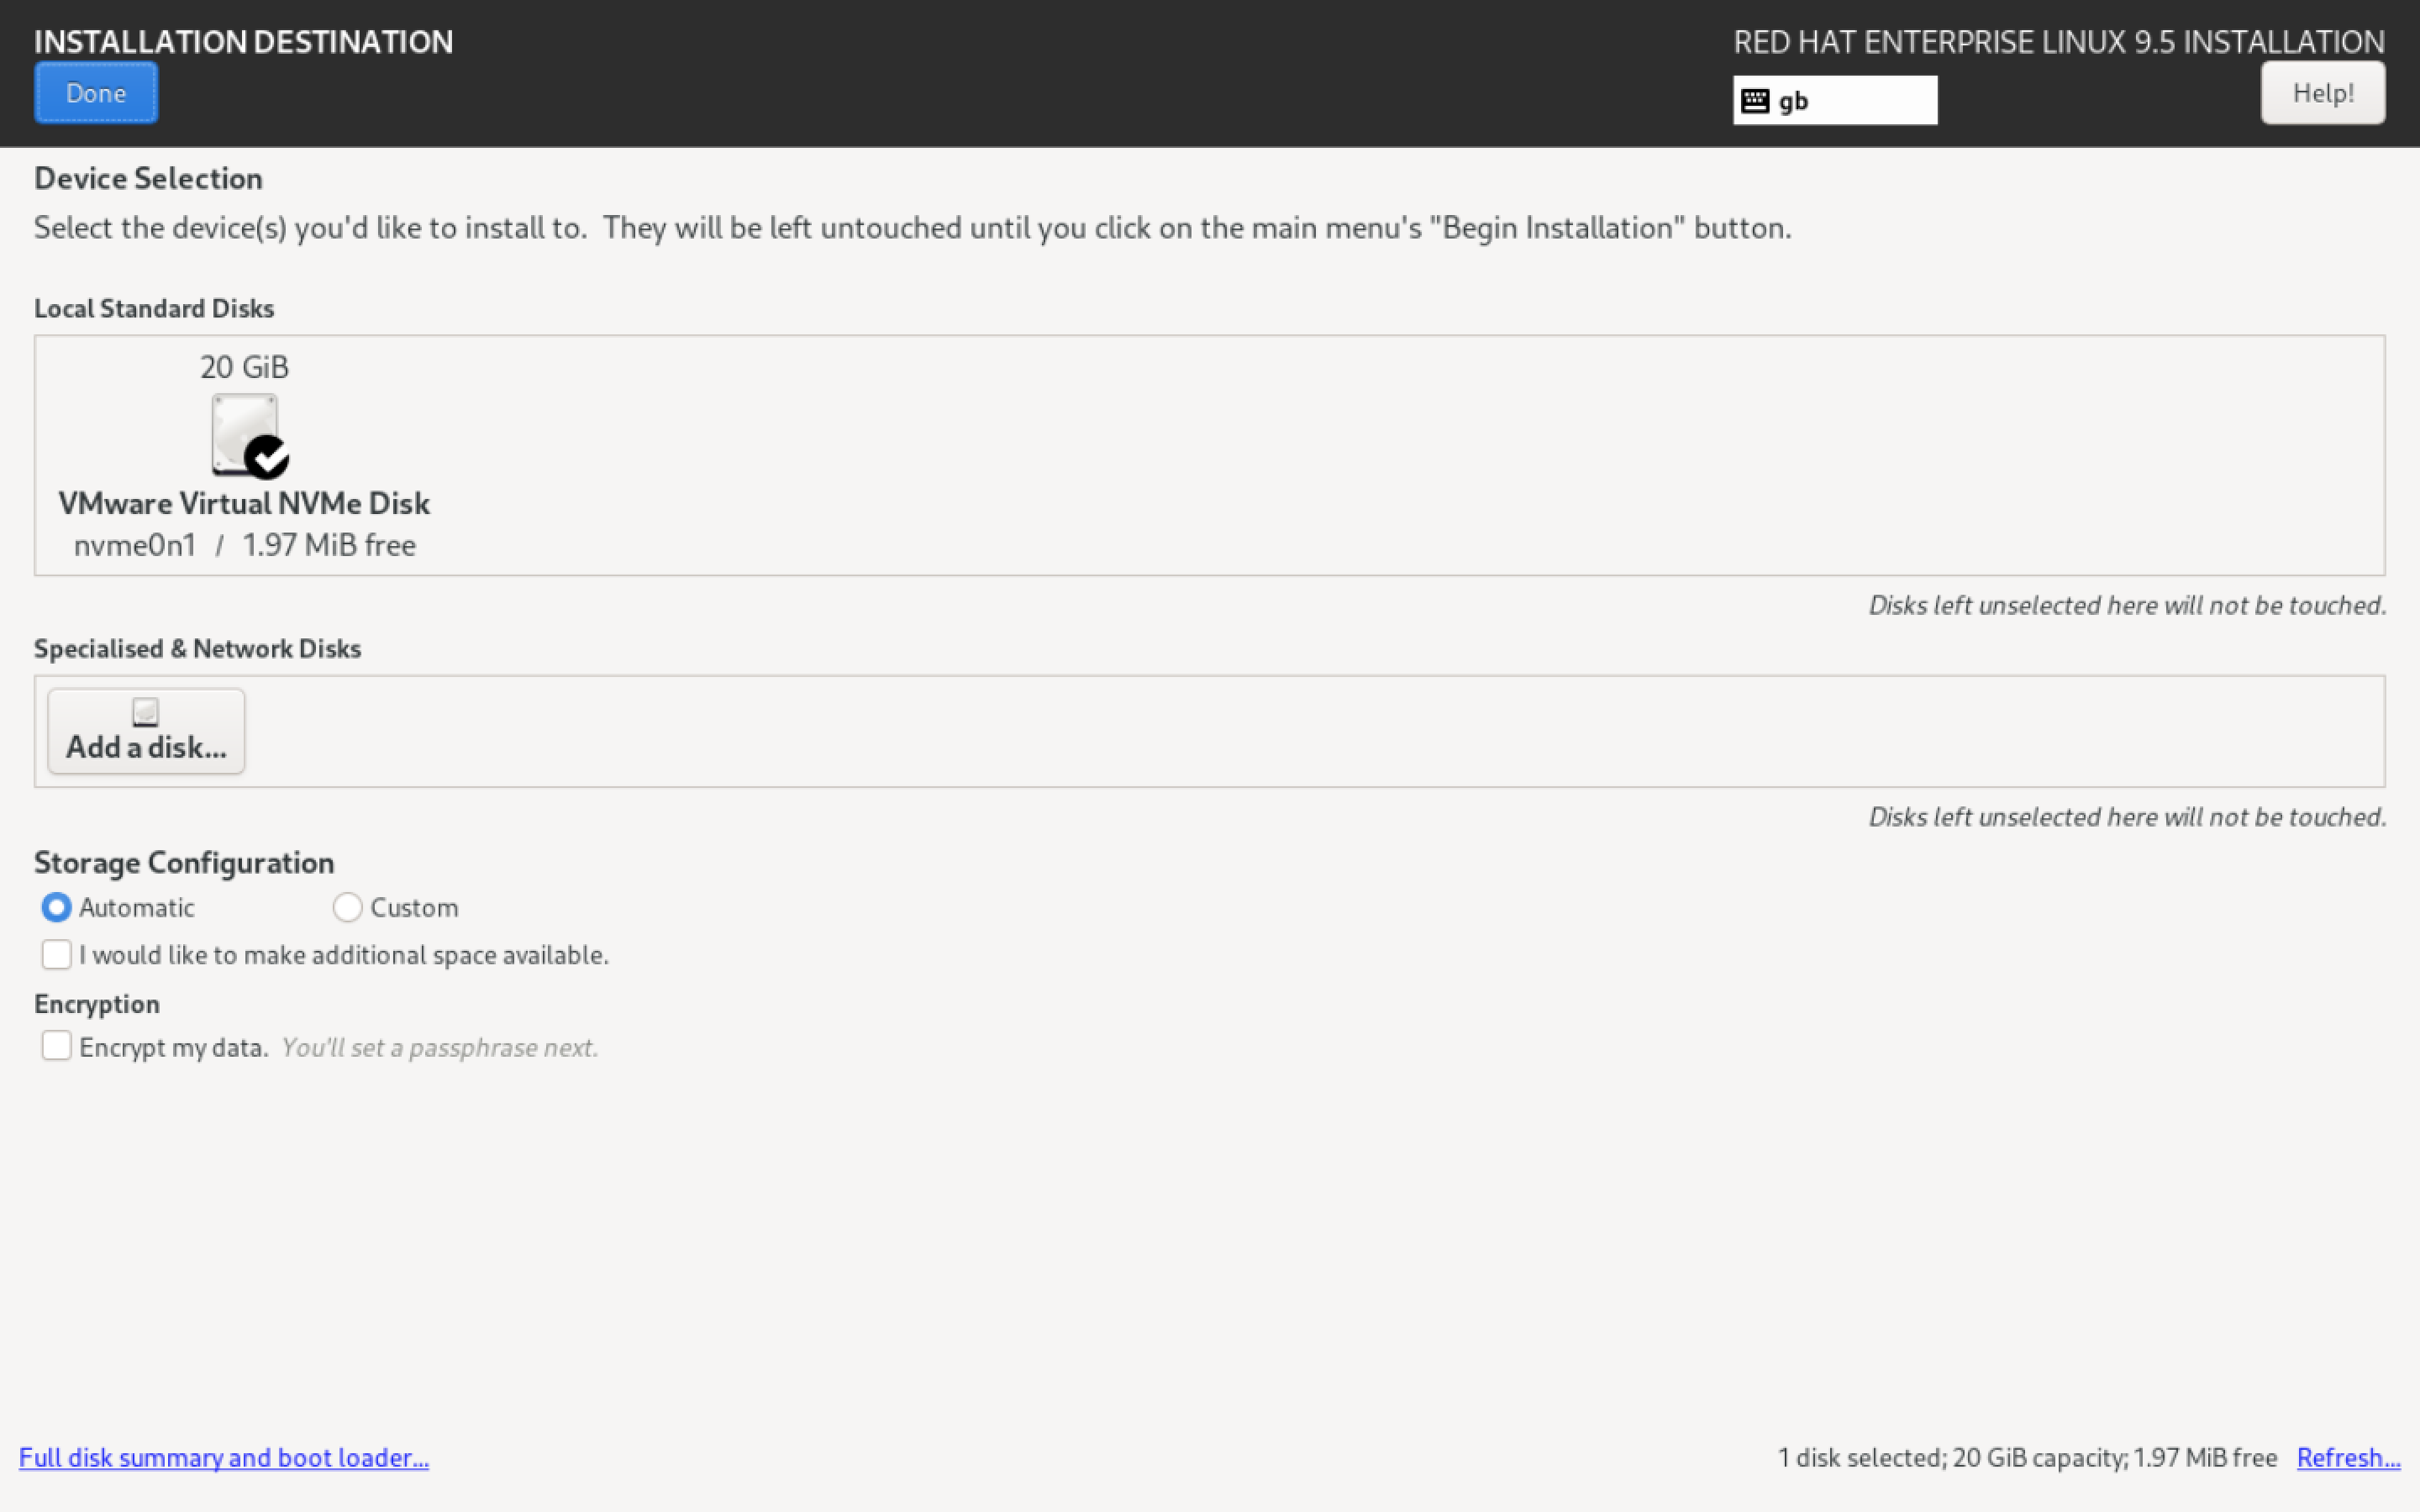
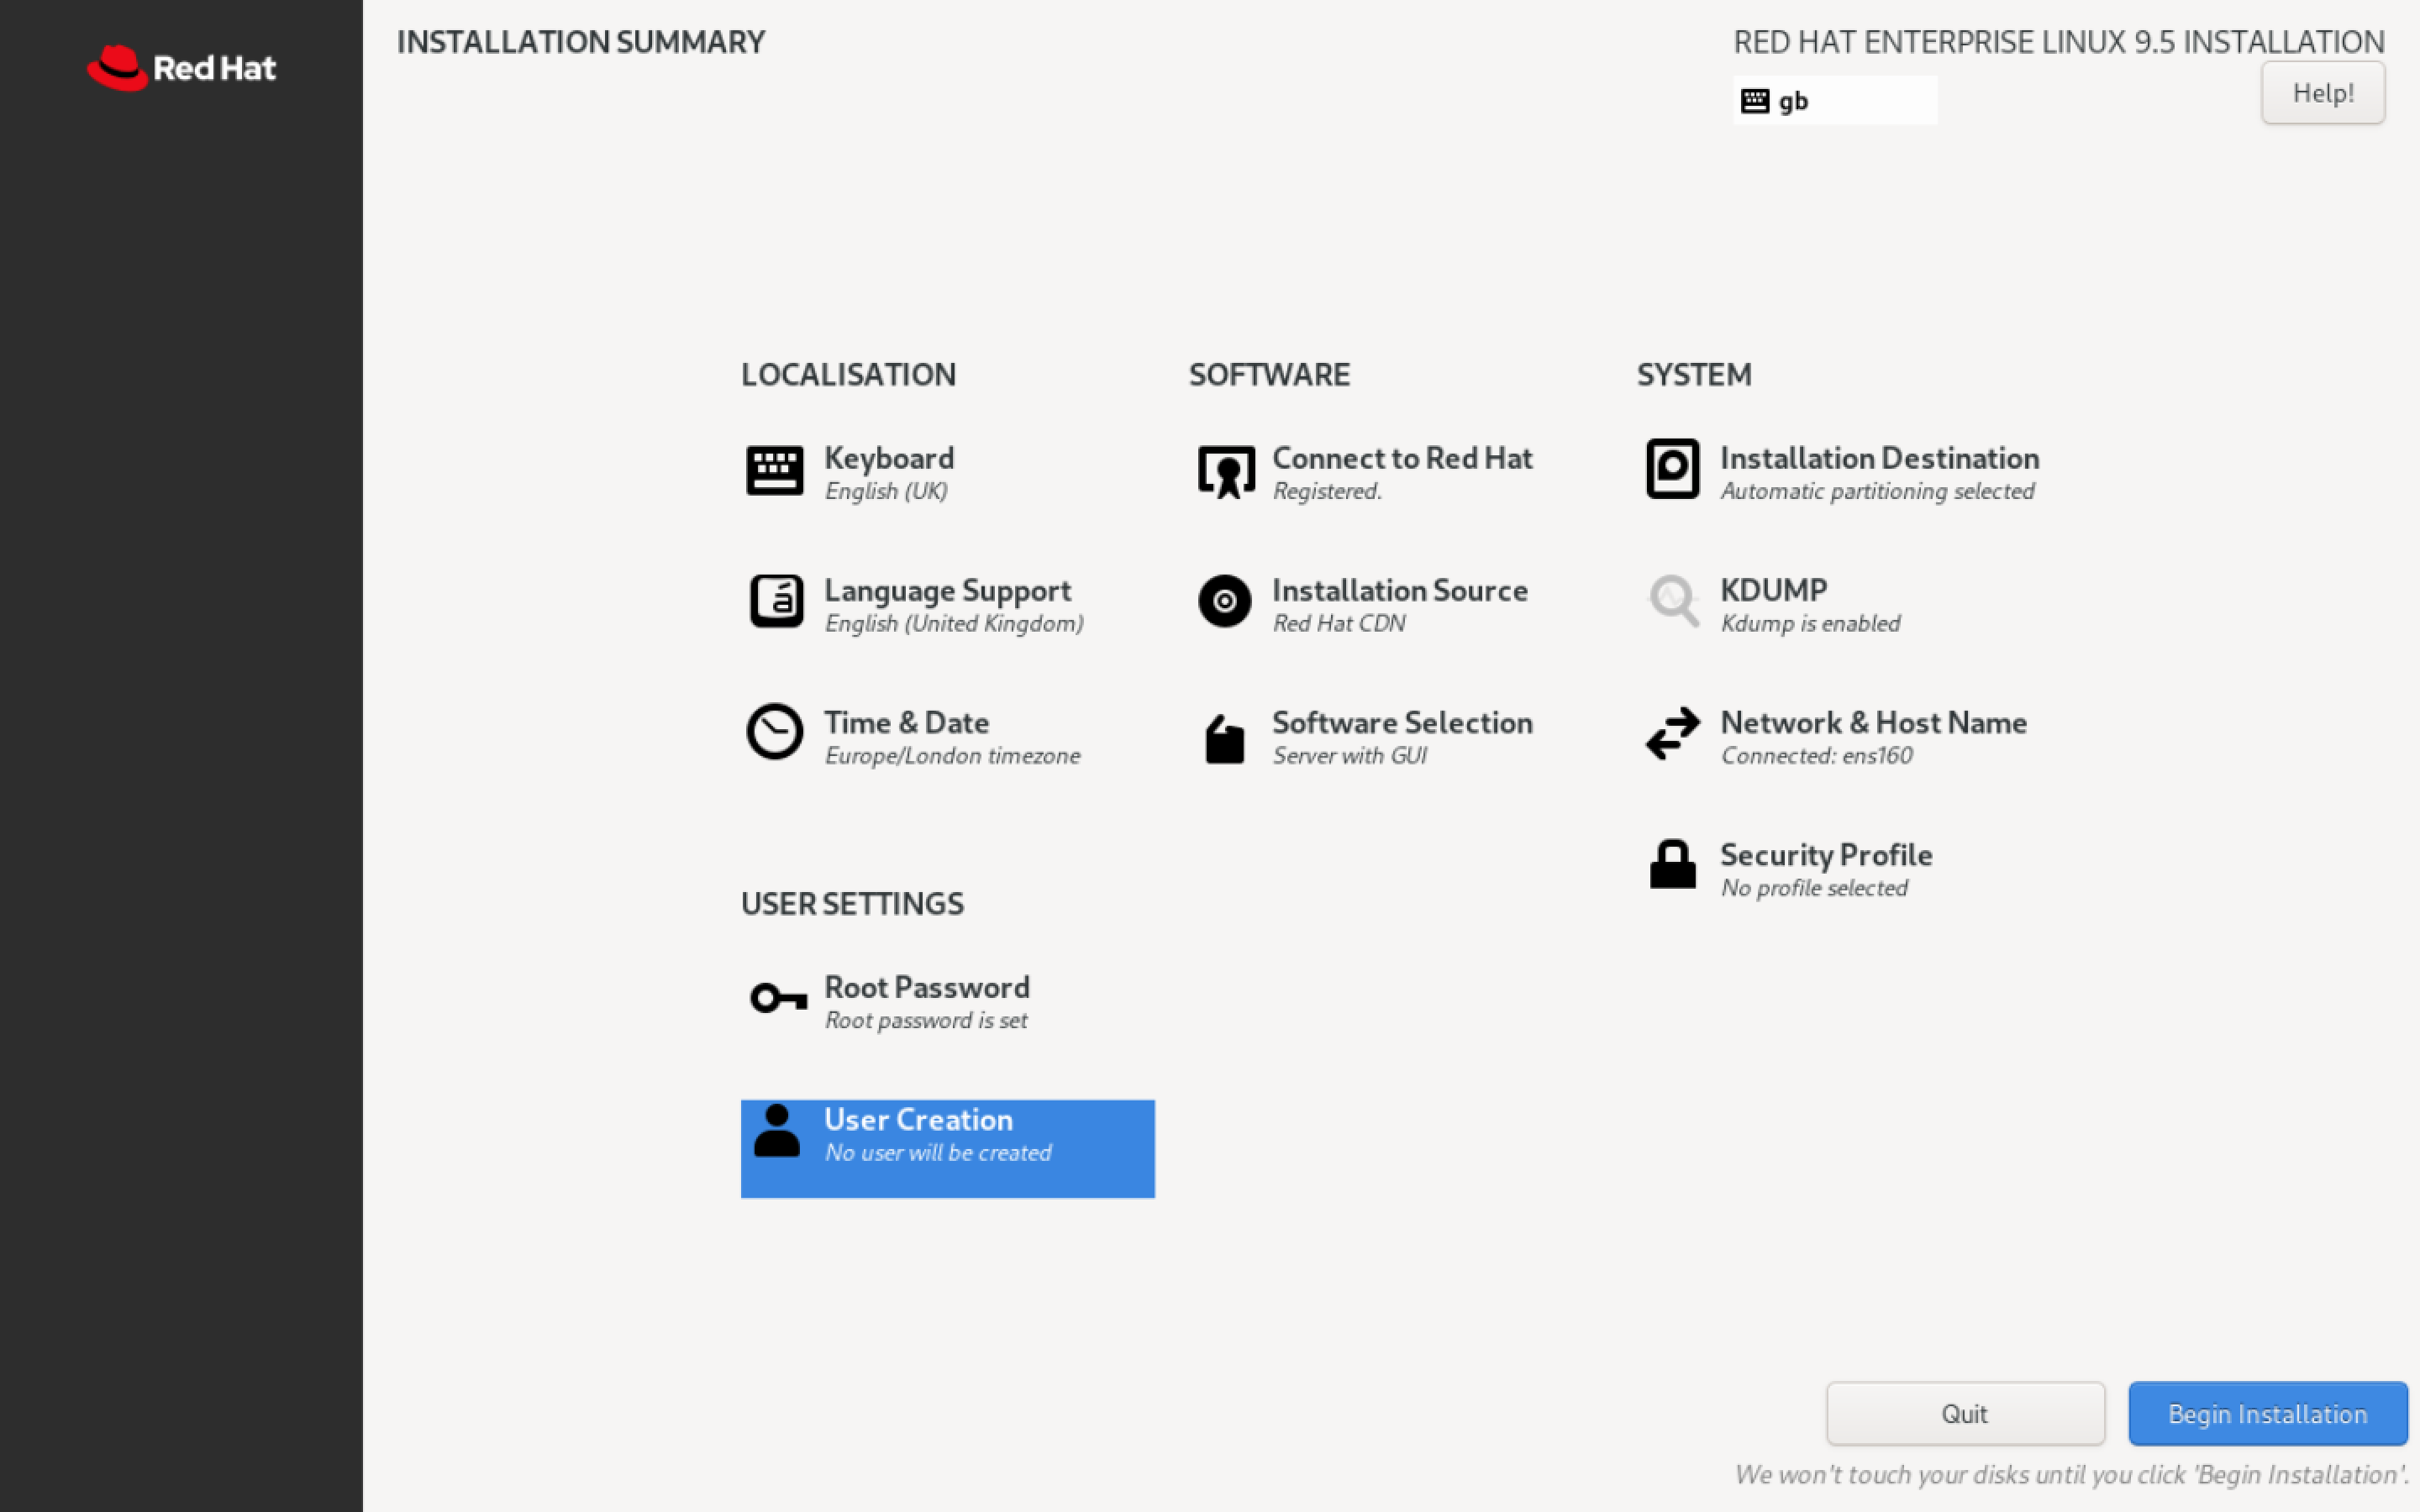
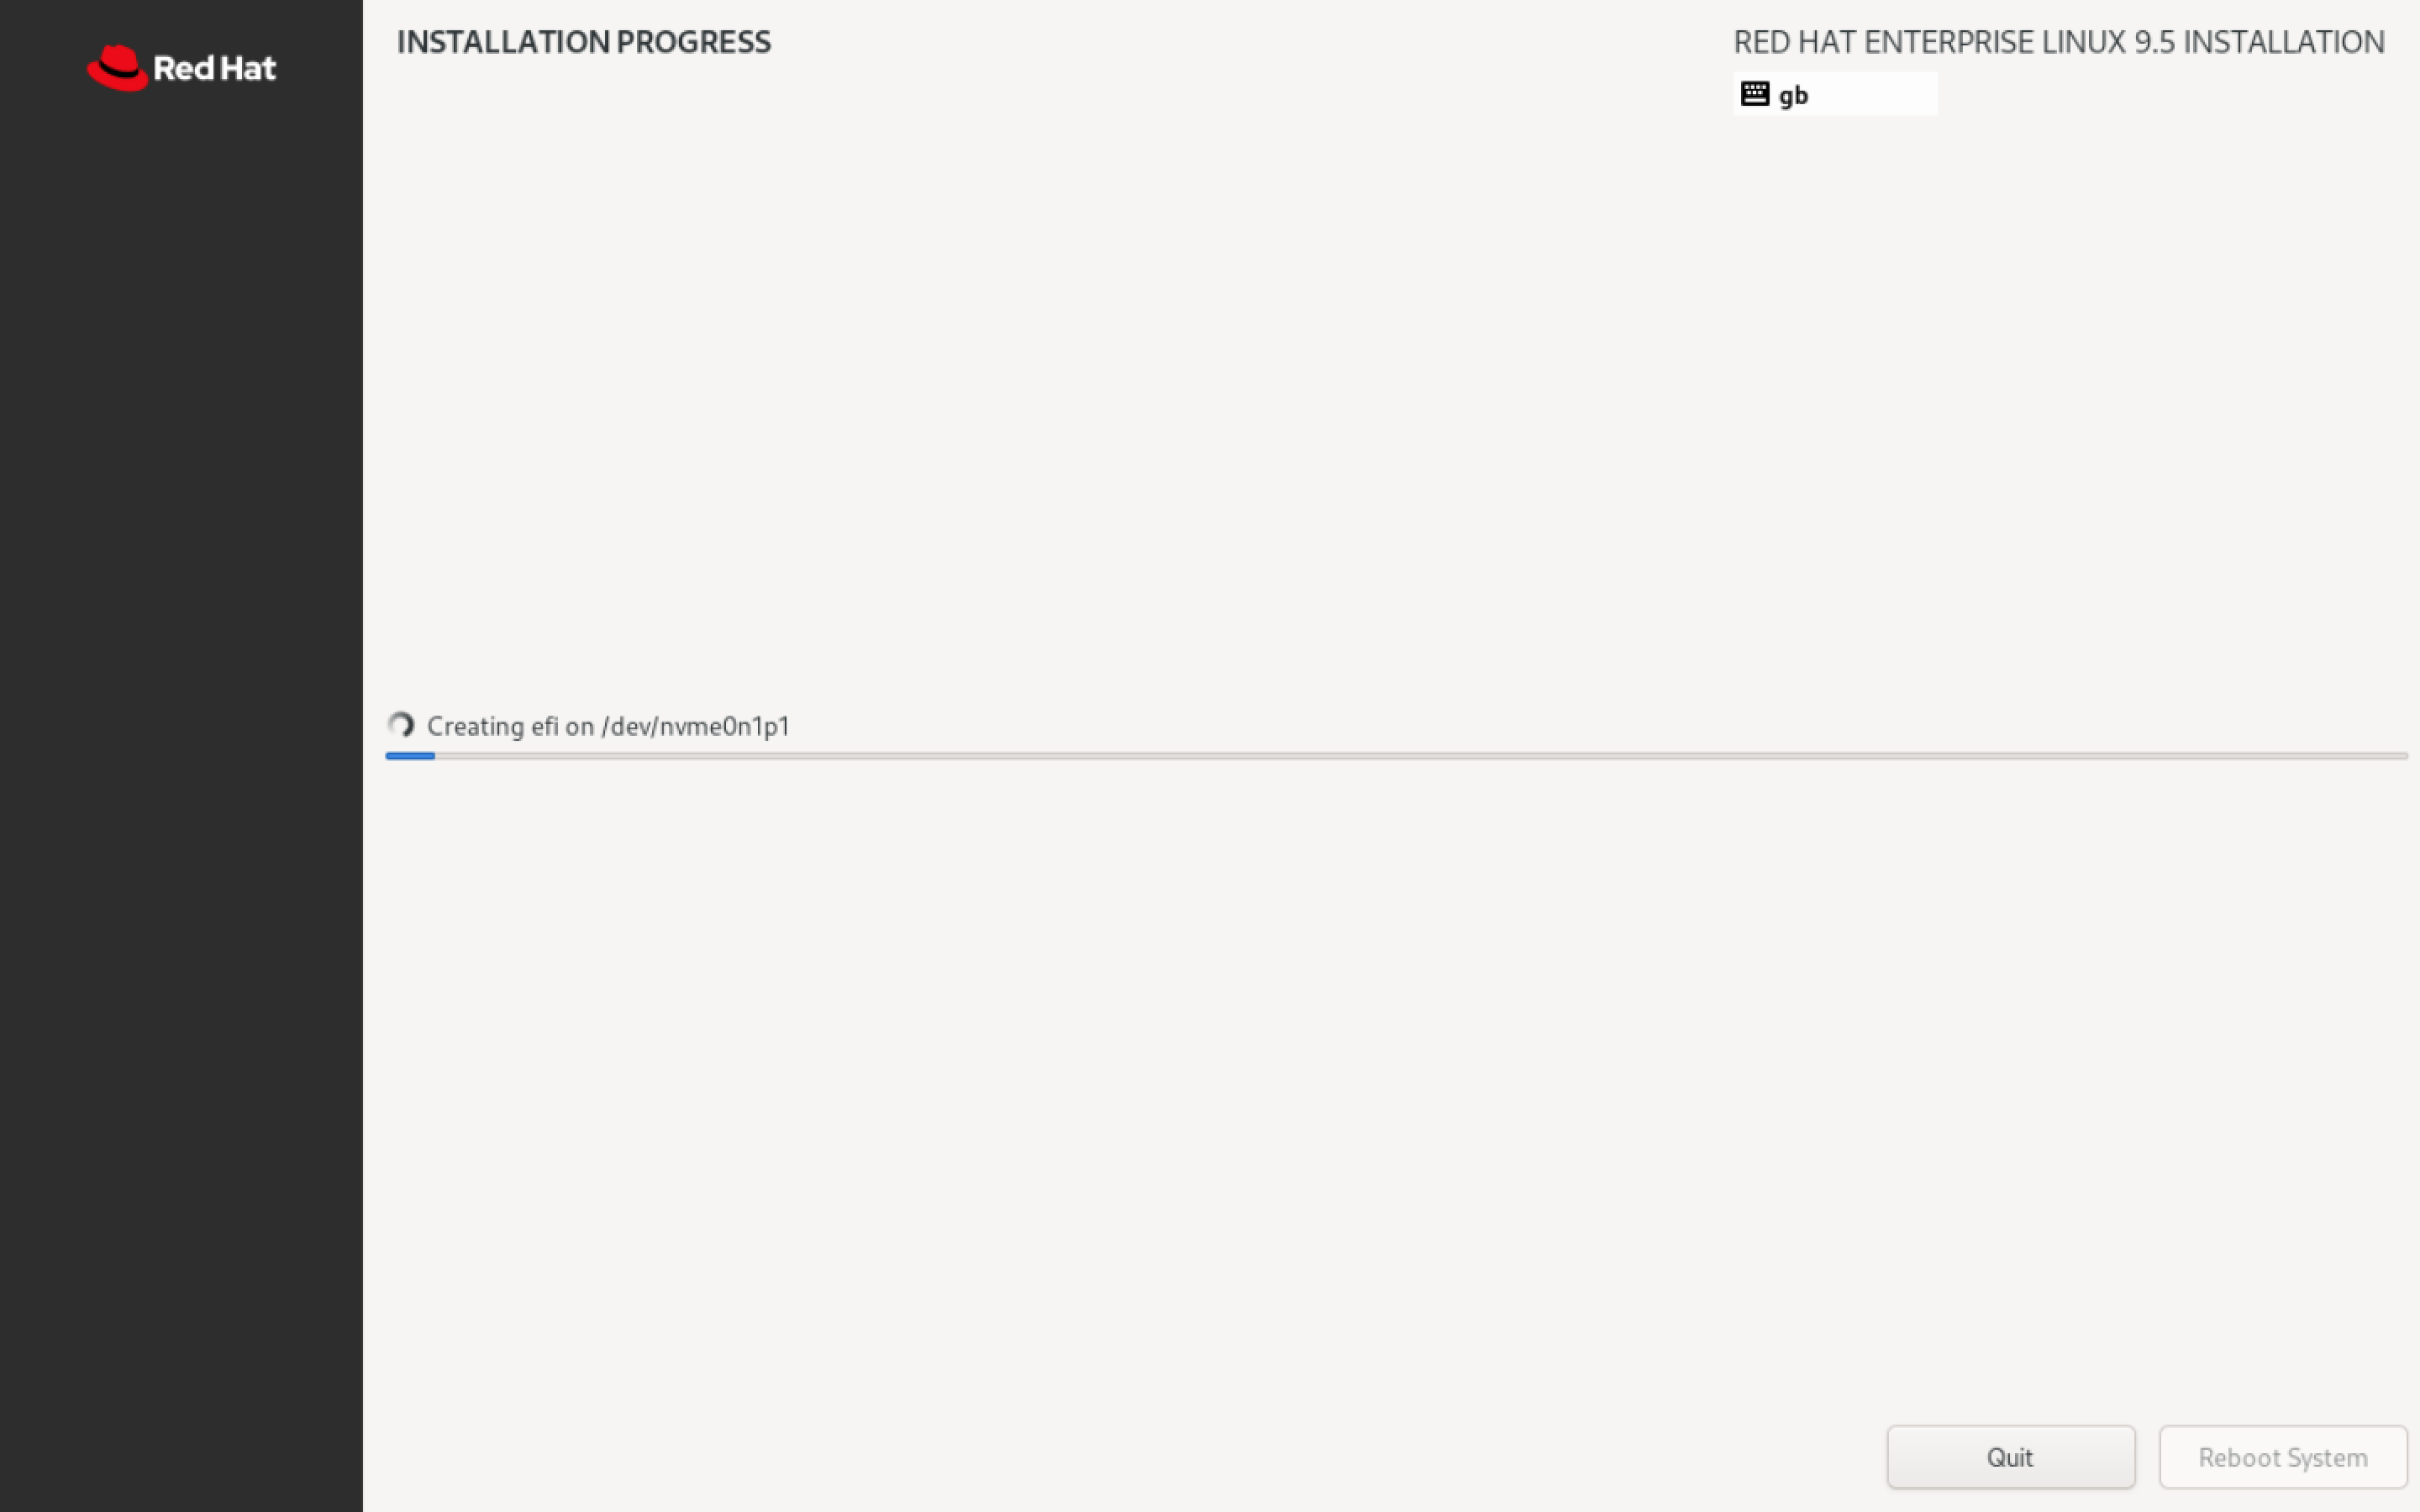
After some research, I found out the best OS for Splunk SOAR is CentOS or RHEL. So, I downloaded RHEL 8 and installed it bare metal onto an old laptop. The screenshots provided are of RHEL 9 being installed on VMWare solely to demonstrate the process, since I couldn’t screenshot the bare metal process.
 |
 |
 |
 |
 |
 |
 |
 |
 |
 |
 |
 |
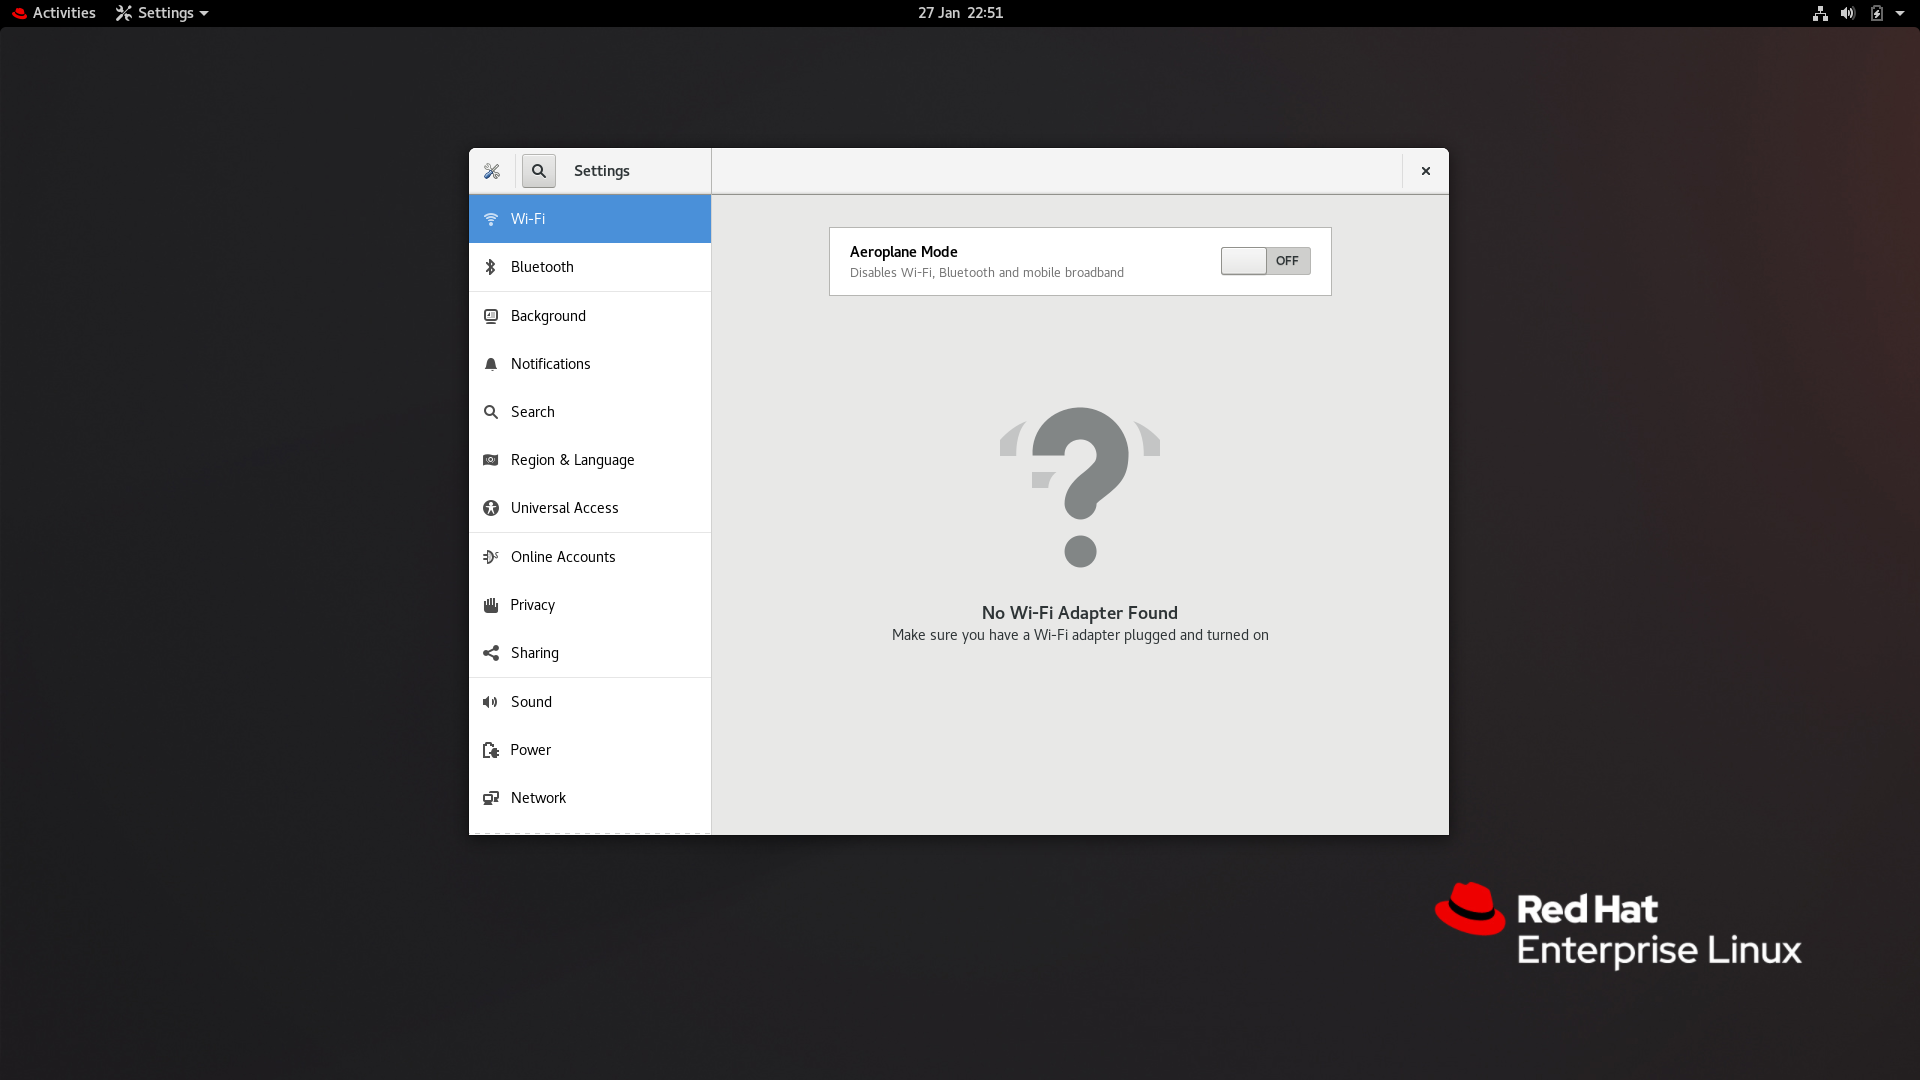
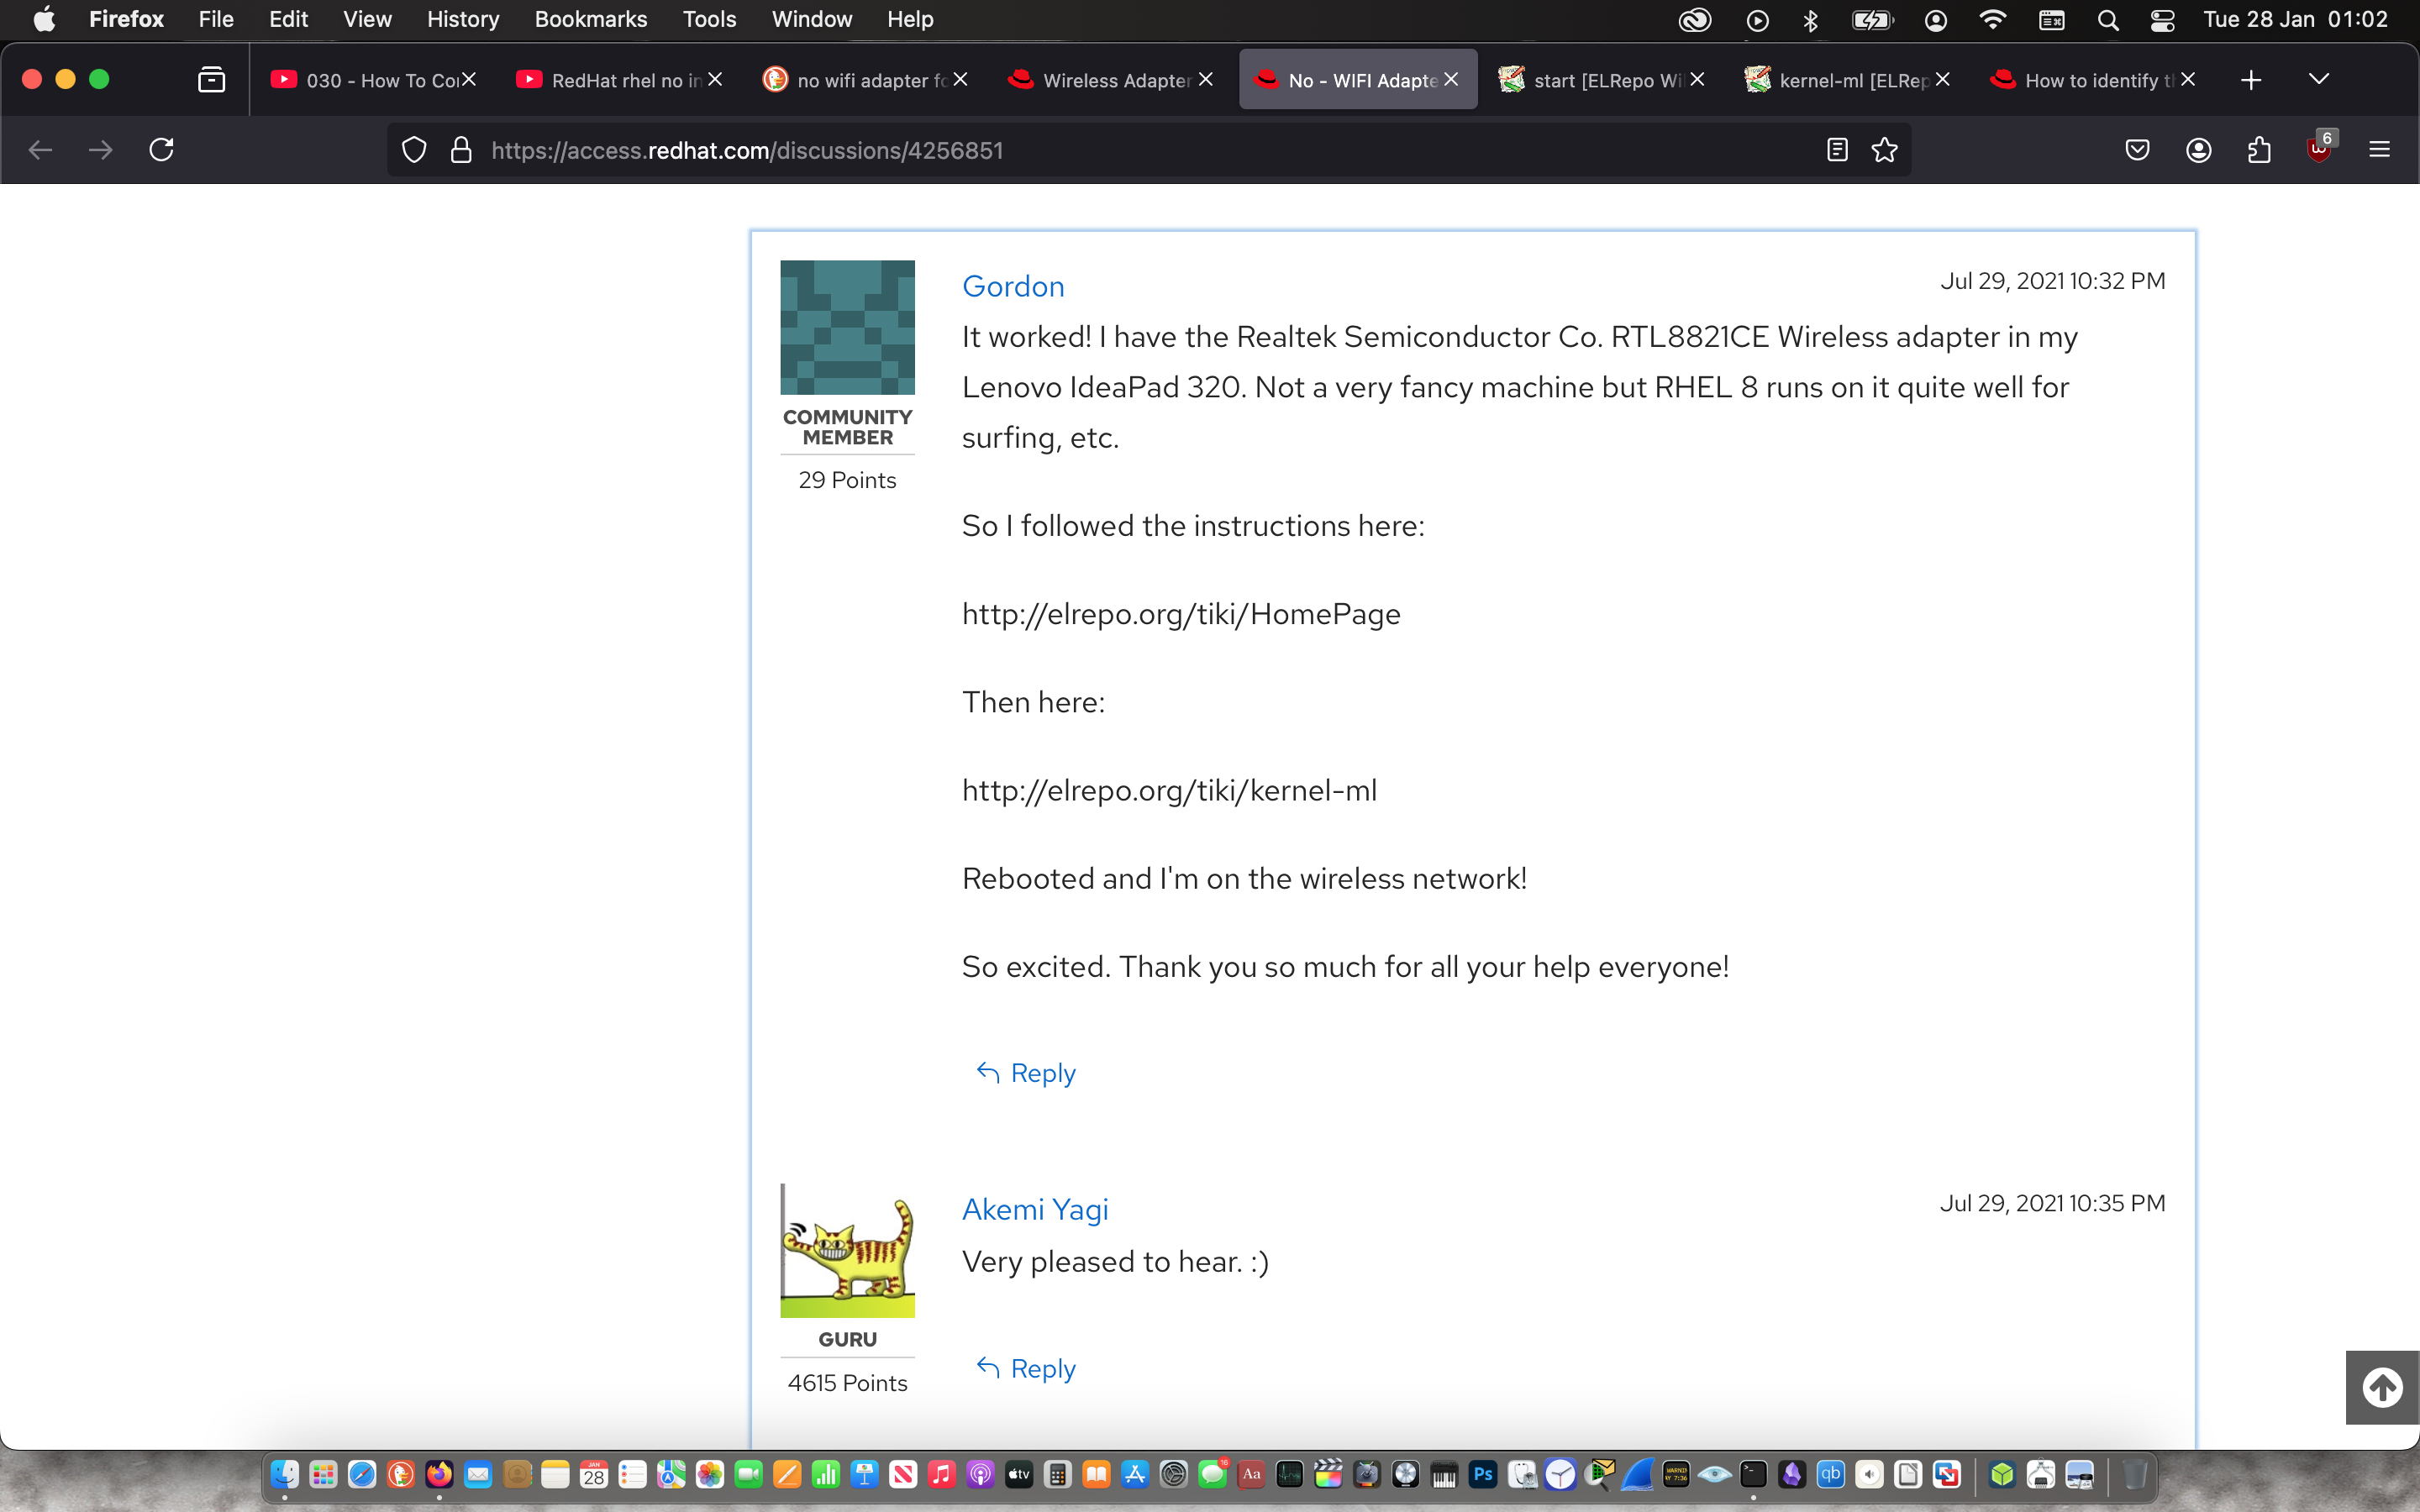
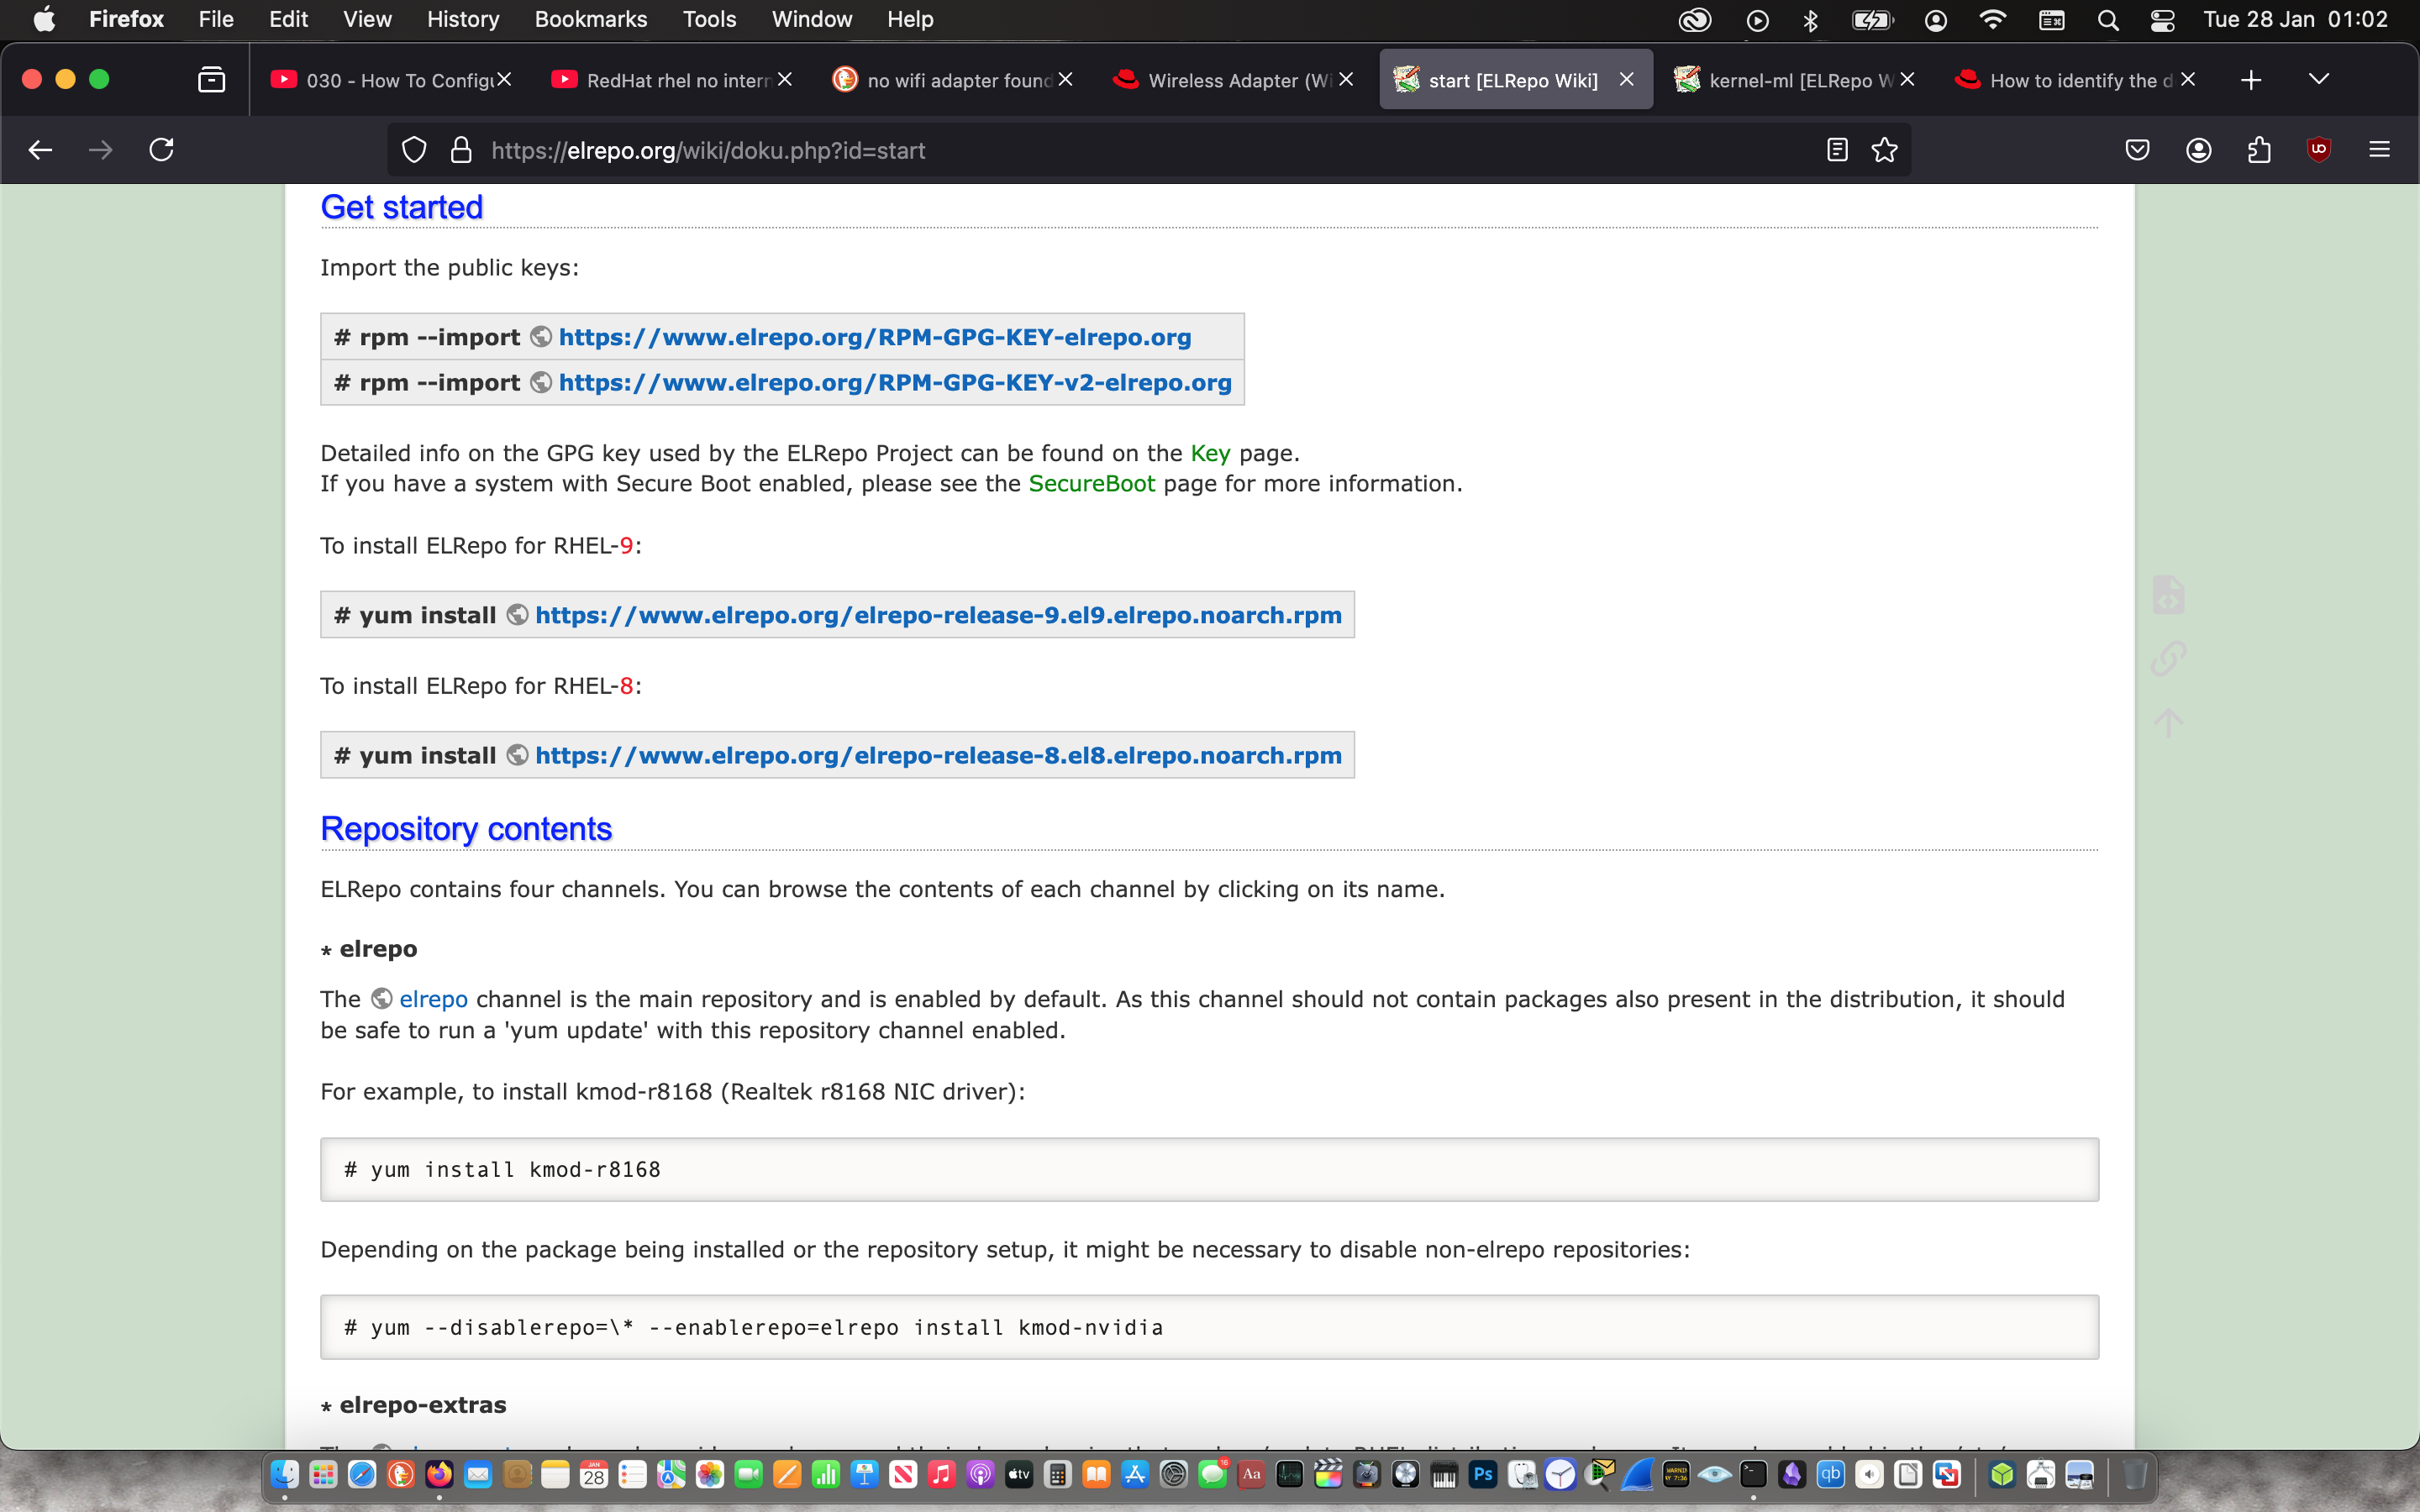
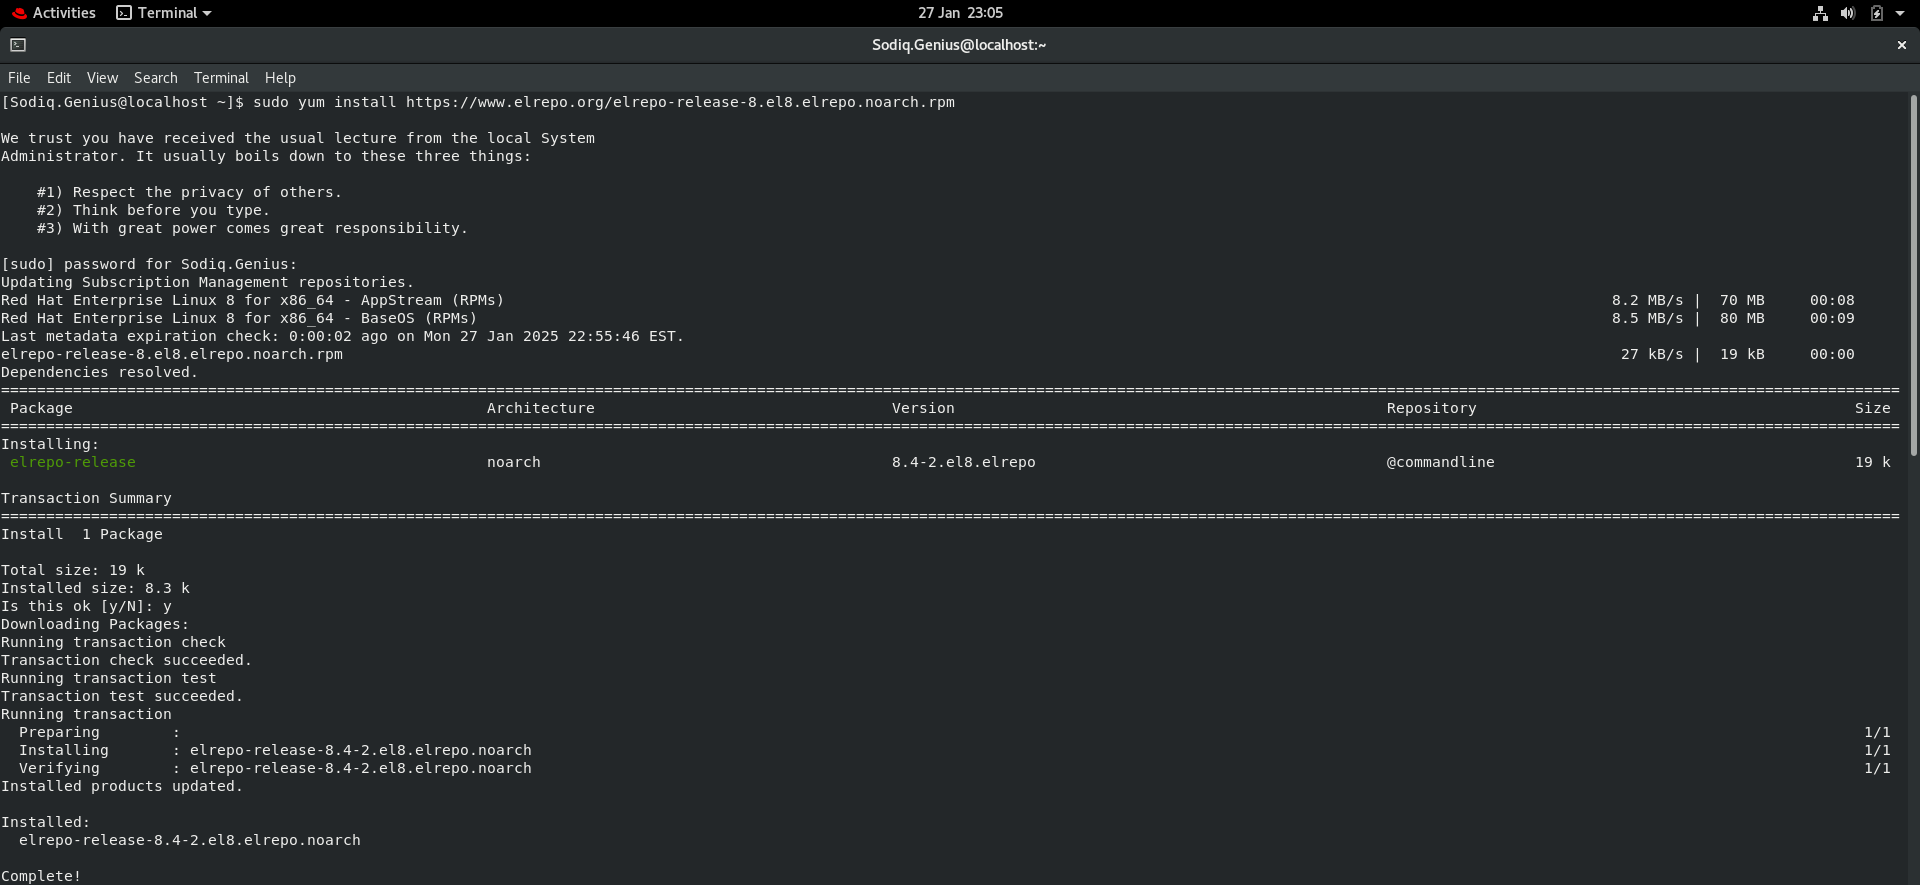
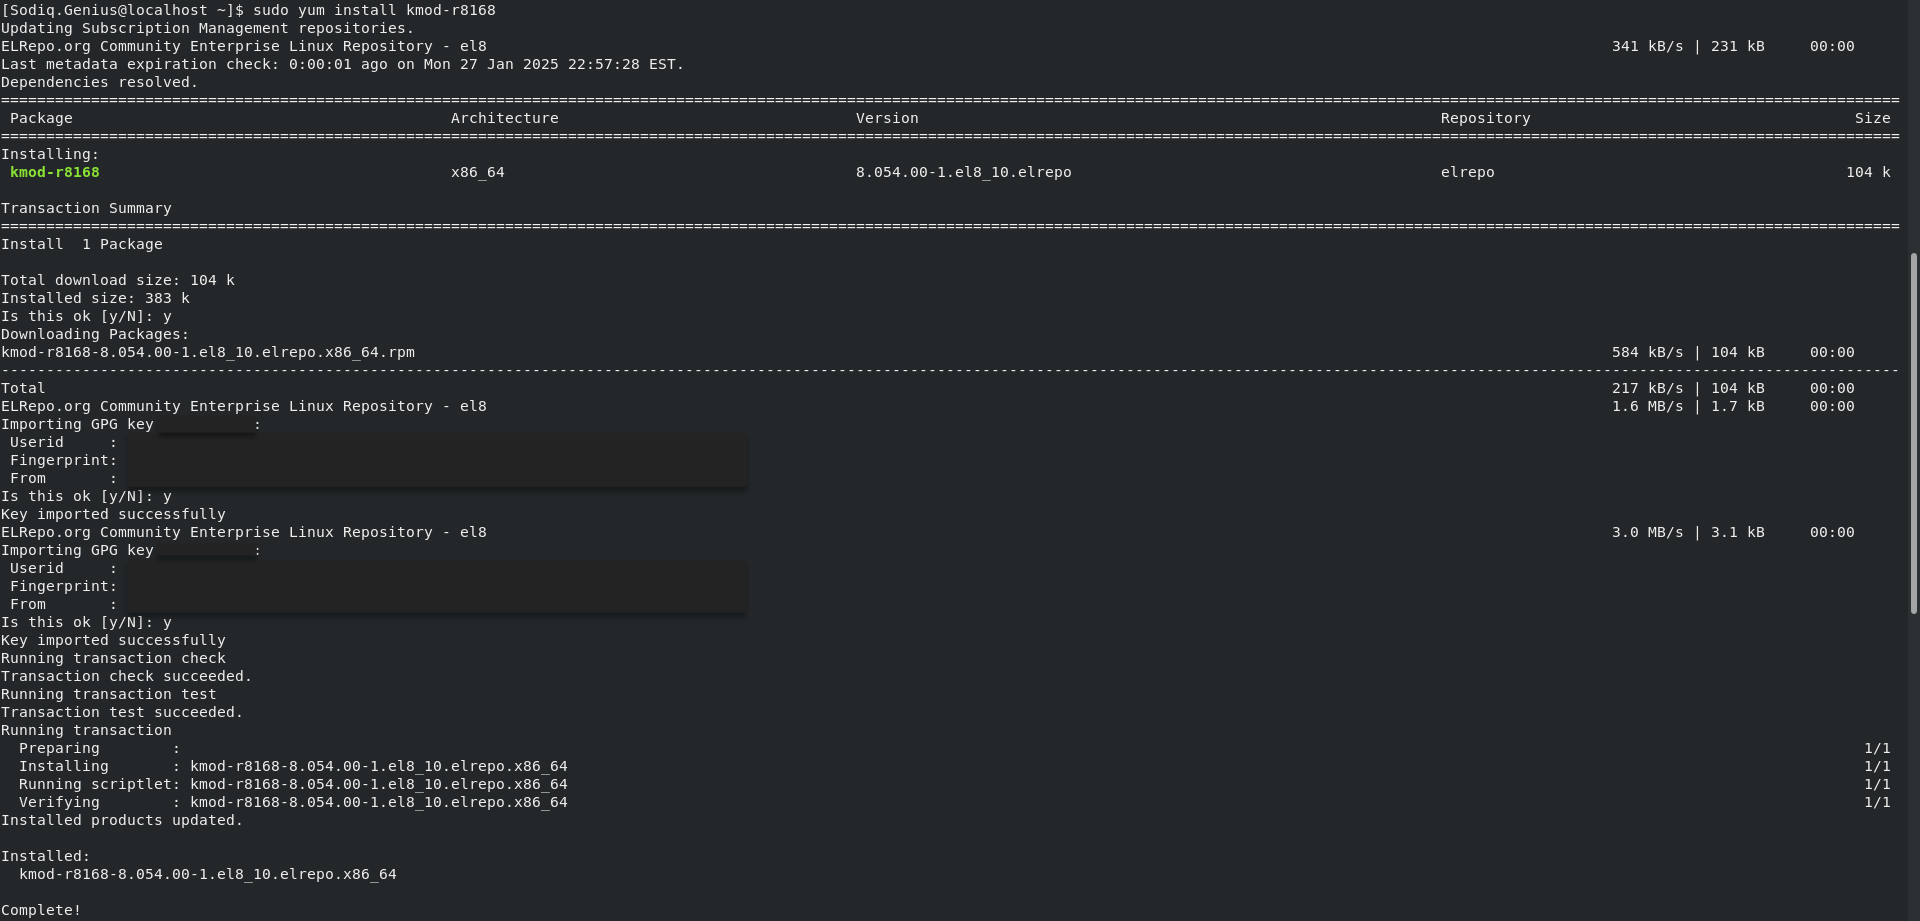
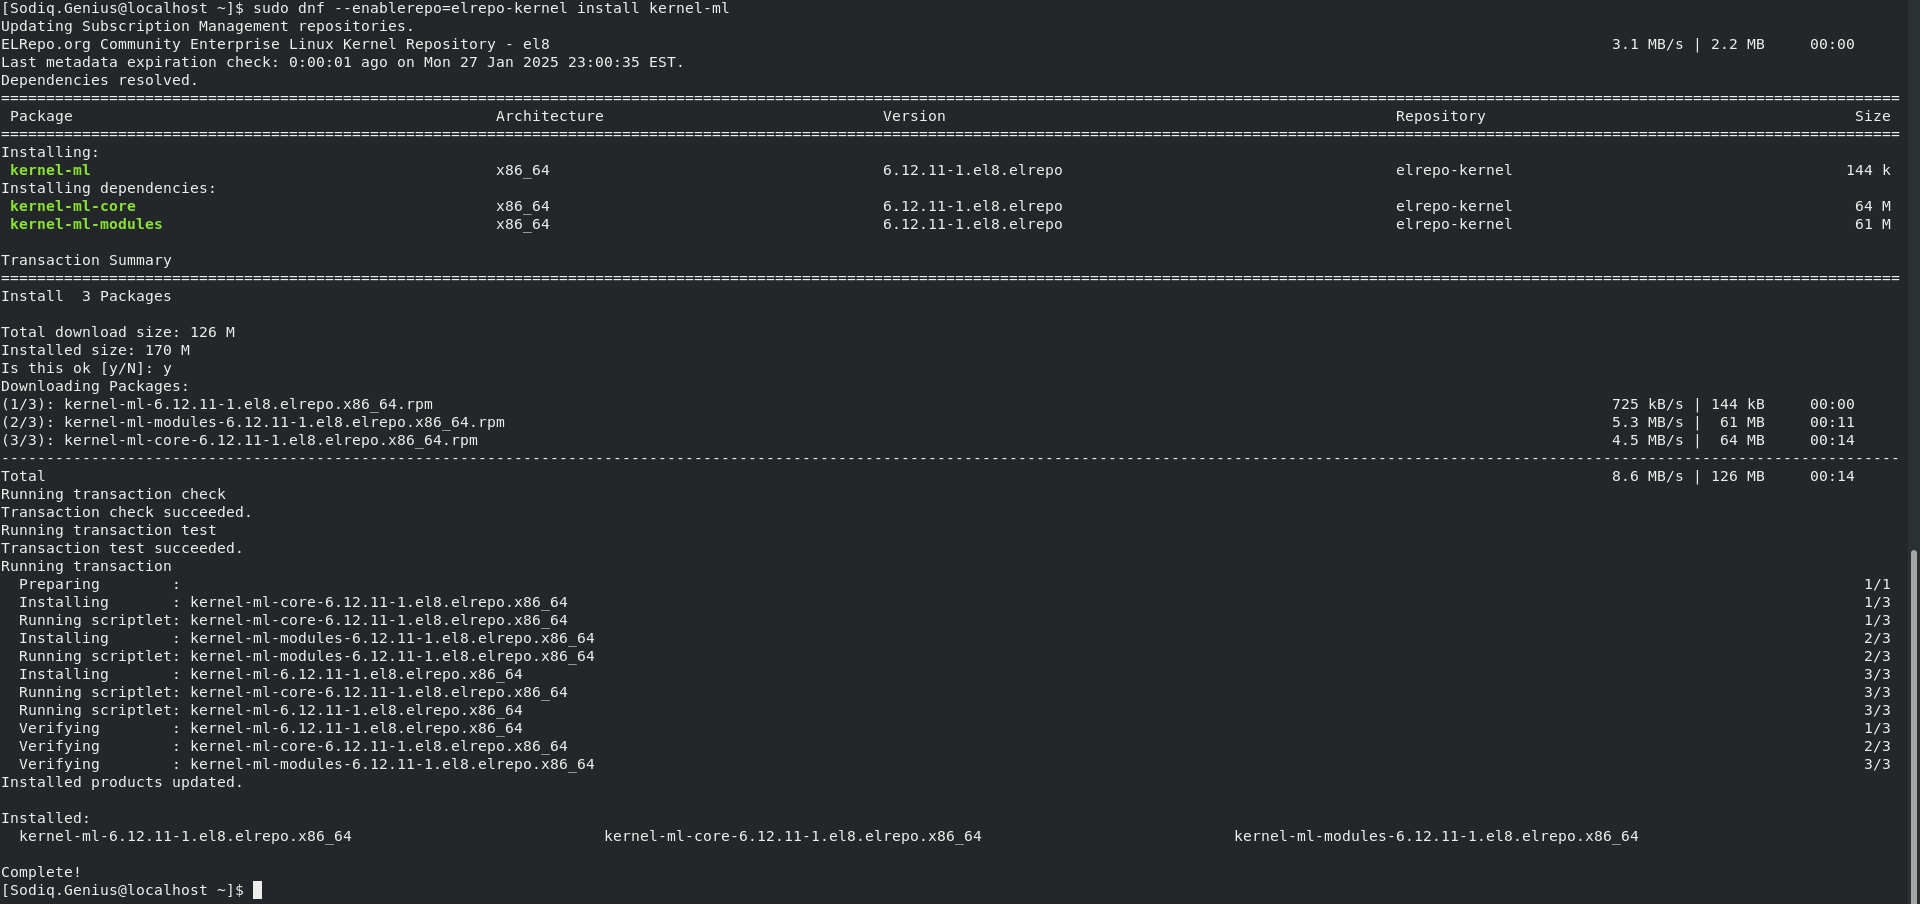
After RHEL8’s installation and setup, I noticed the OS lacked the Wi-Fi NIC driver. I did some more research and found a driver that can be added to the kernel called, “kernel-ml”, which resolved the issue.
 |
 |
 |
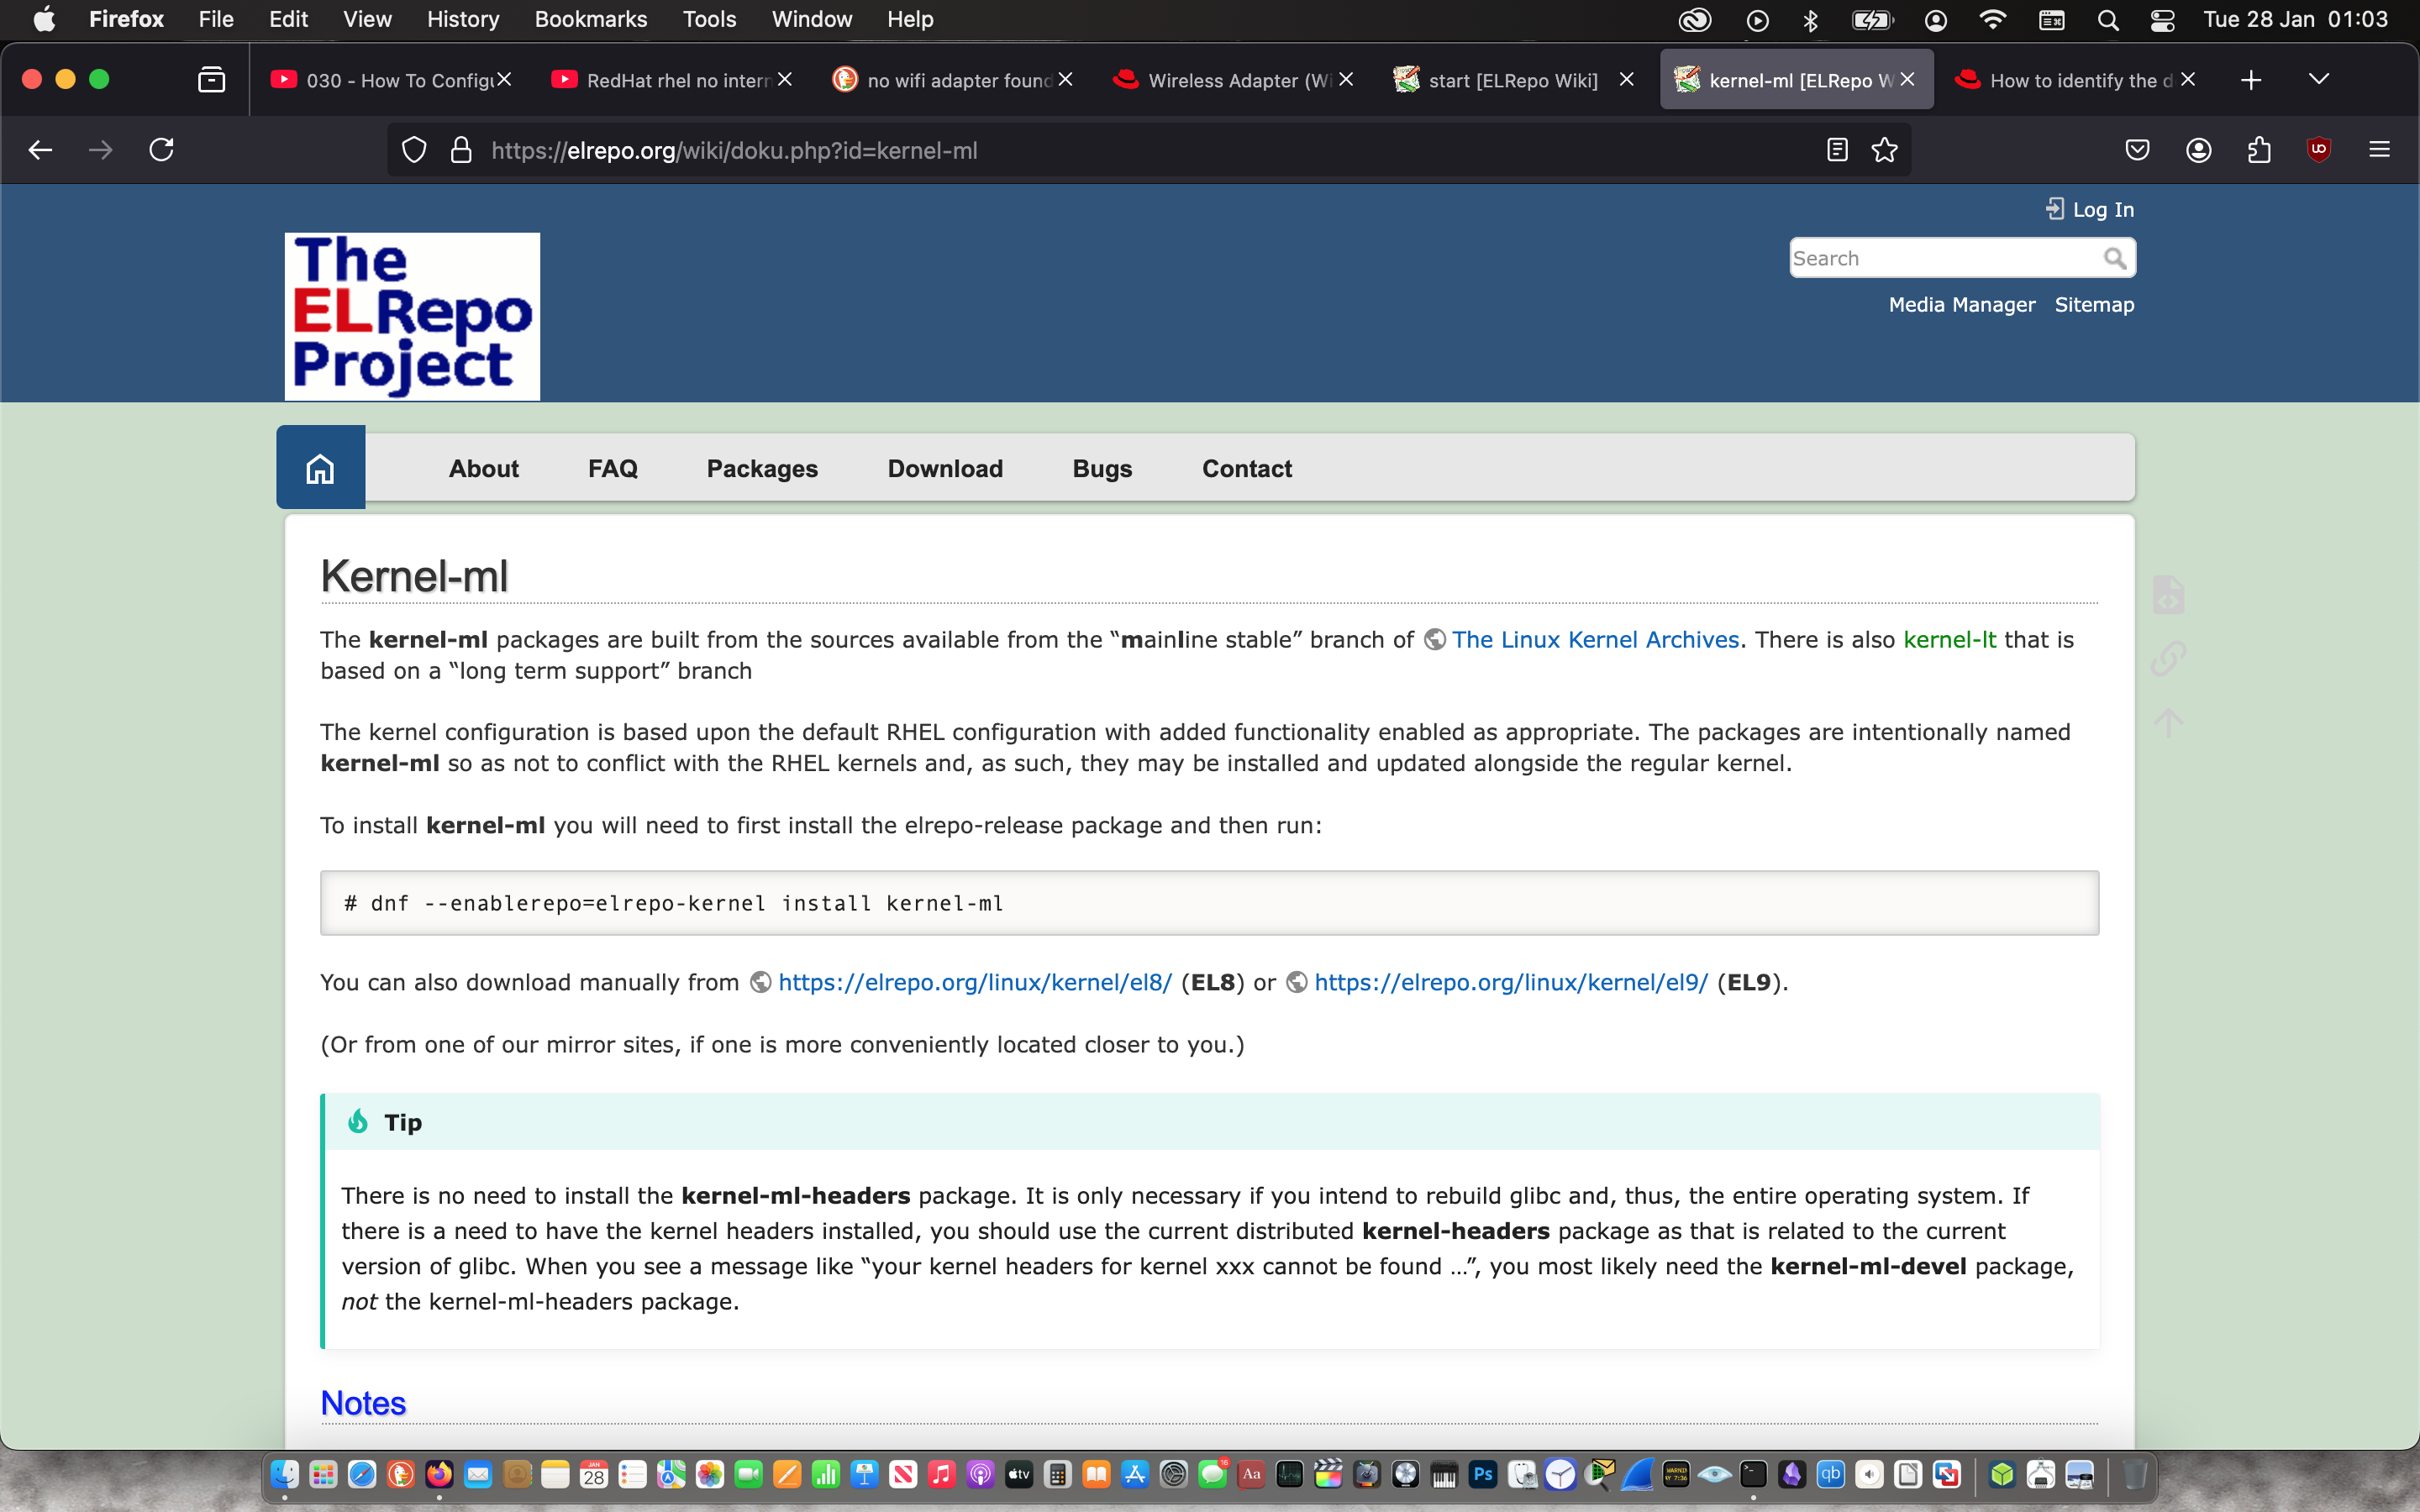 |
“Kernel-ml” installation process.
 |
 |
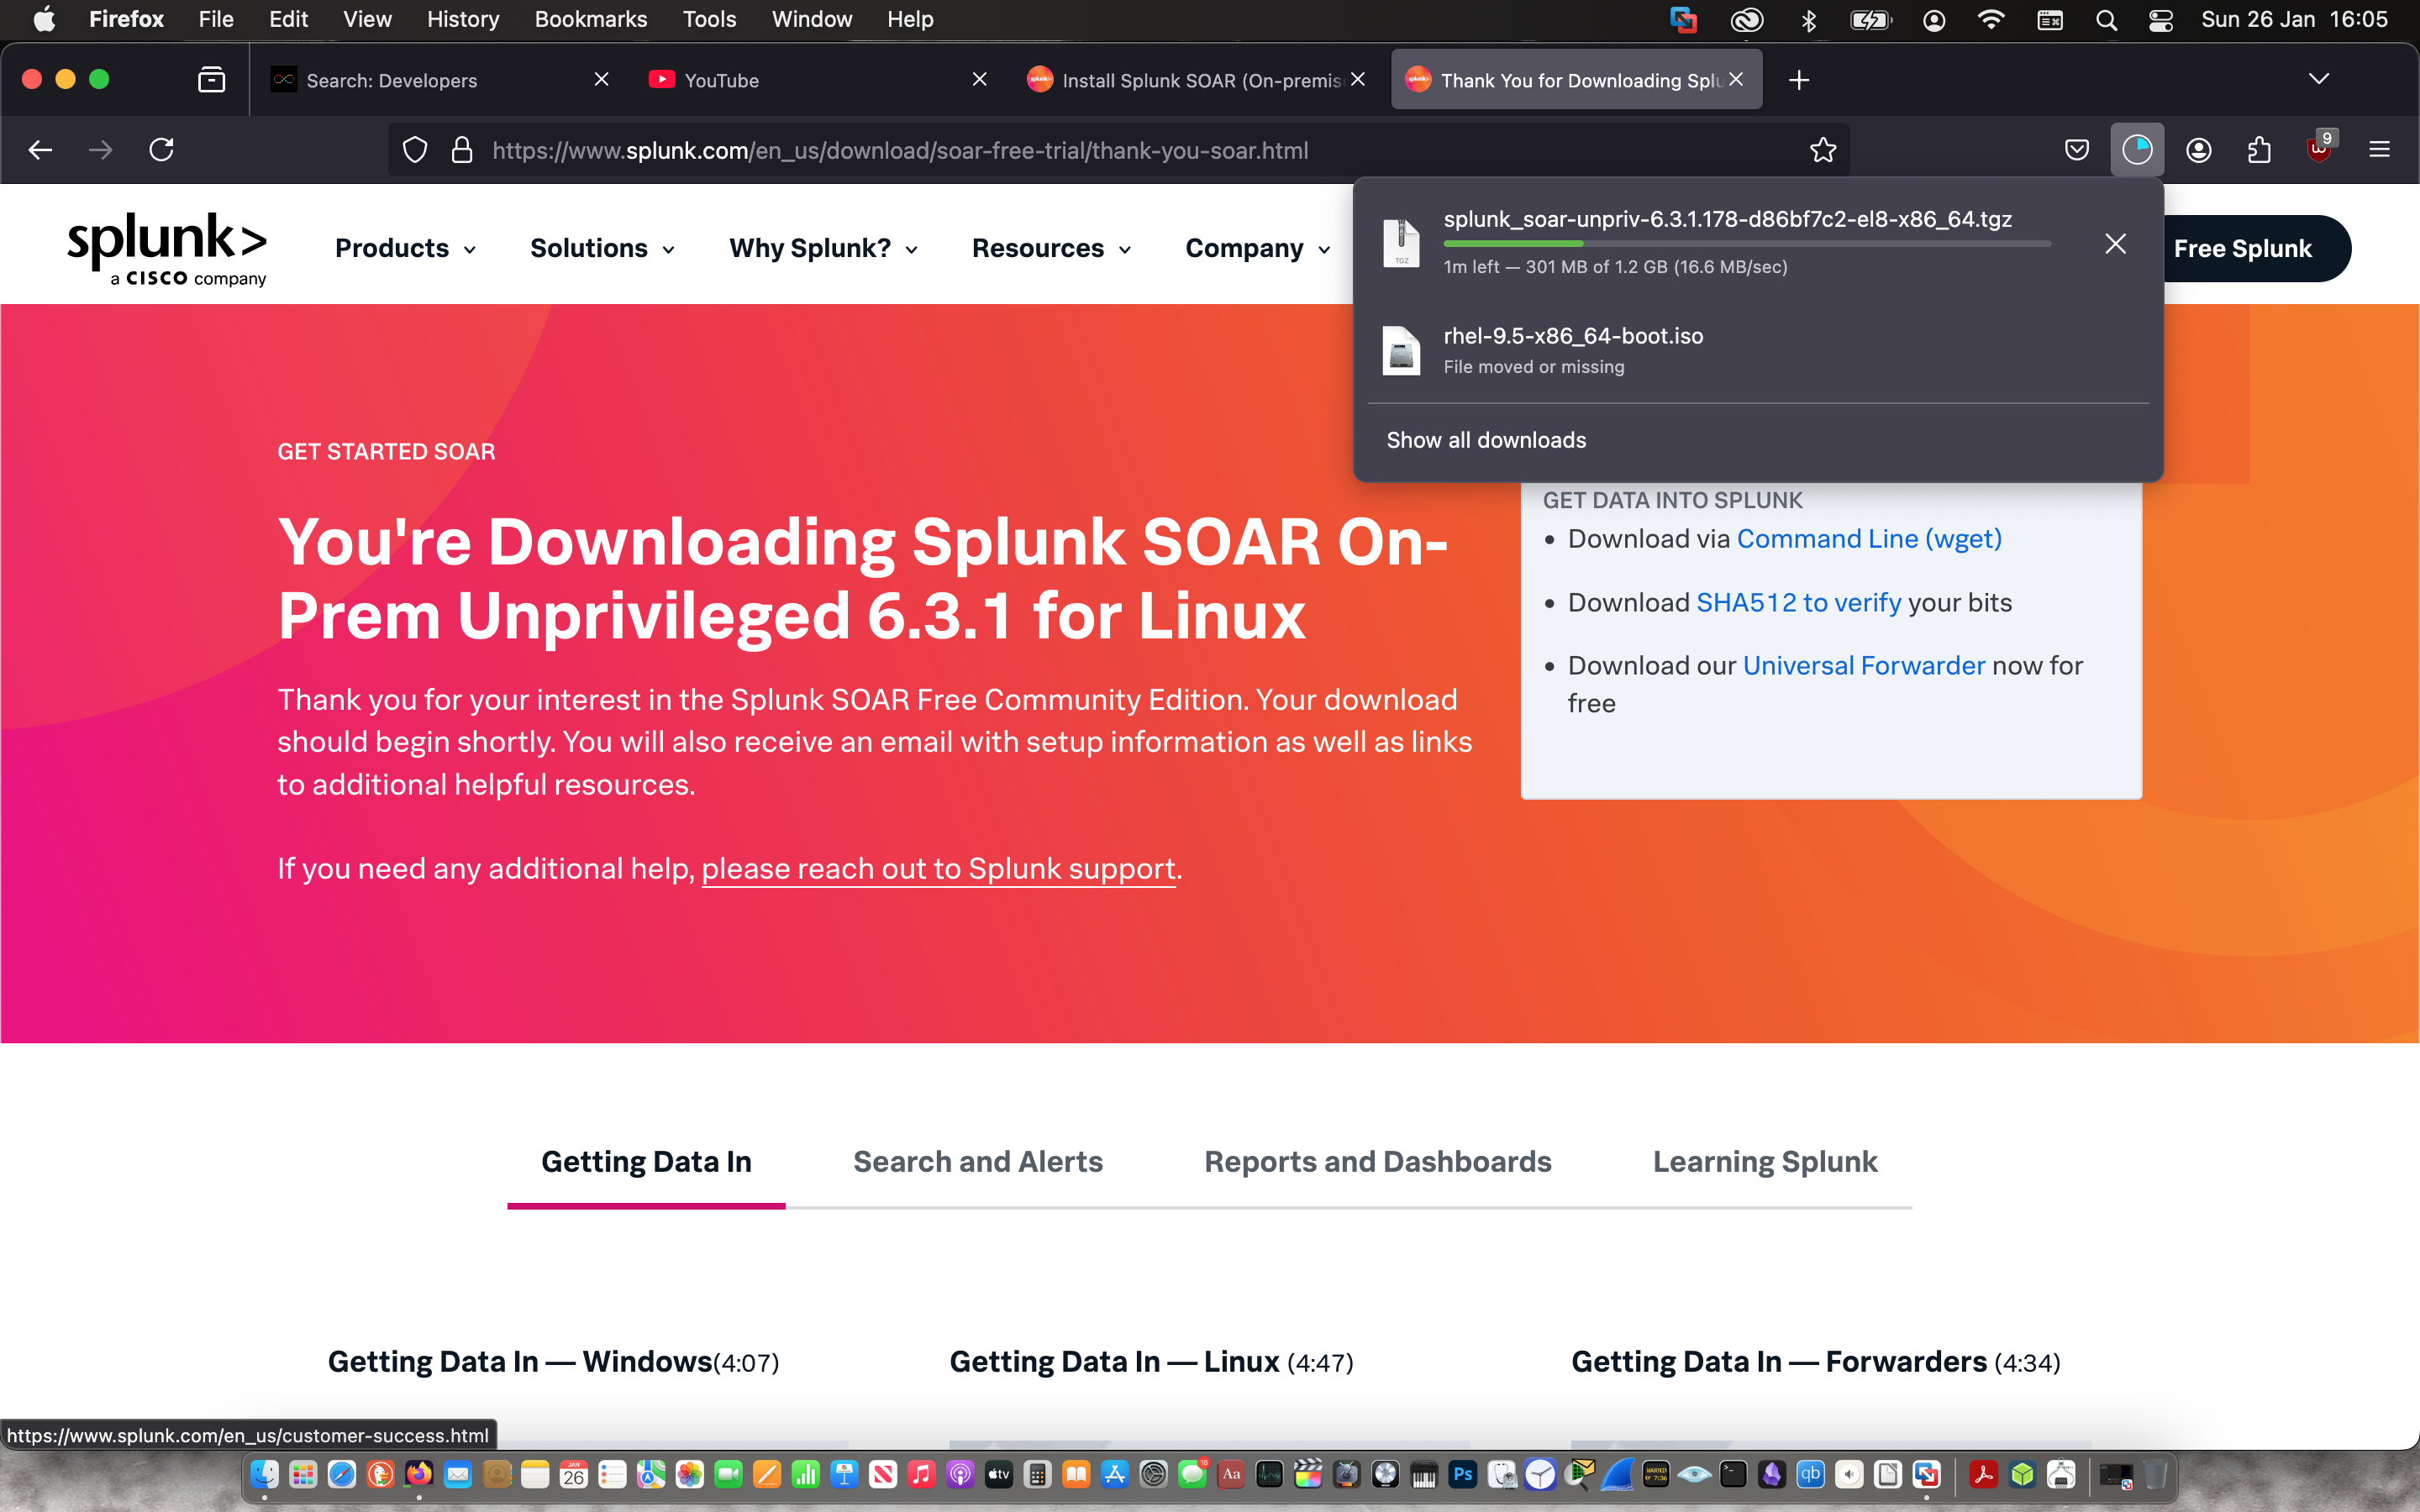
Then I downloaded the Splunk SOAR installer off of the official website.
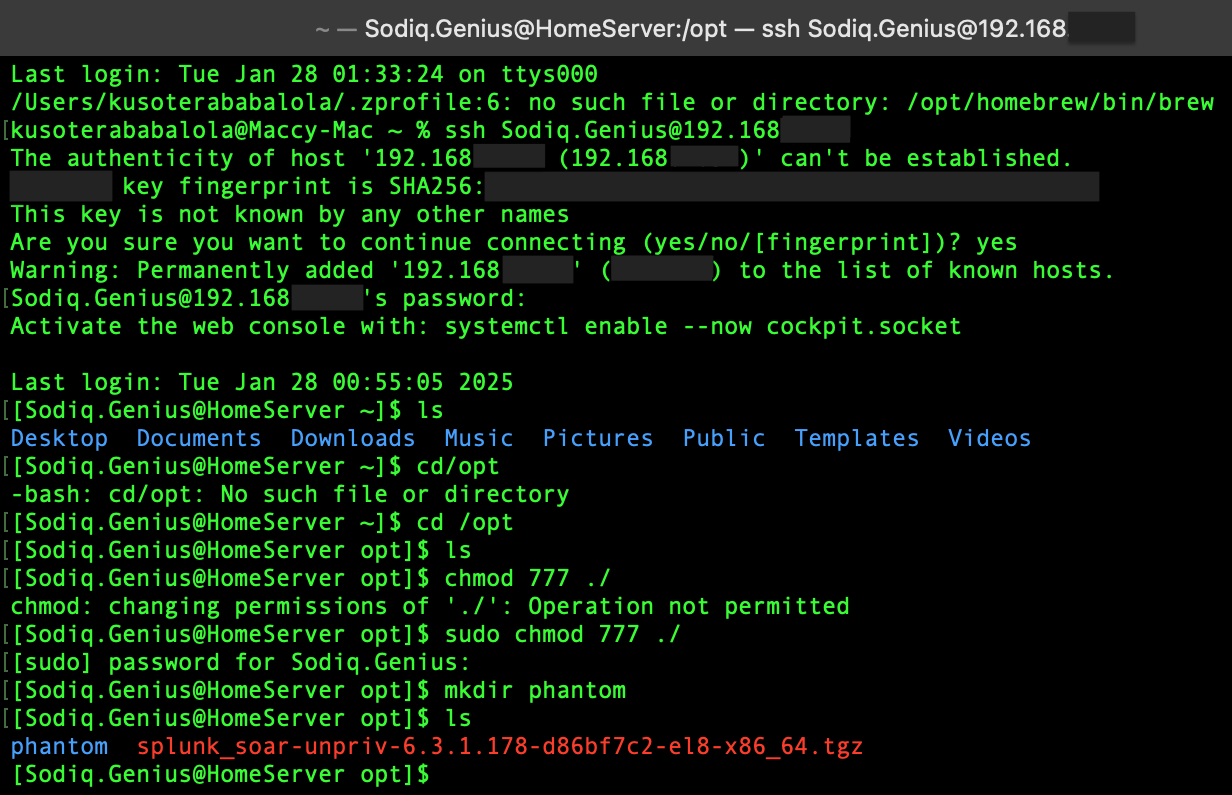
Then I used SSH to transfer the Splunk SOAR installer from my Mac to the laptop RHEL8 was installed on.

According to the Splunk SOAR installation process on the official website, I had to perform the following prerequisites before I can install Splunk SOAR:
- Check the firewall is active
- Set the laptop language and keyboard setup to “US”
- Check if it’s fips compliant - My laptop was not but making it fips compliant froze the OS and was not necessary to install SOAR
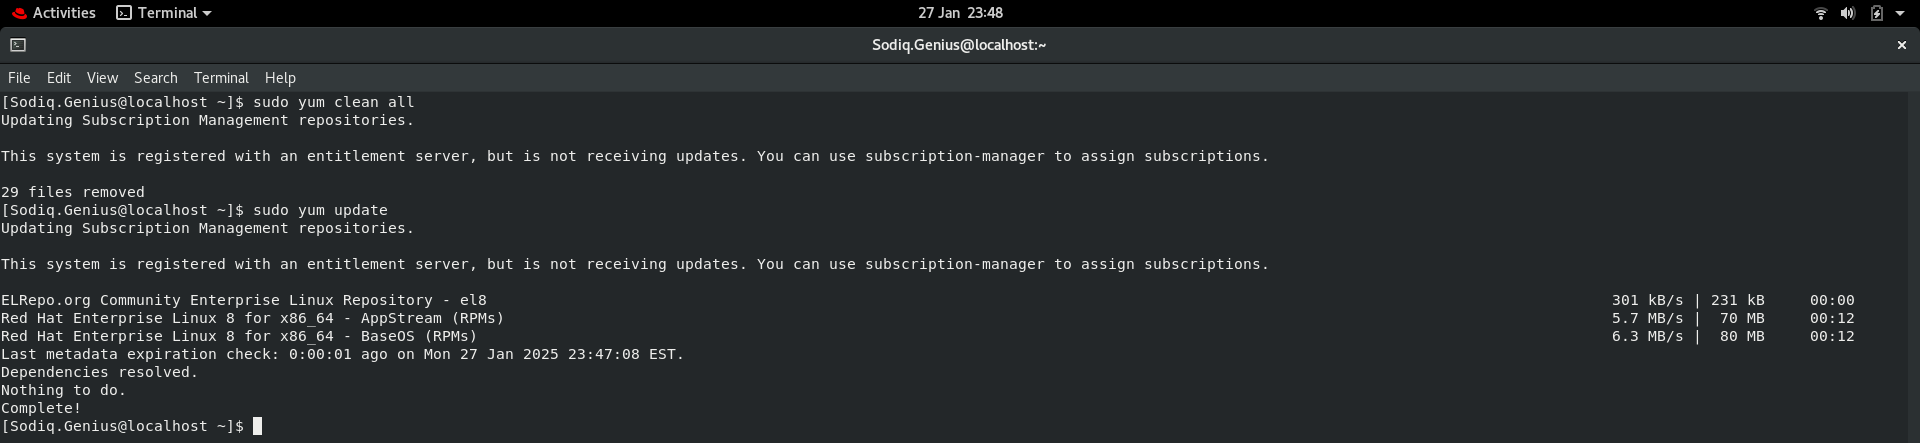
- Lastly, update the OS


Then I unzipped the installer.

After unzipping, I ran a command below to prepare the system for the installation and responded to the prompts as needed while in the splunk-soar directory.
sudo ./splunk-prepare-system --splunk-soar-home /opt/phantom --https-port 7777
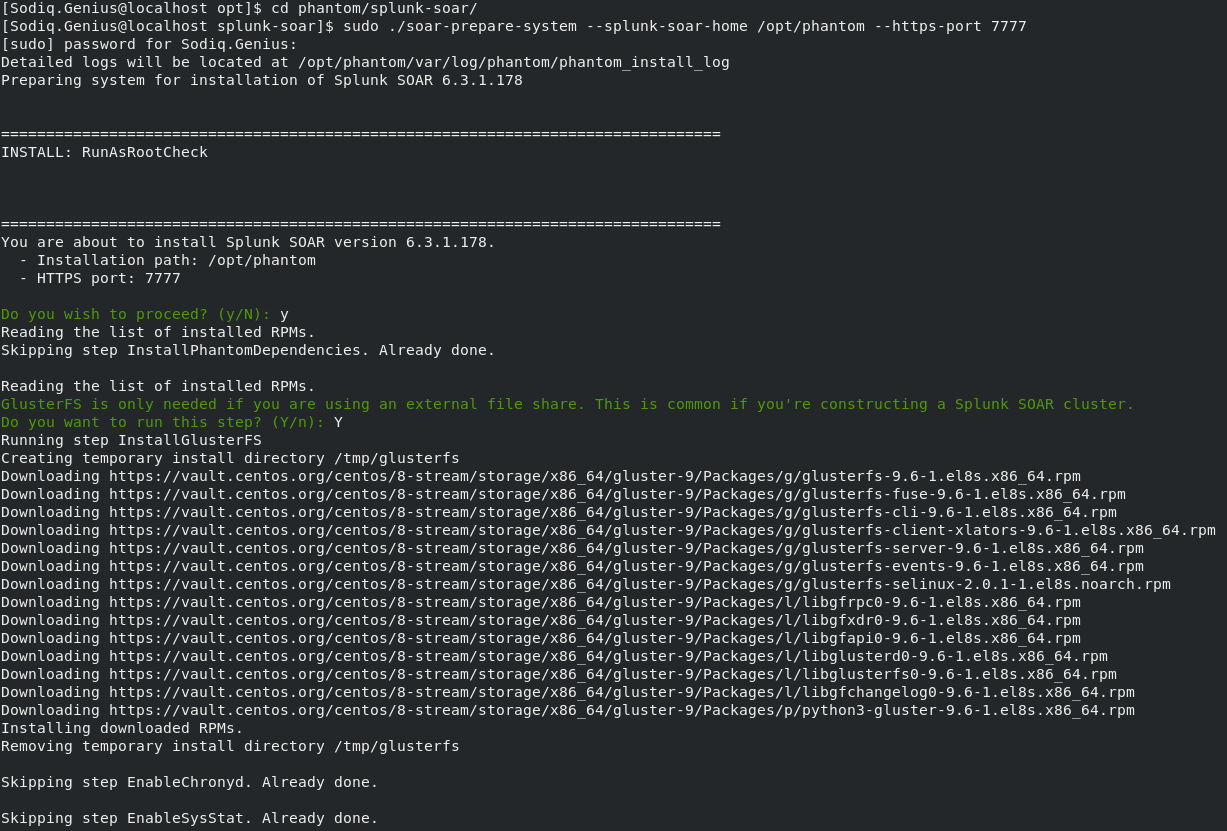
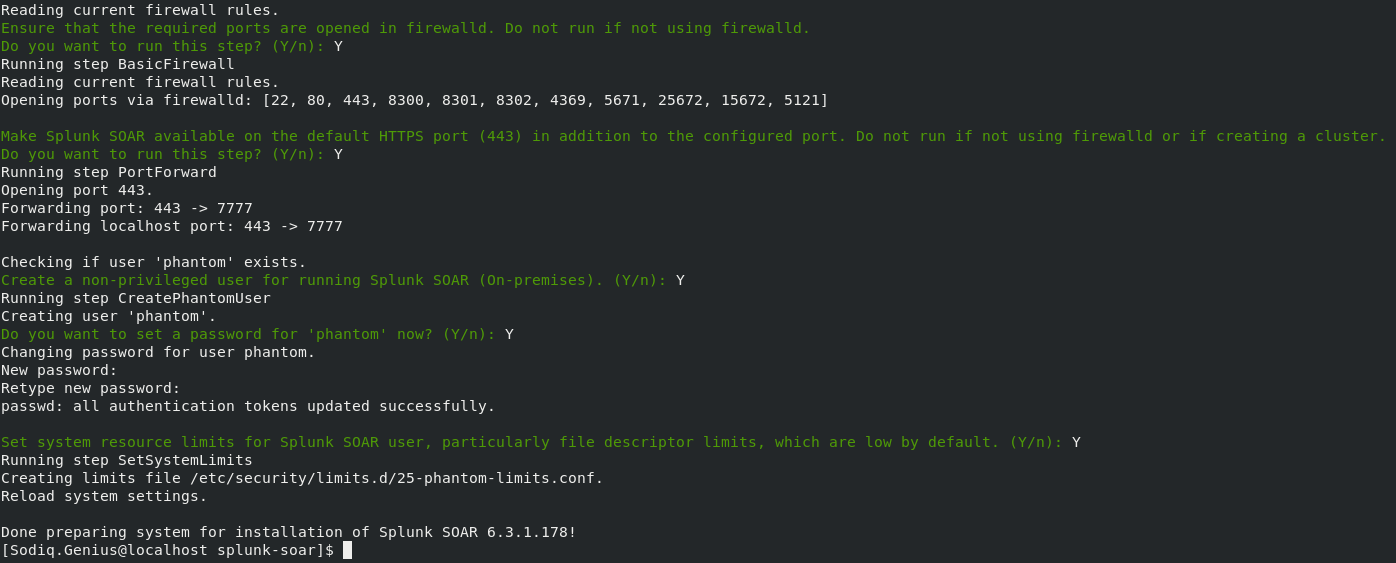
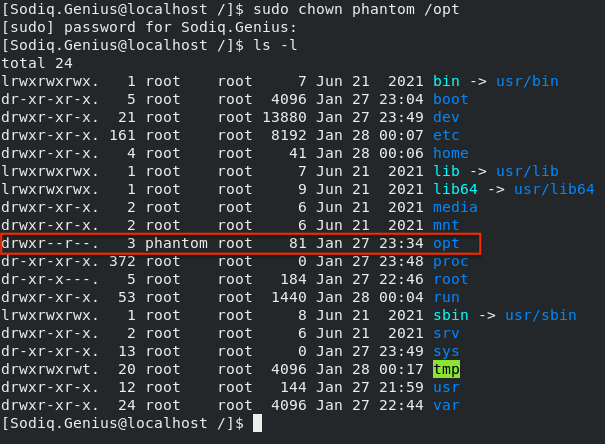
As a part of the preparation for the installation an unprivileged user was created called “phantom”. Phantom has to own the folder the installation resides in for the installation to work, so I changed the owner of the folder from “root” to “phantom”.
 |
 |
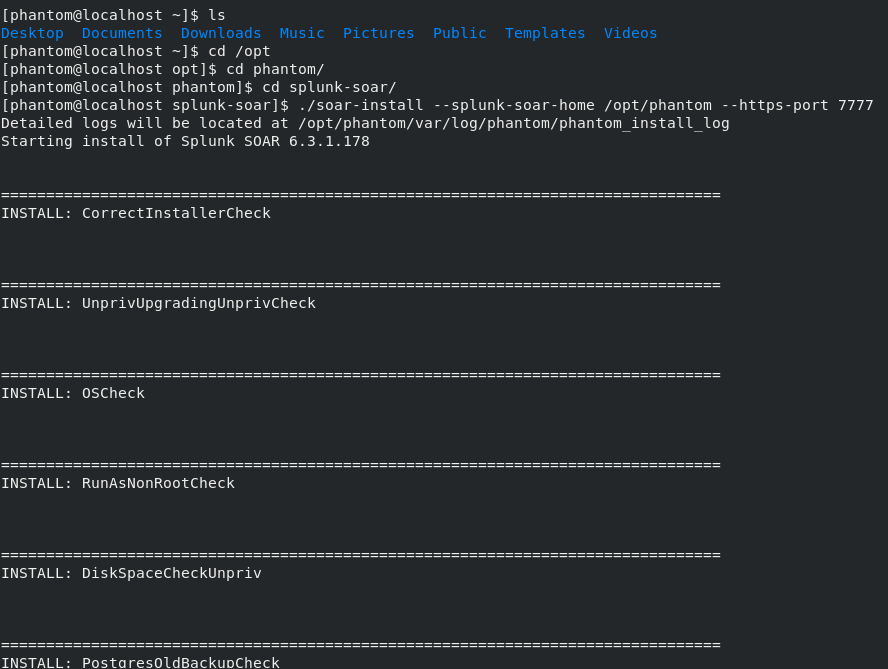
Then I installed Splunk SOAR with the following command:
sudo ./splunk-install --splunk-soar-home /opt/phantom --https-port 7777
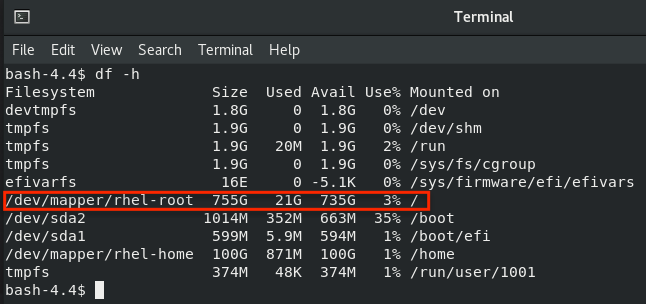
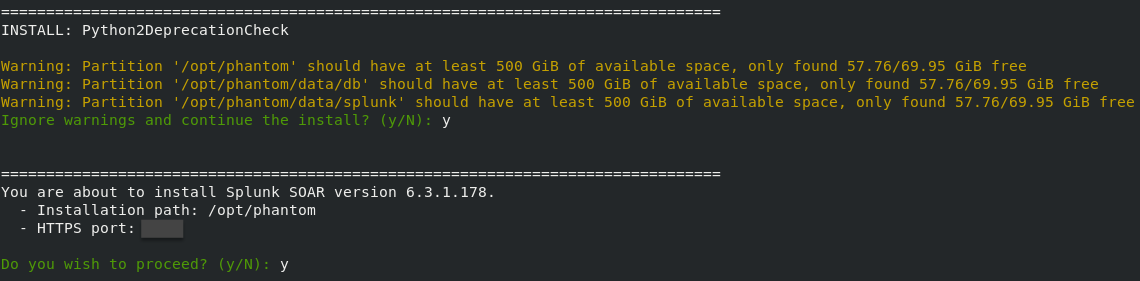
In the middle of the installation, a warning popped up about insufficient space because the majority of the space was mounted on the home directory as oppose to the root directory. I persisted with the installation and will fix the issue afer the installation.
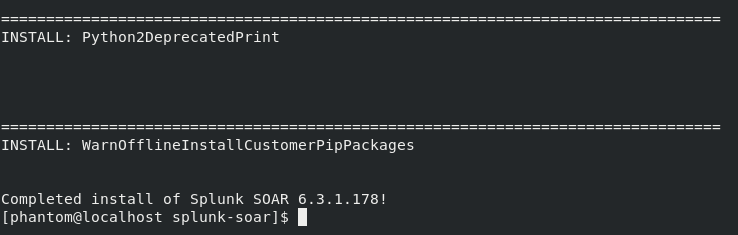
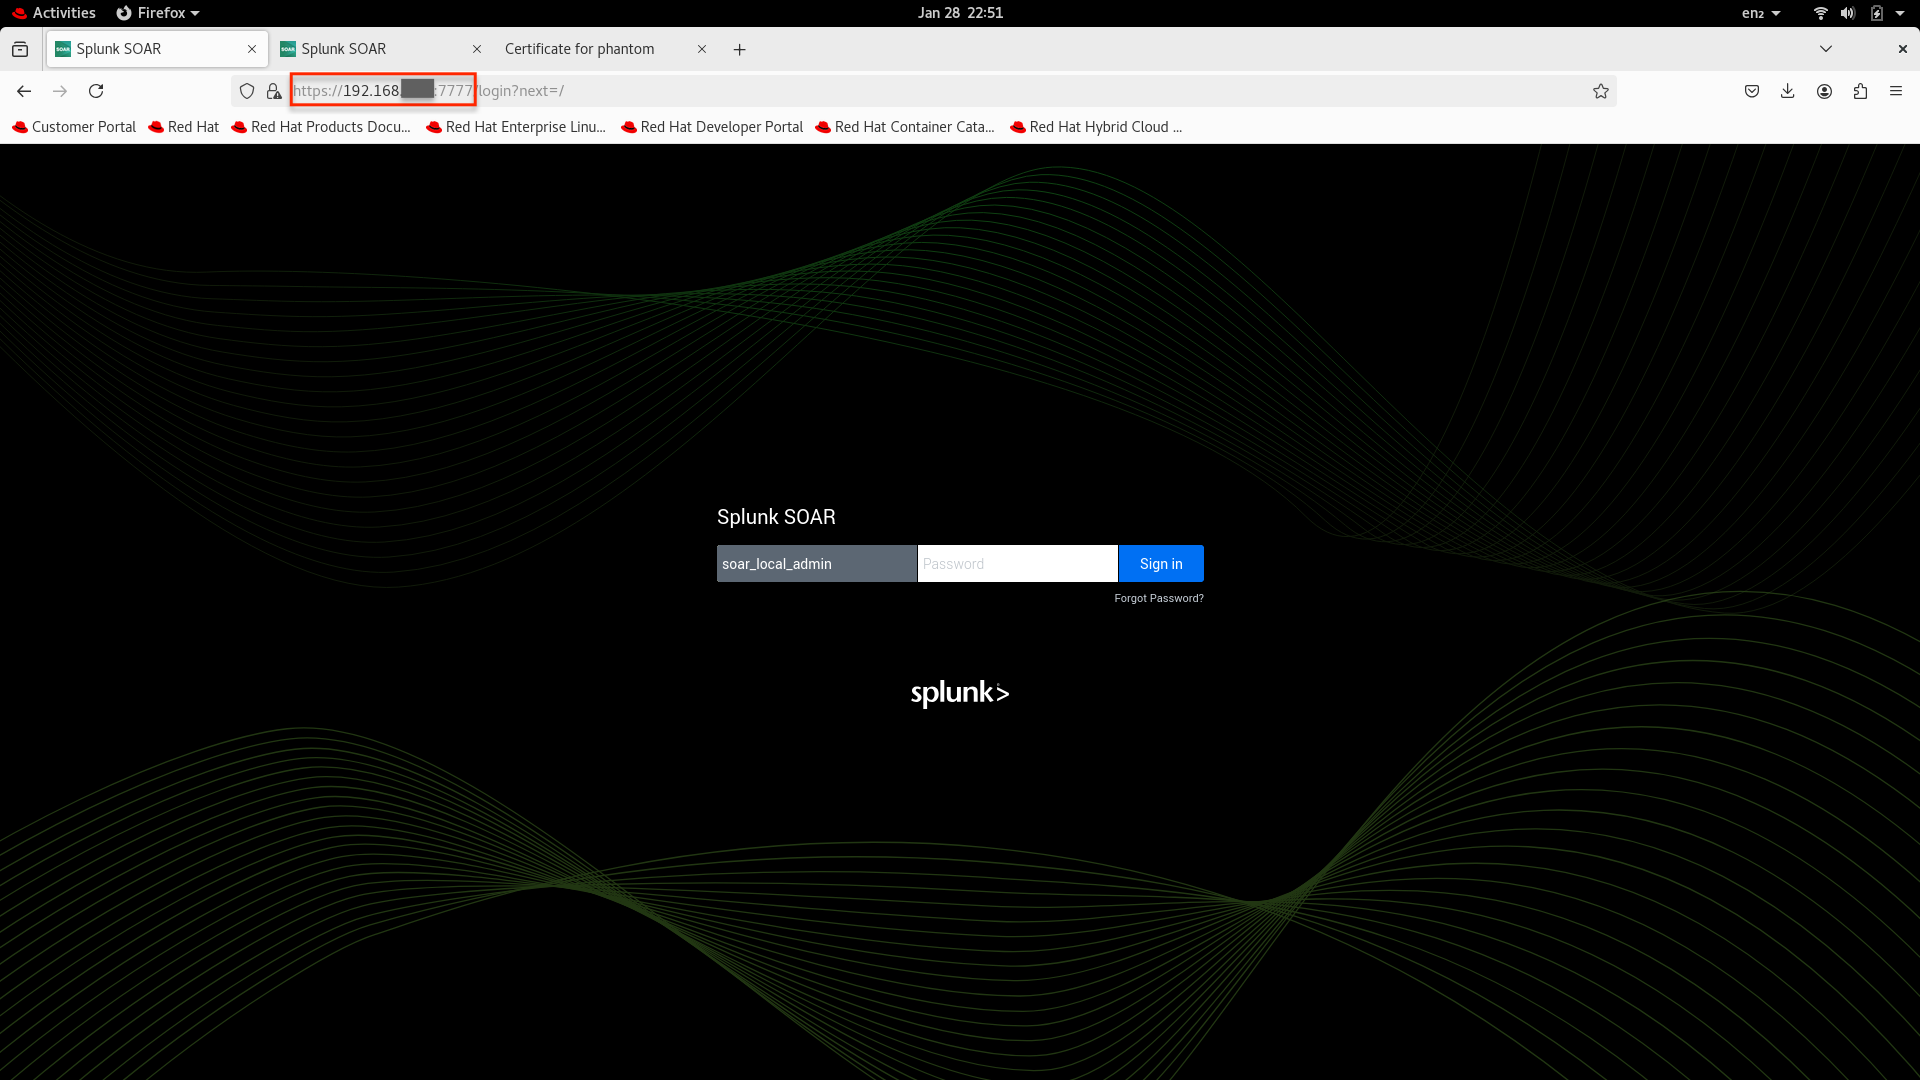
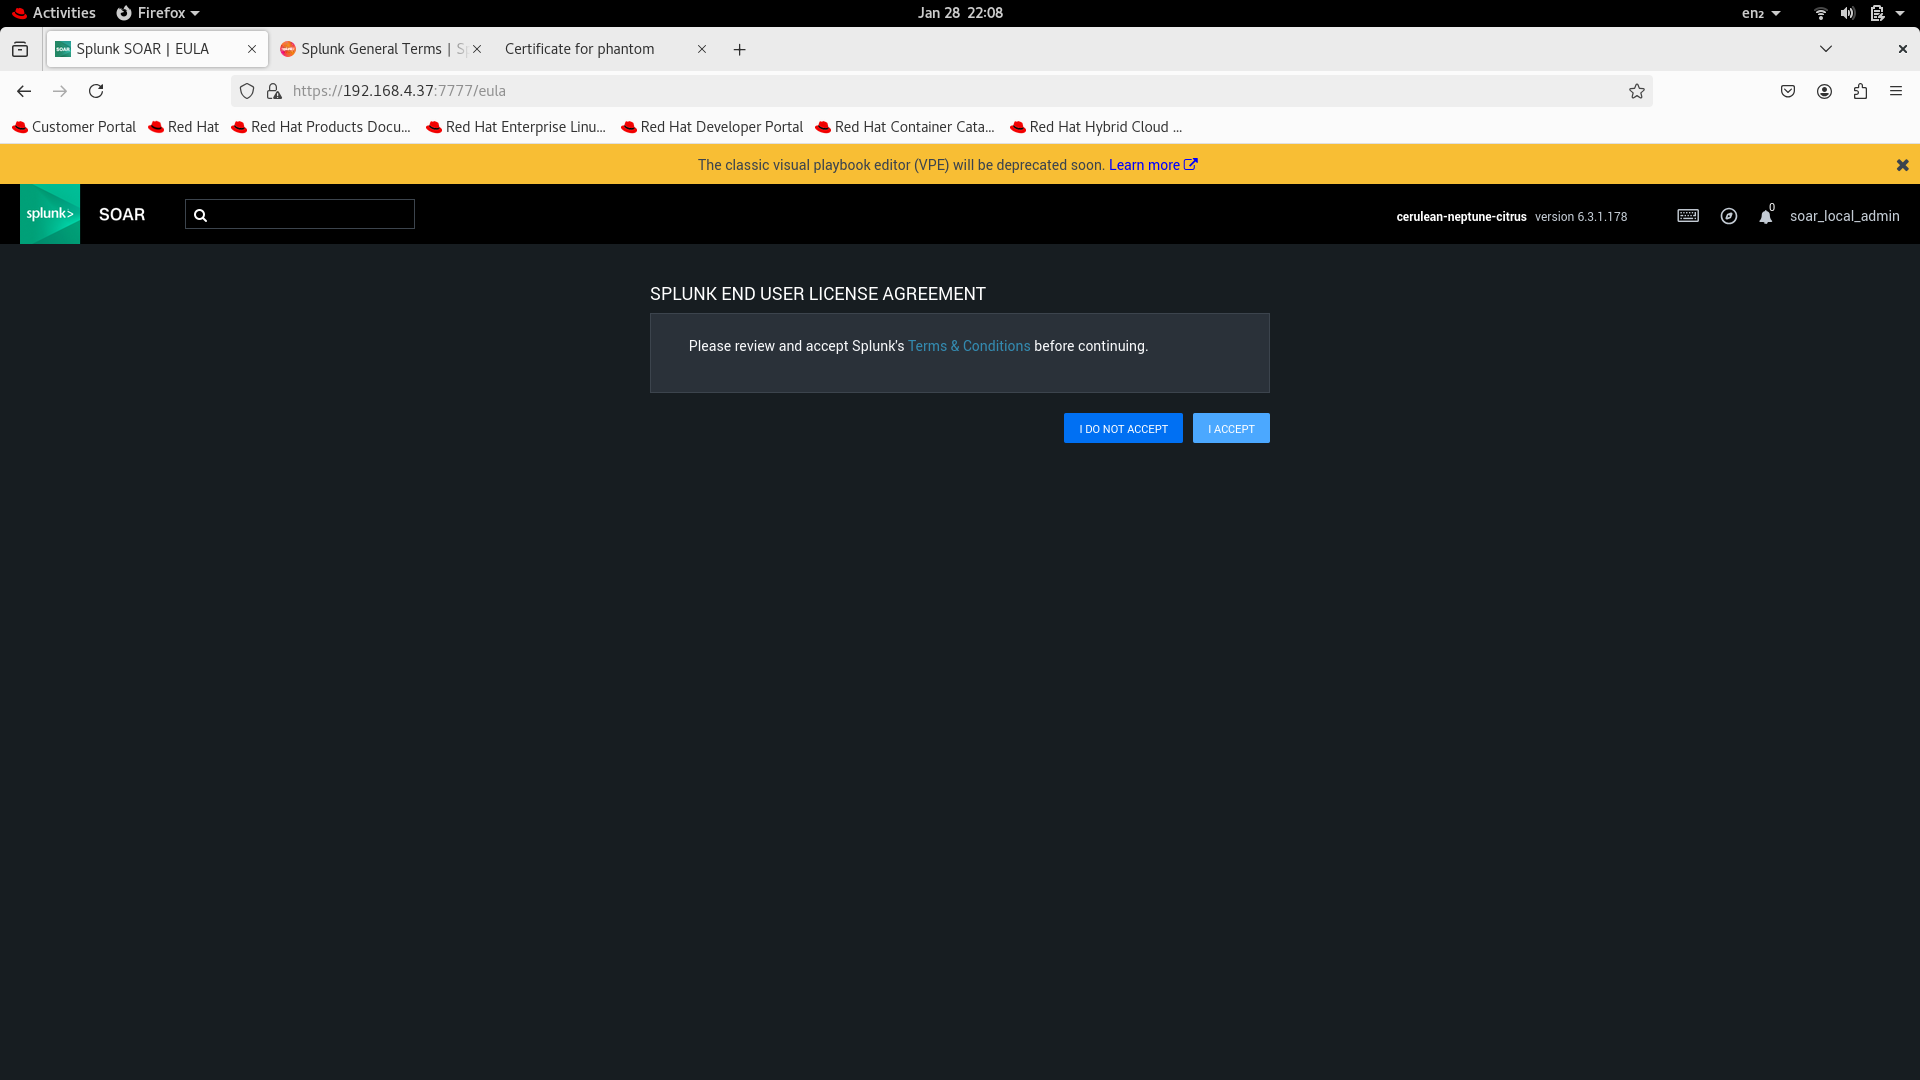
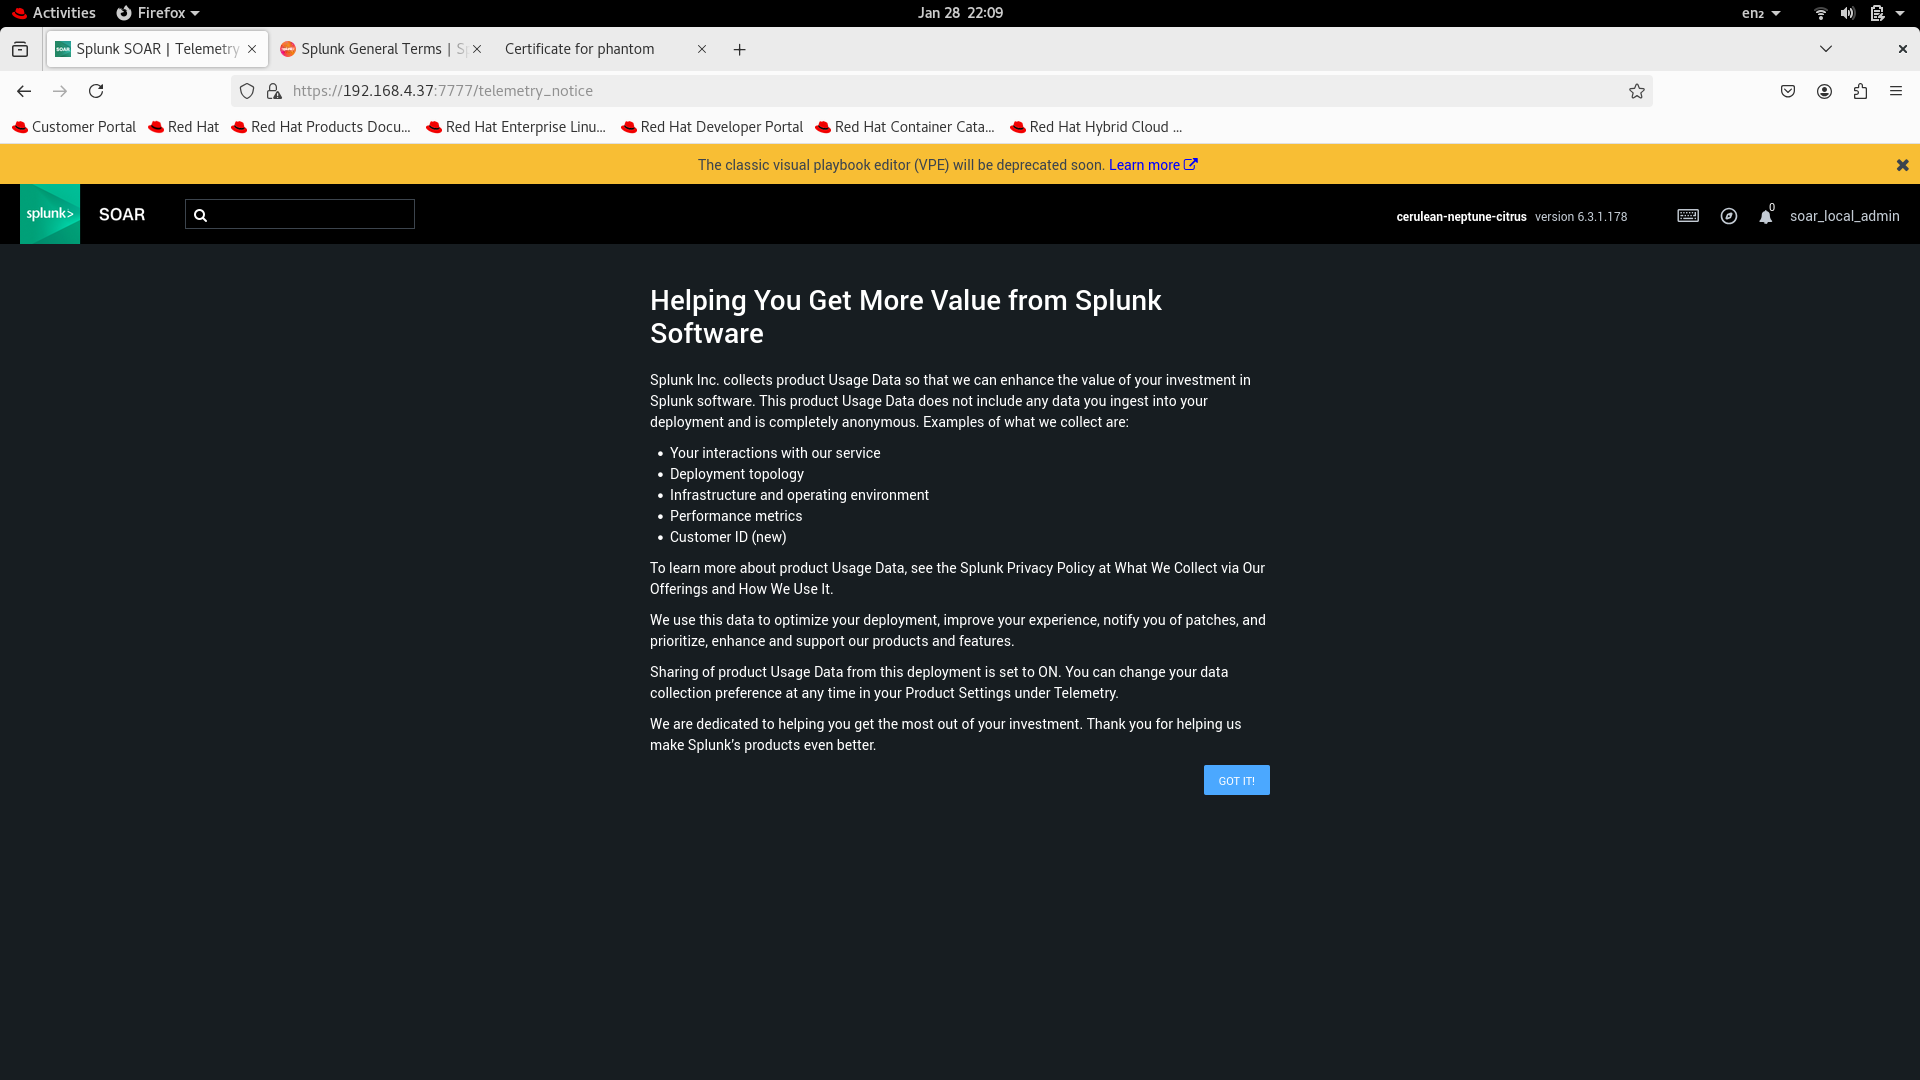
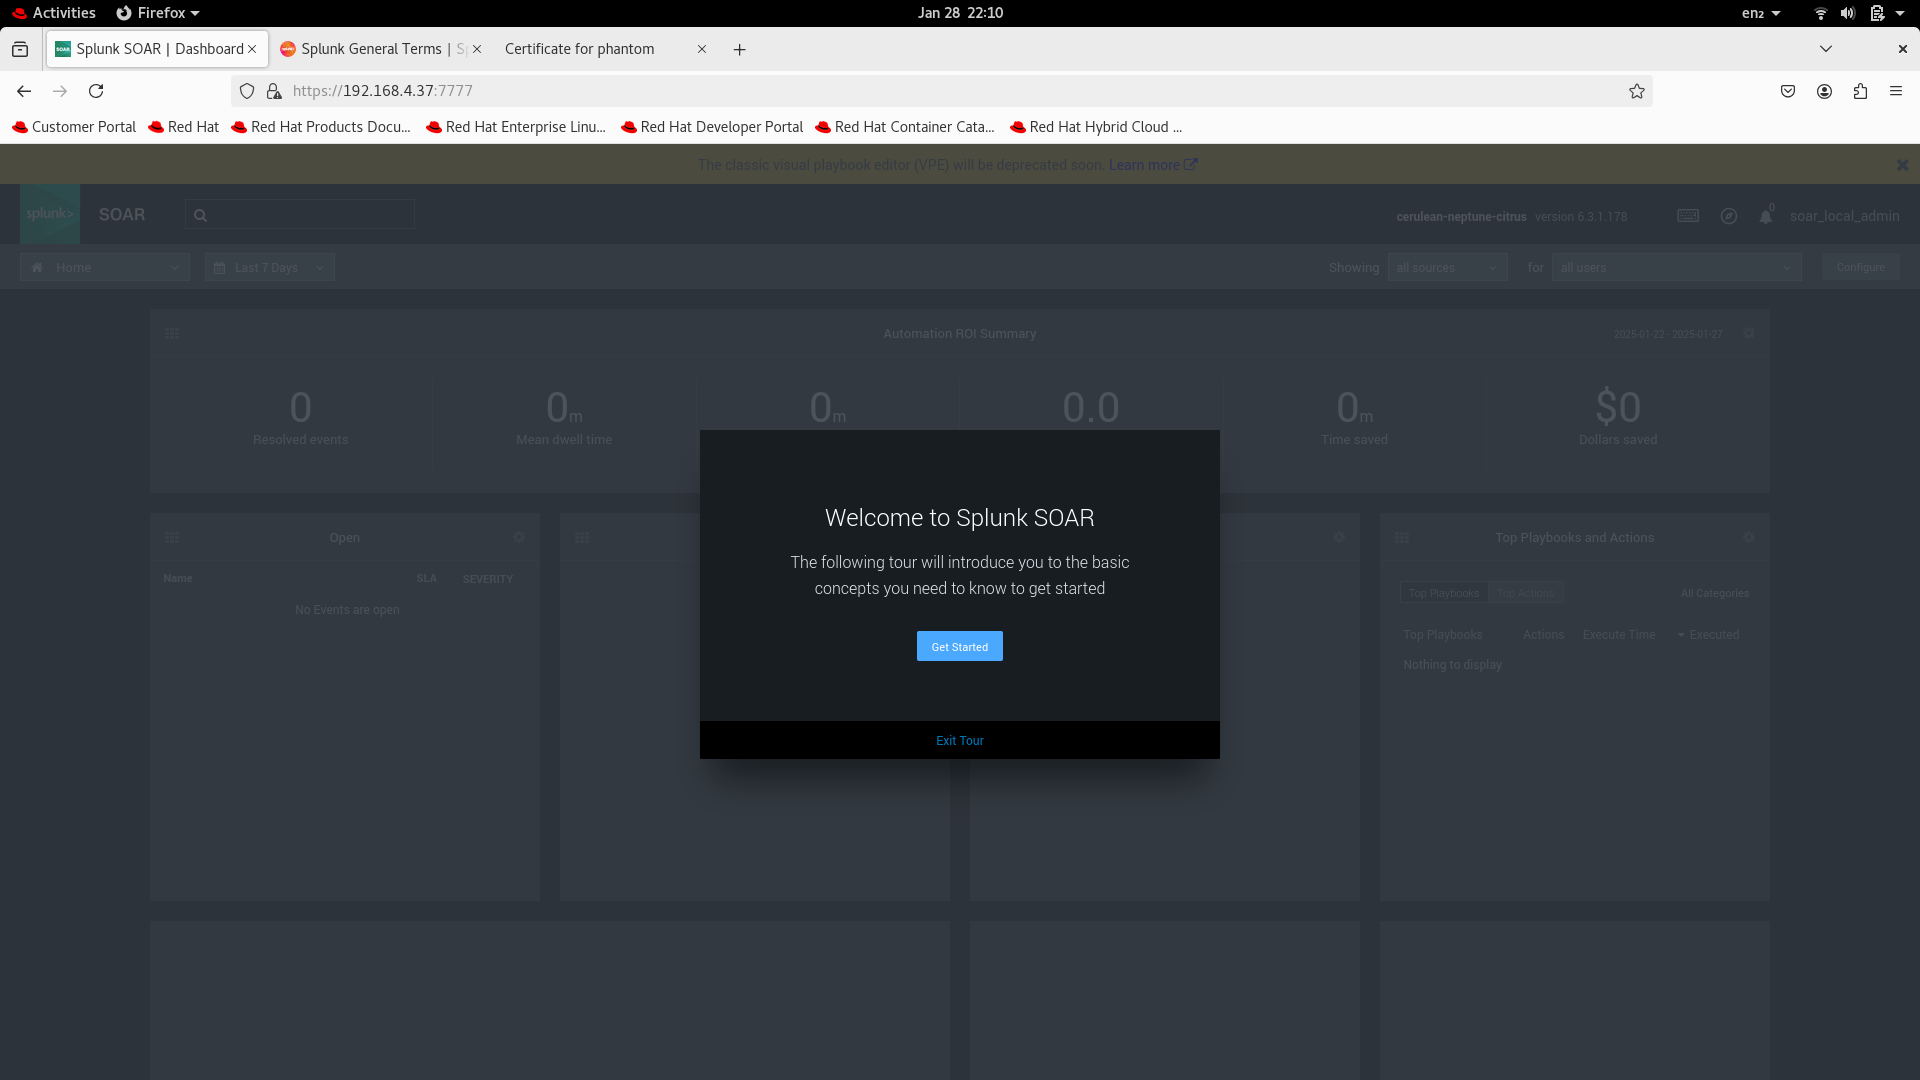
After the installation, I signed into the web application and responded as prompted before changing the default password on the account.
 |
 |
 |
 |
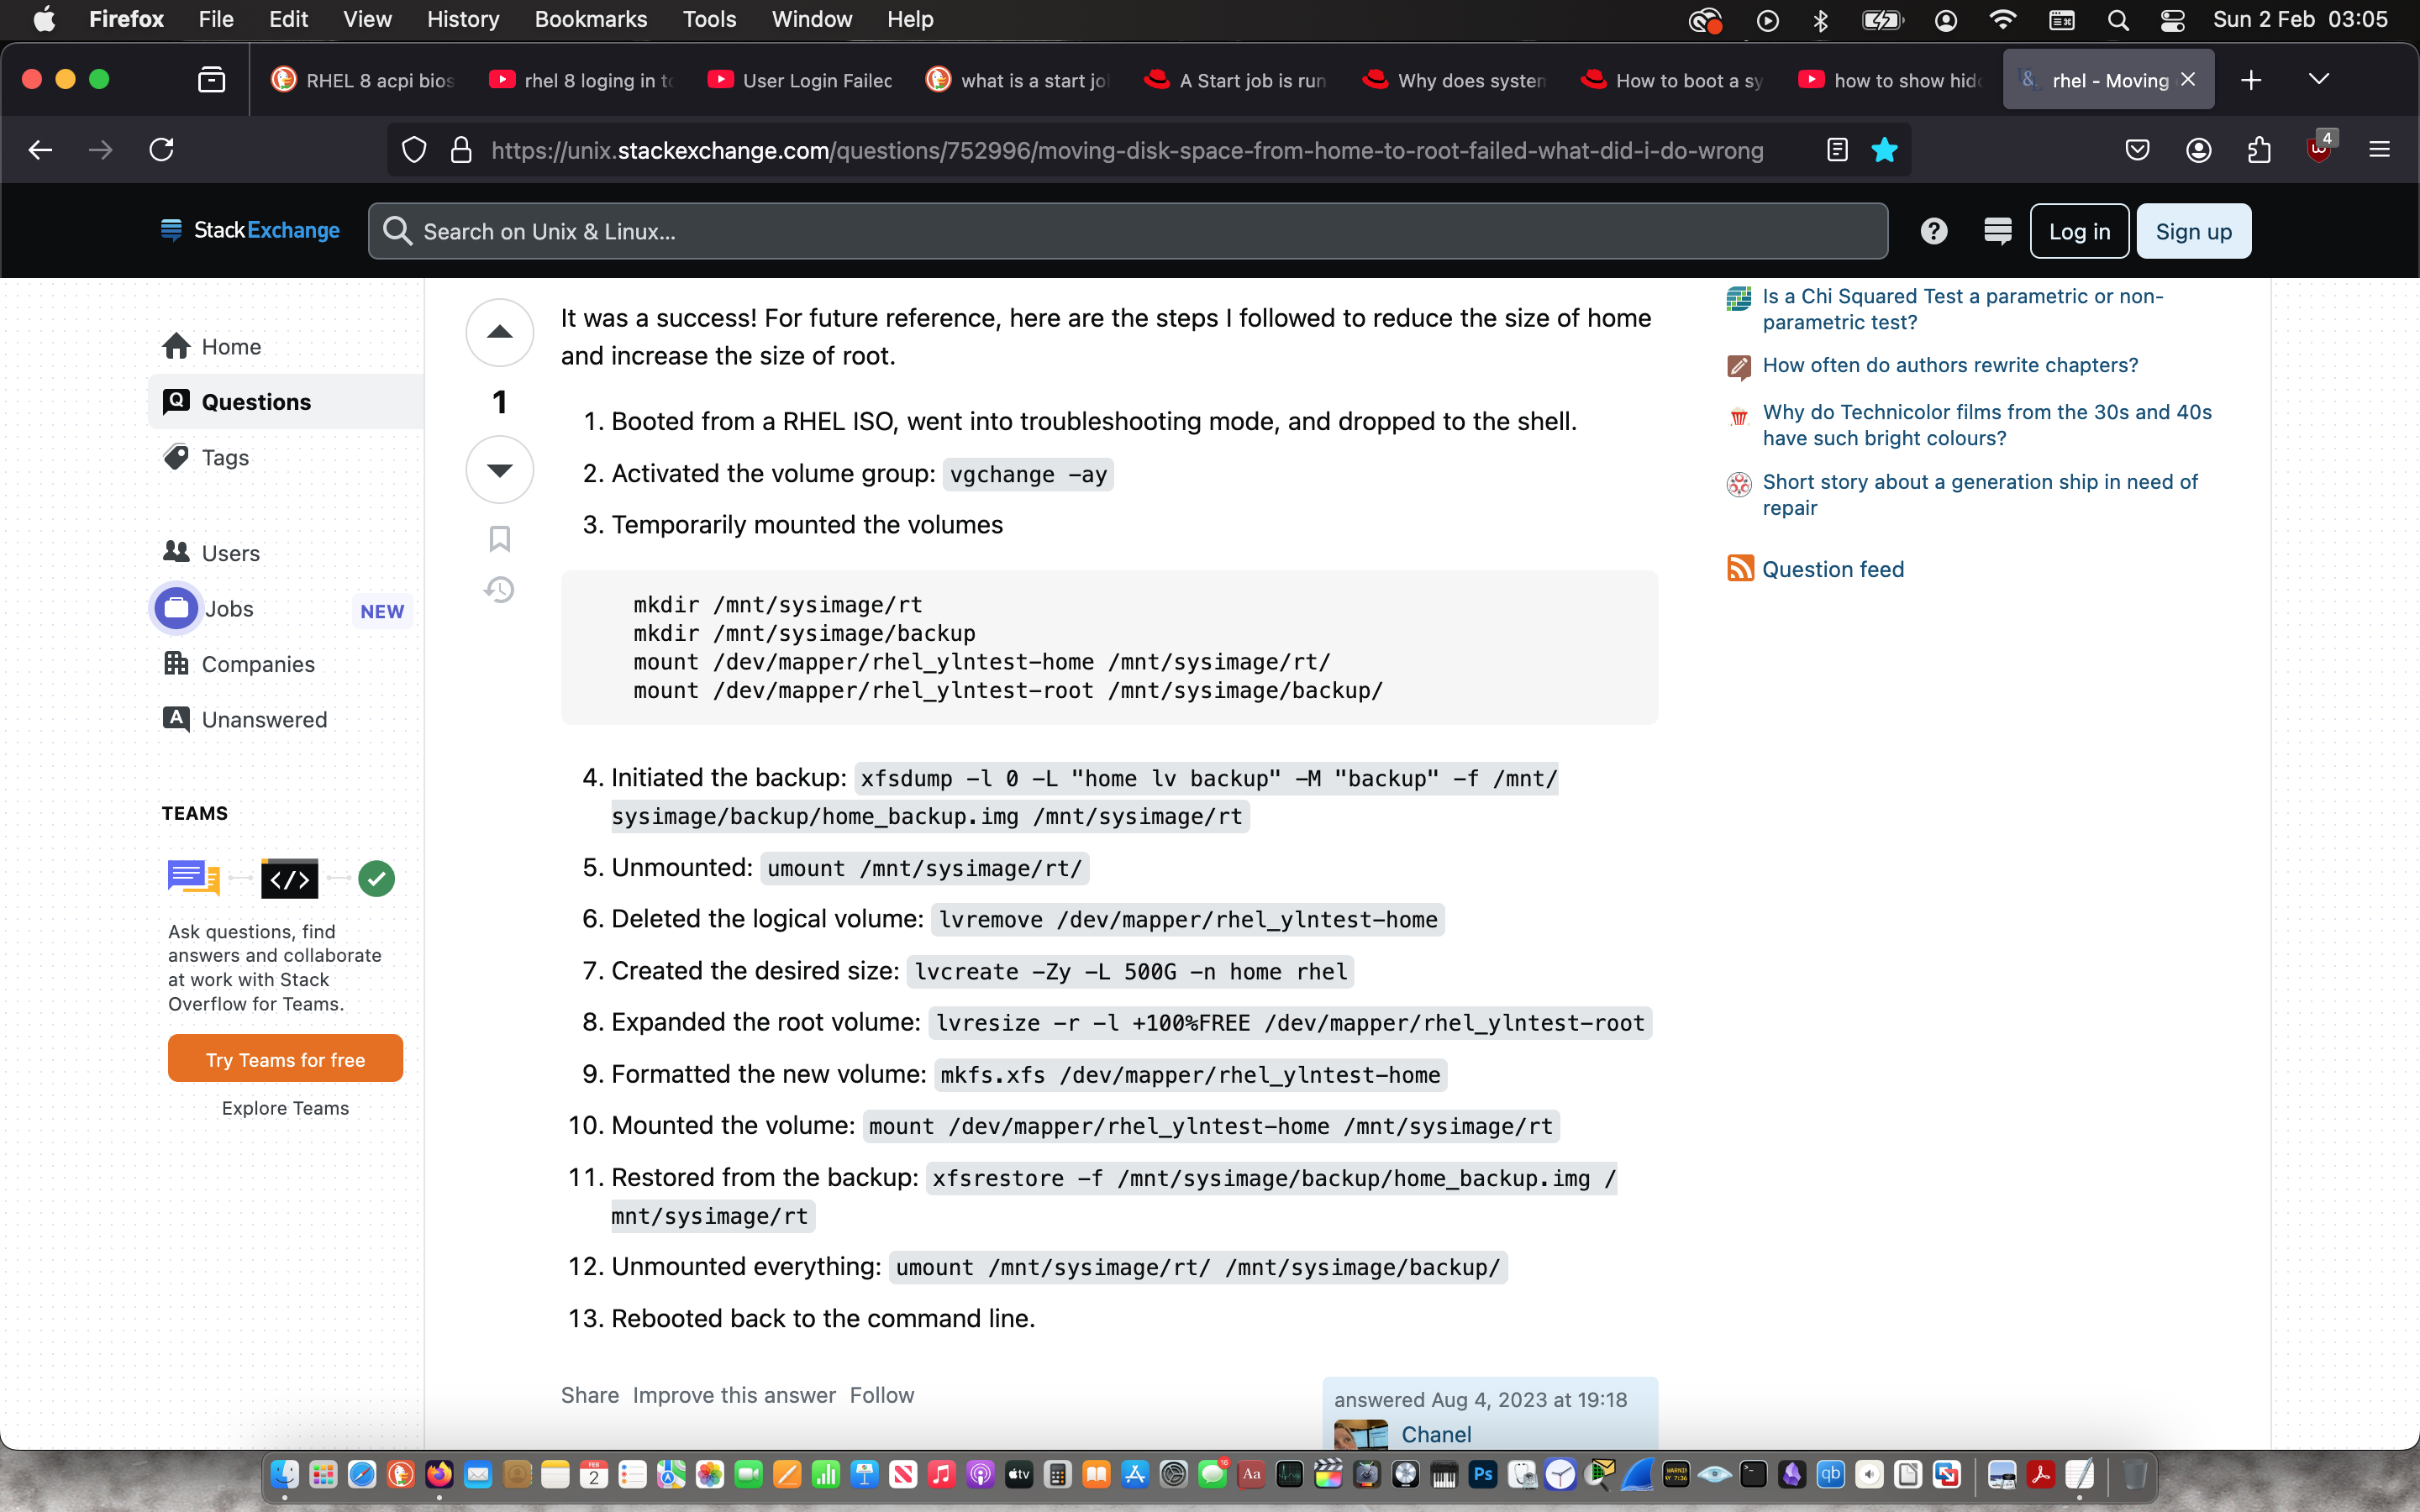
Increasing Root volume Size
After some research on the space issue, I found the solution on Stack Exchange and followed the steps.