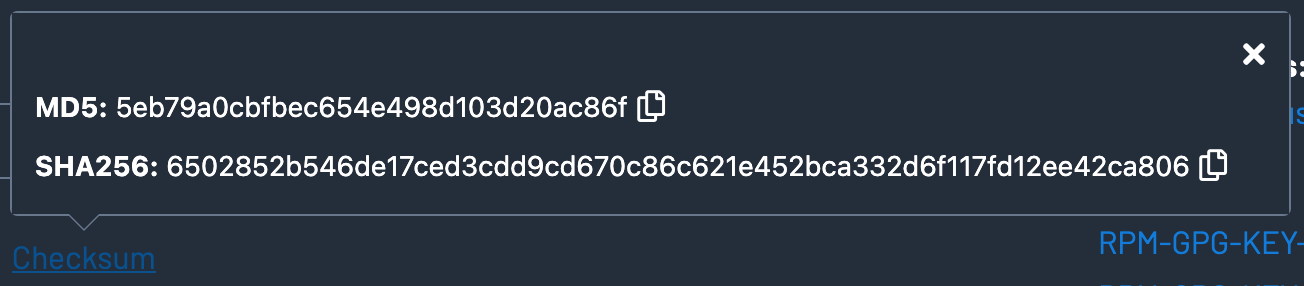
After downloading the installer file from the Nessus website, I checked the file hashes against the hashes provided by the vendor.

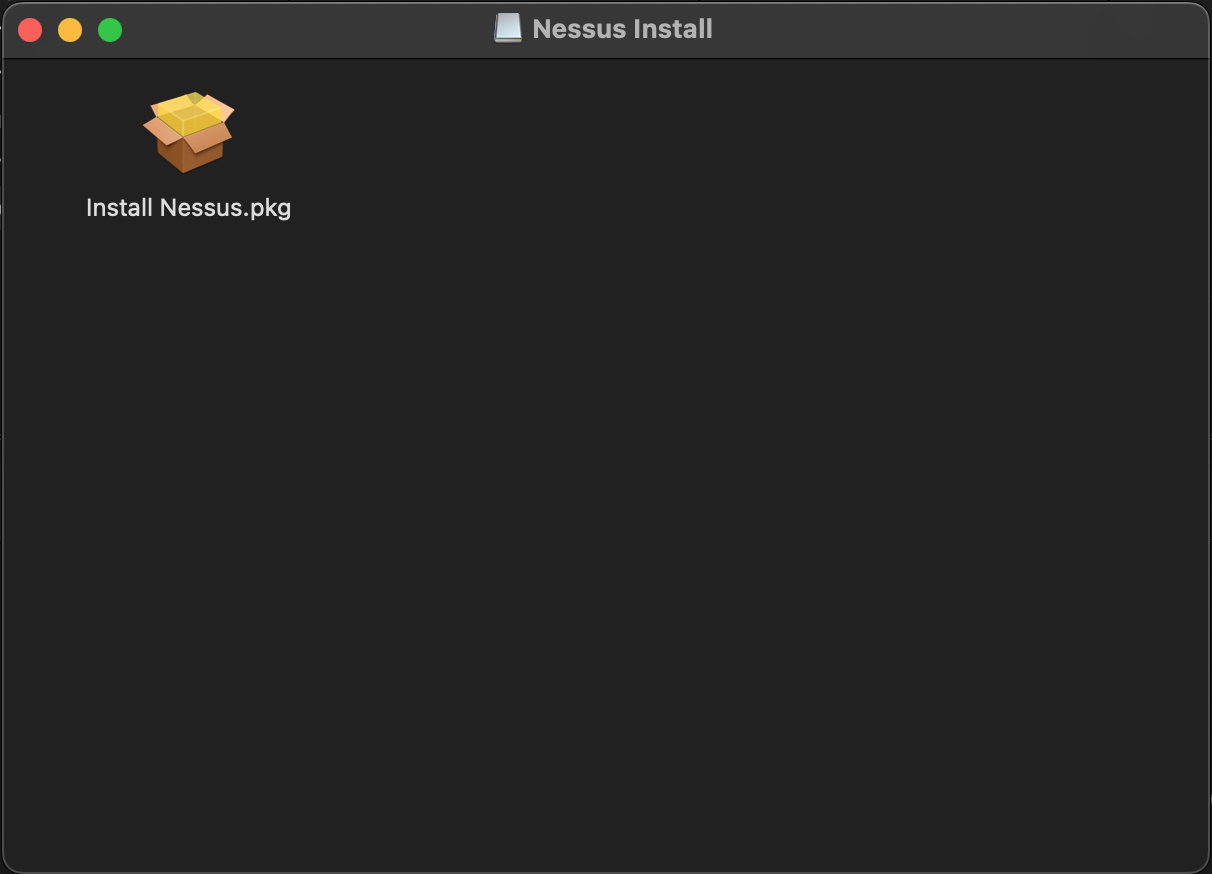
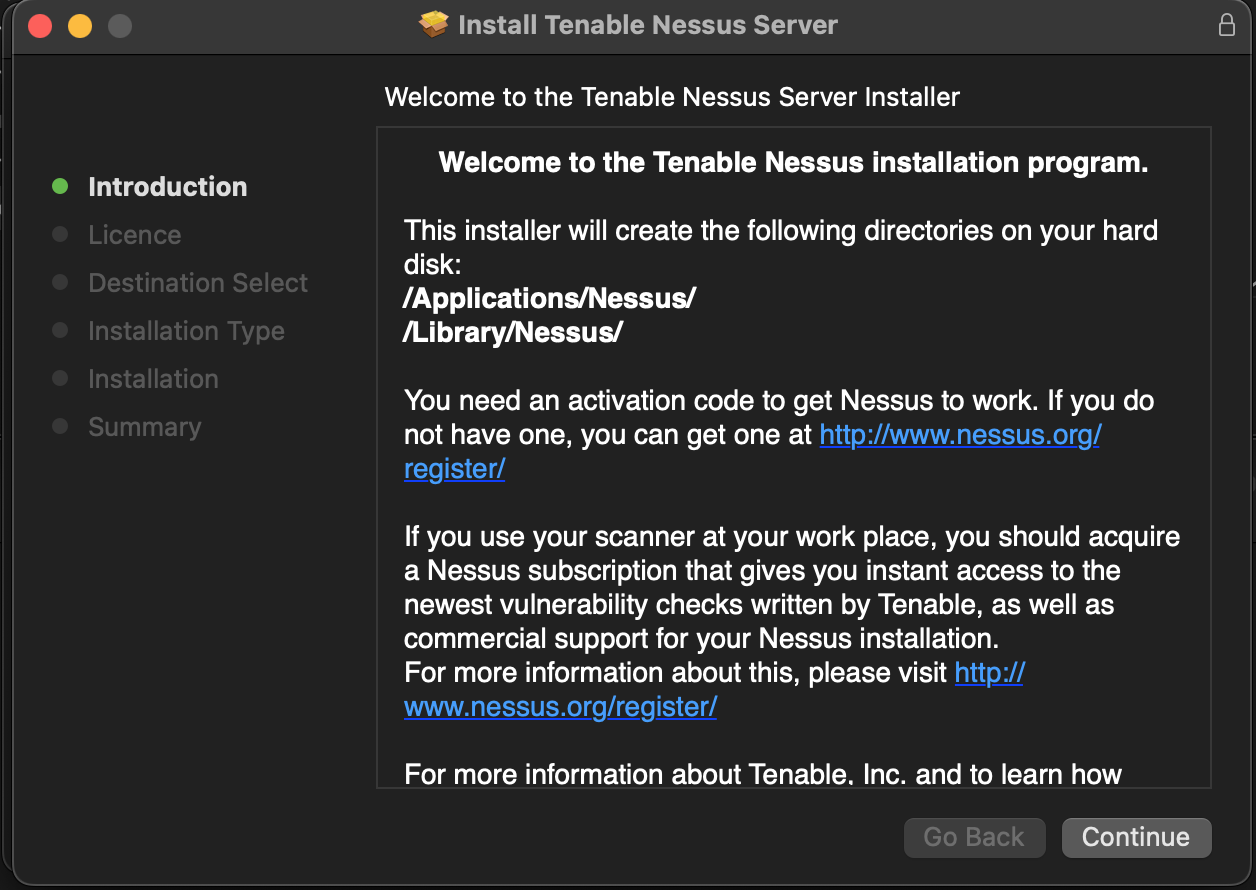
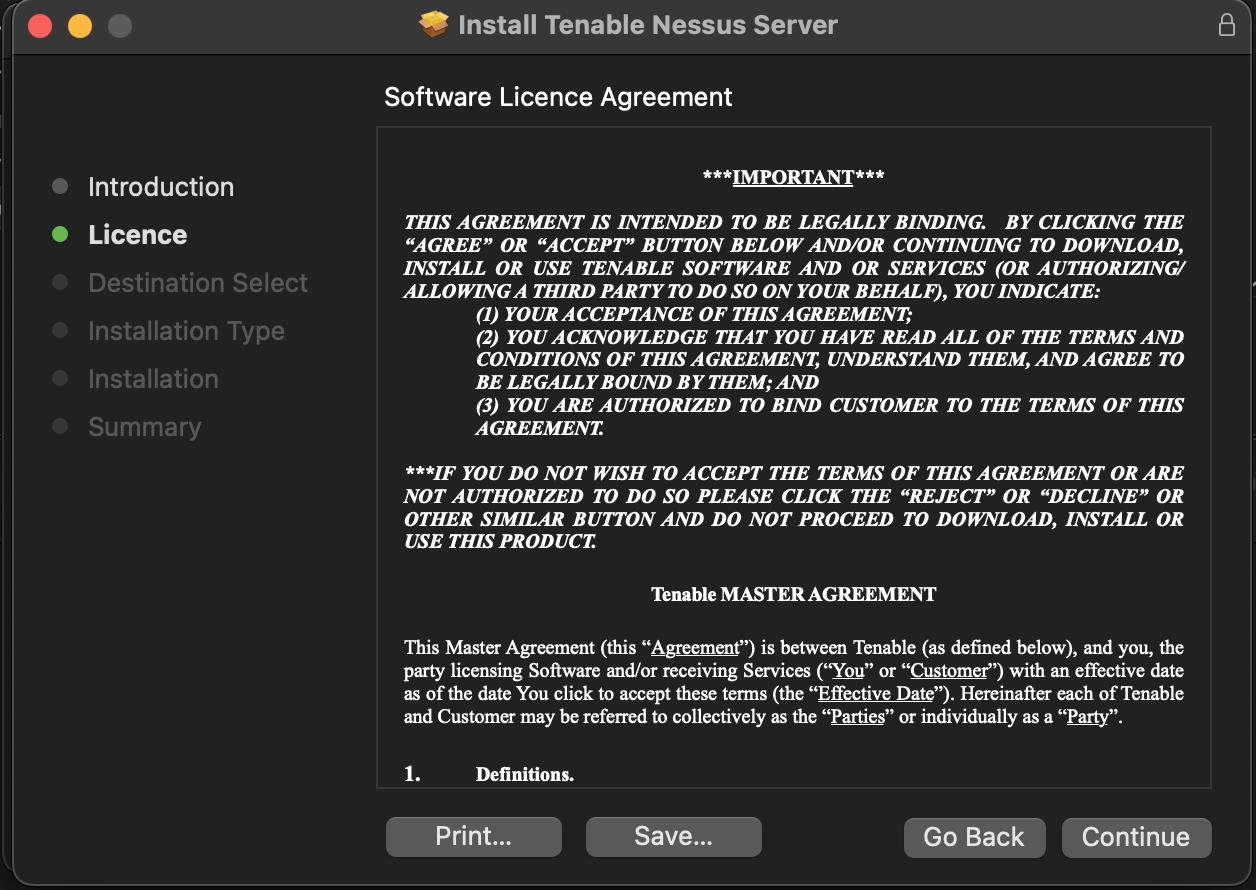
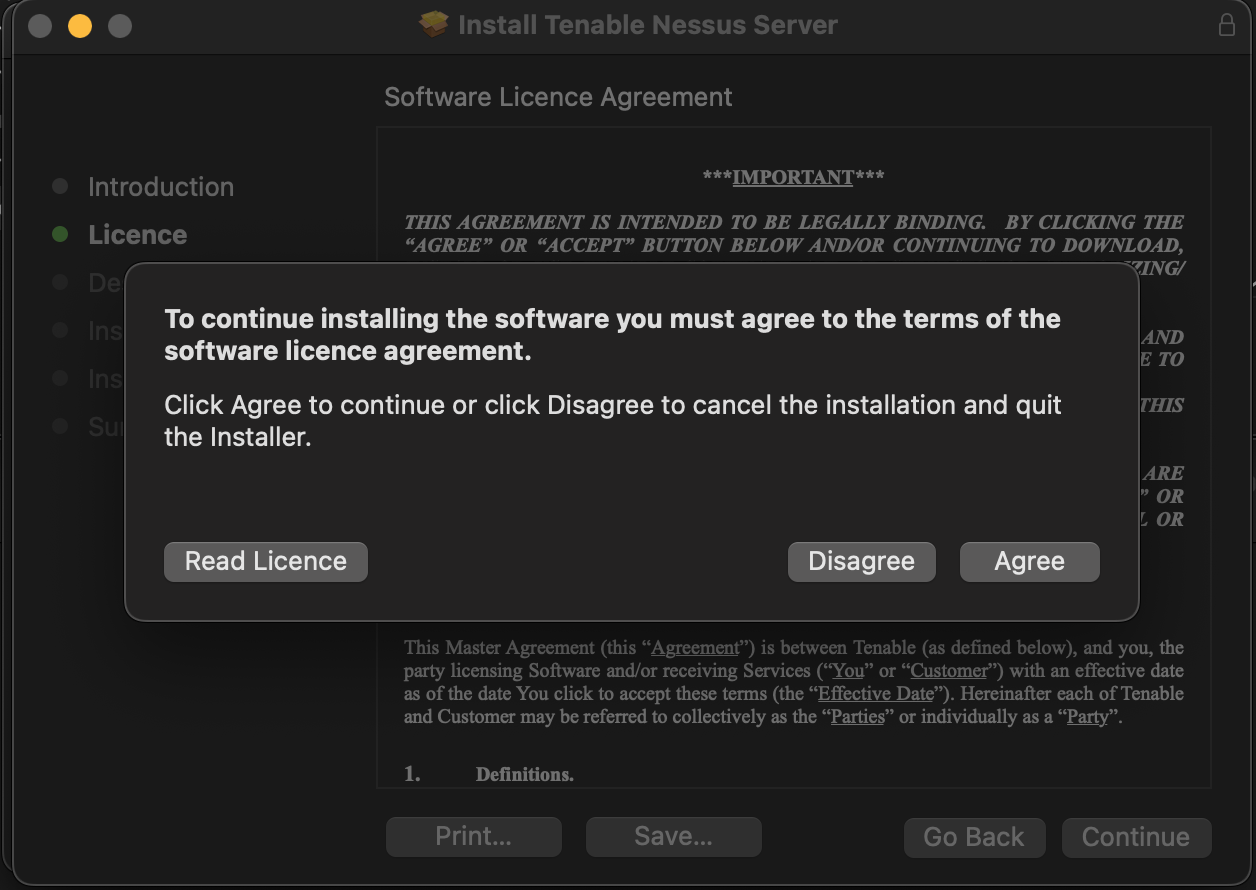
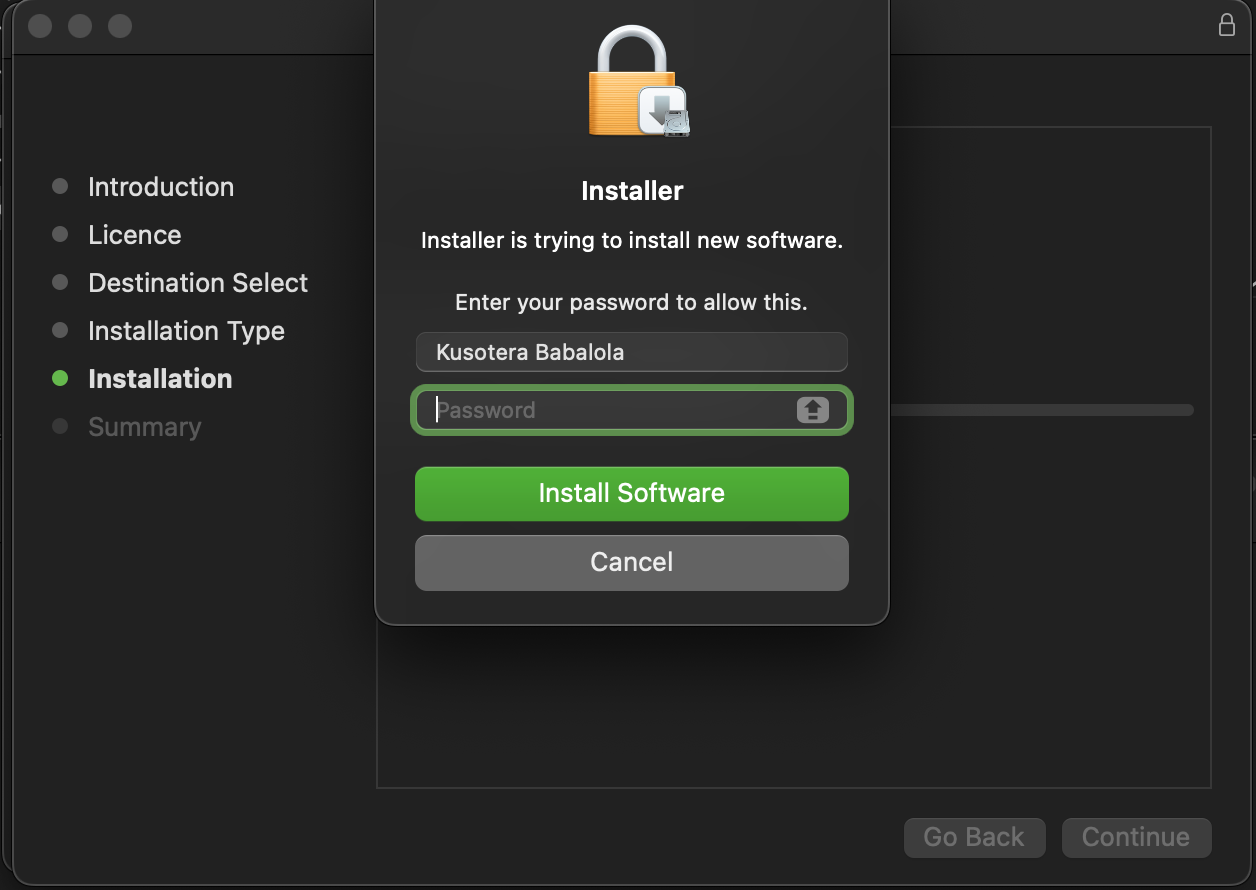
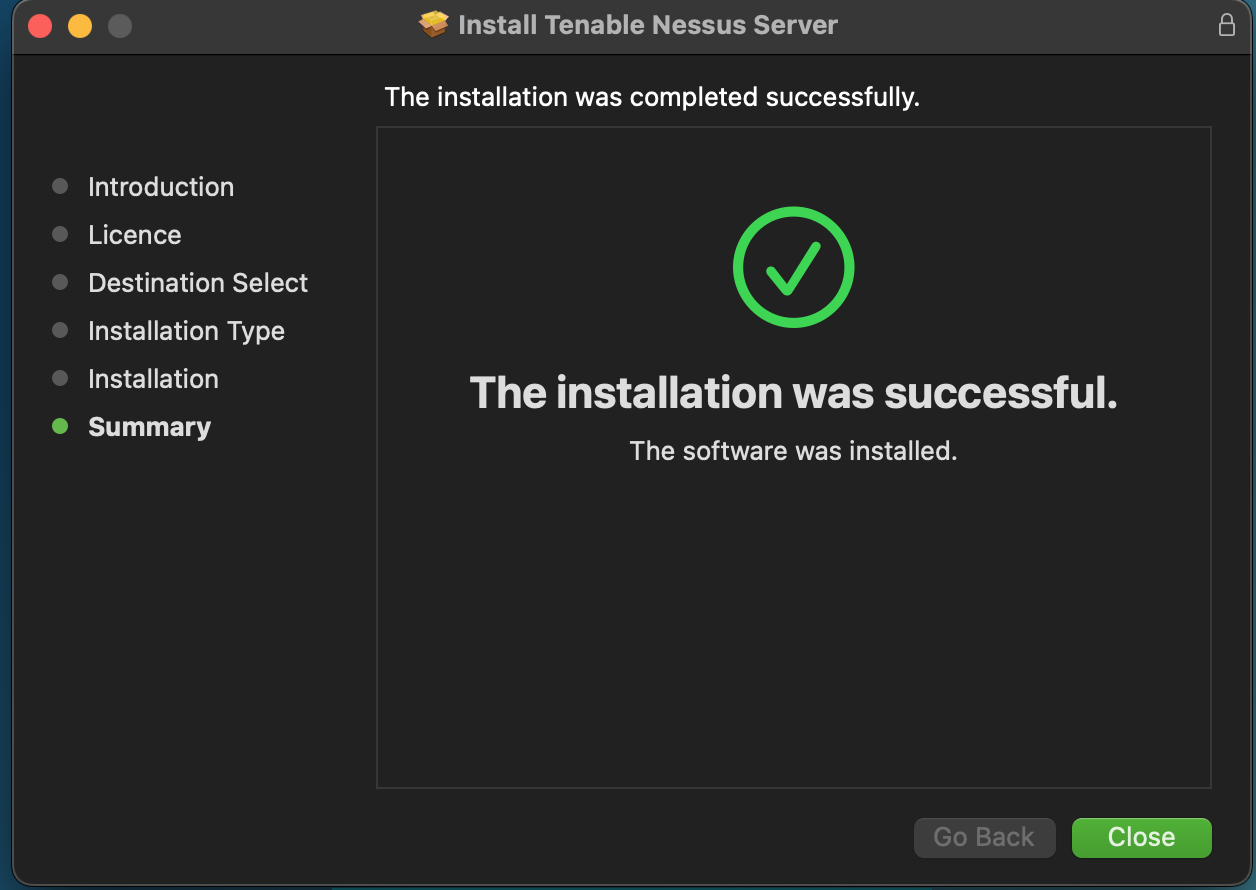
I then double-clicked on the installer and followed the instructions as prompted.
 |
 |
 |
 |
 |
 |
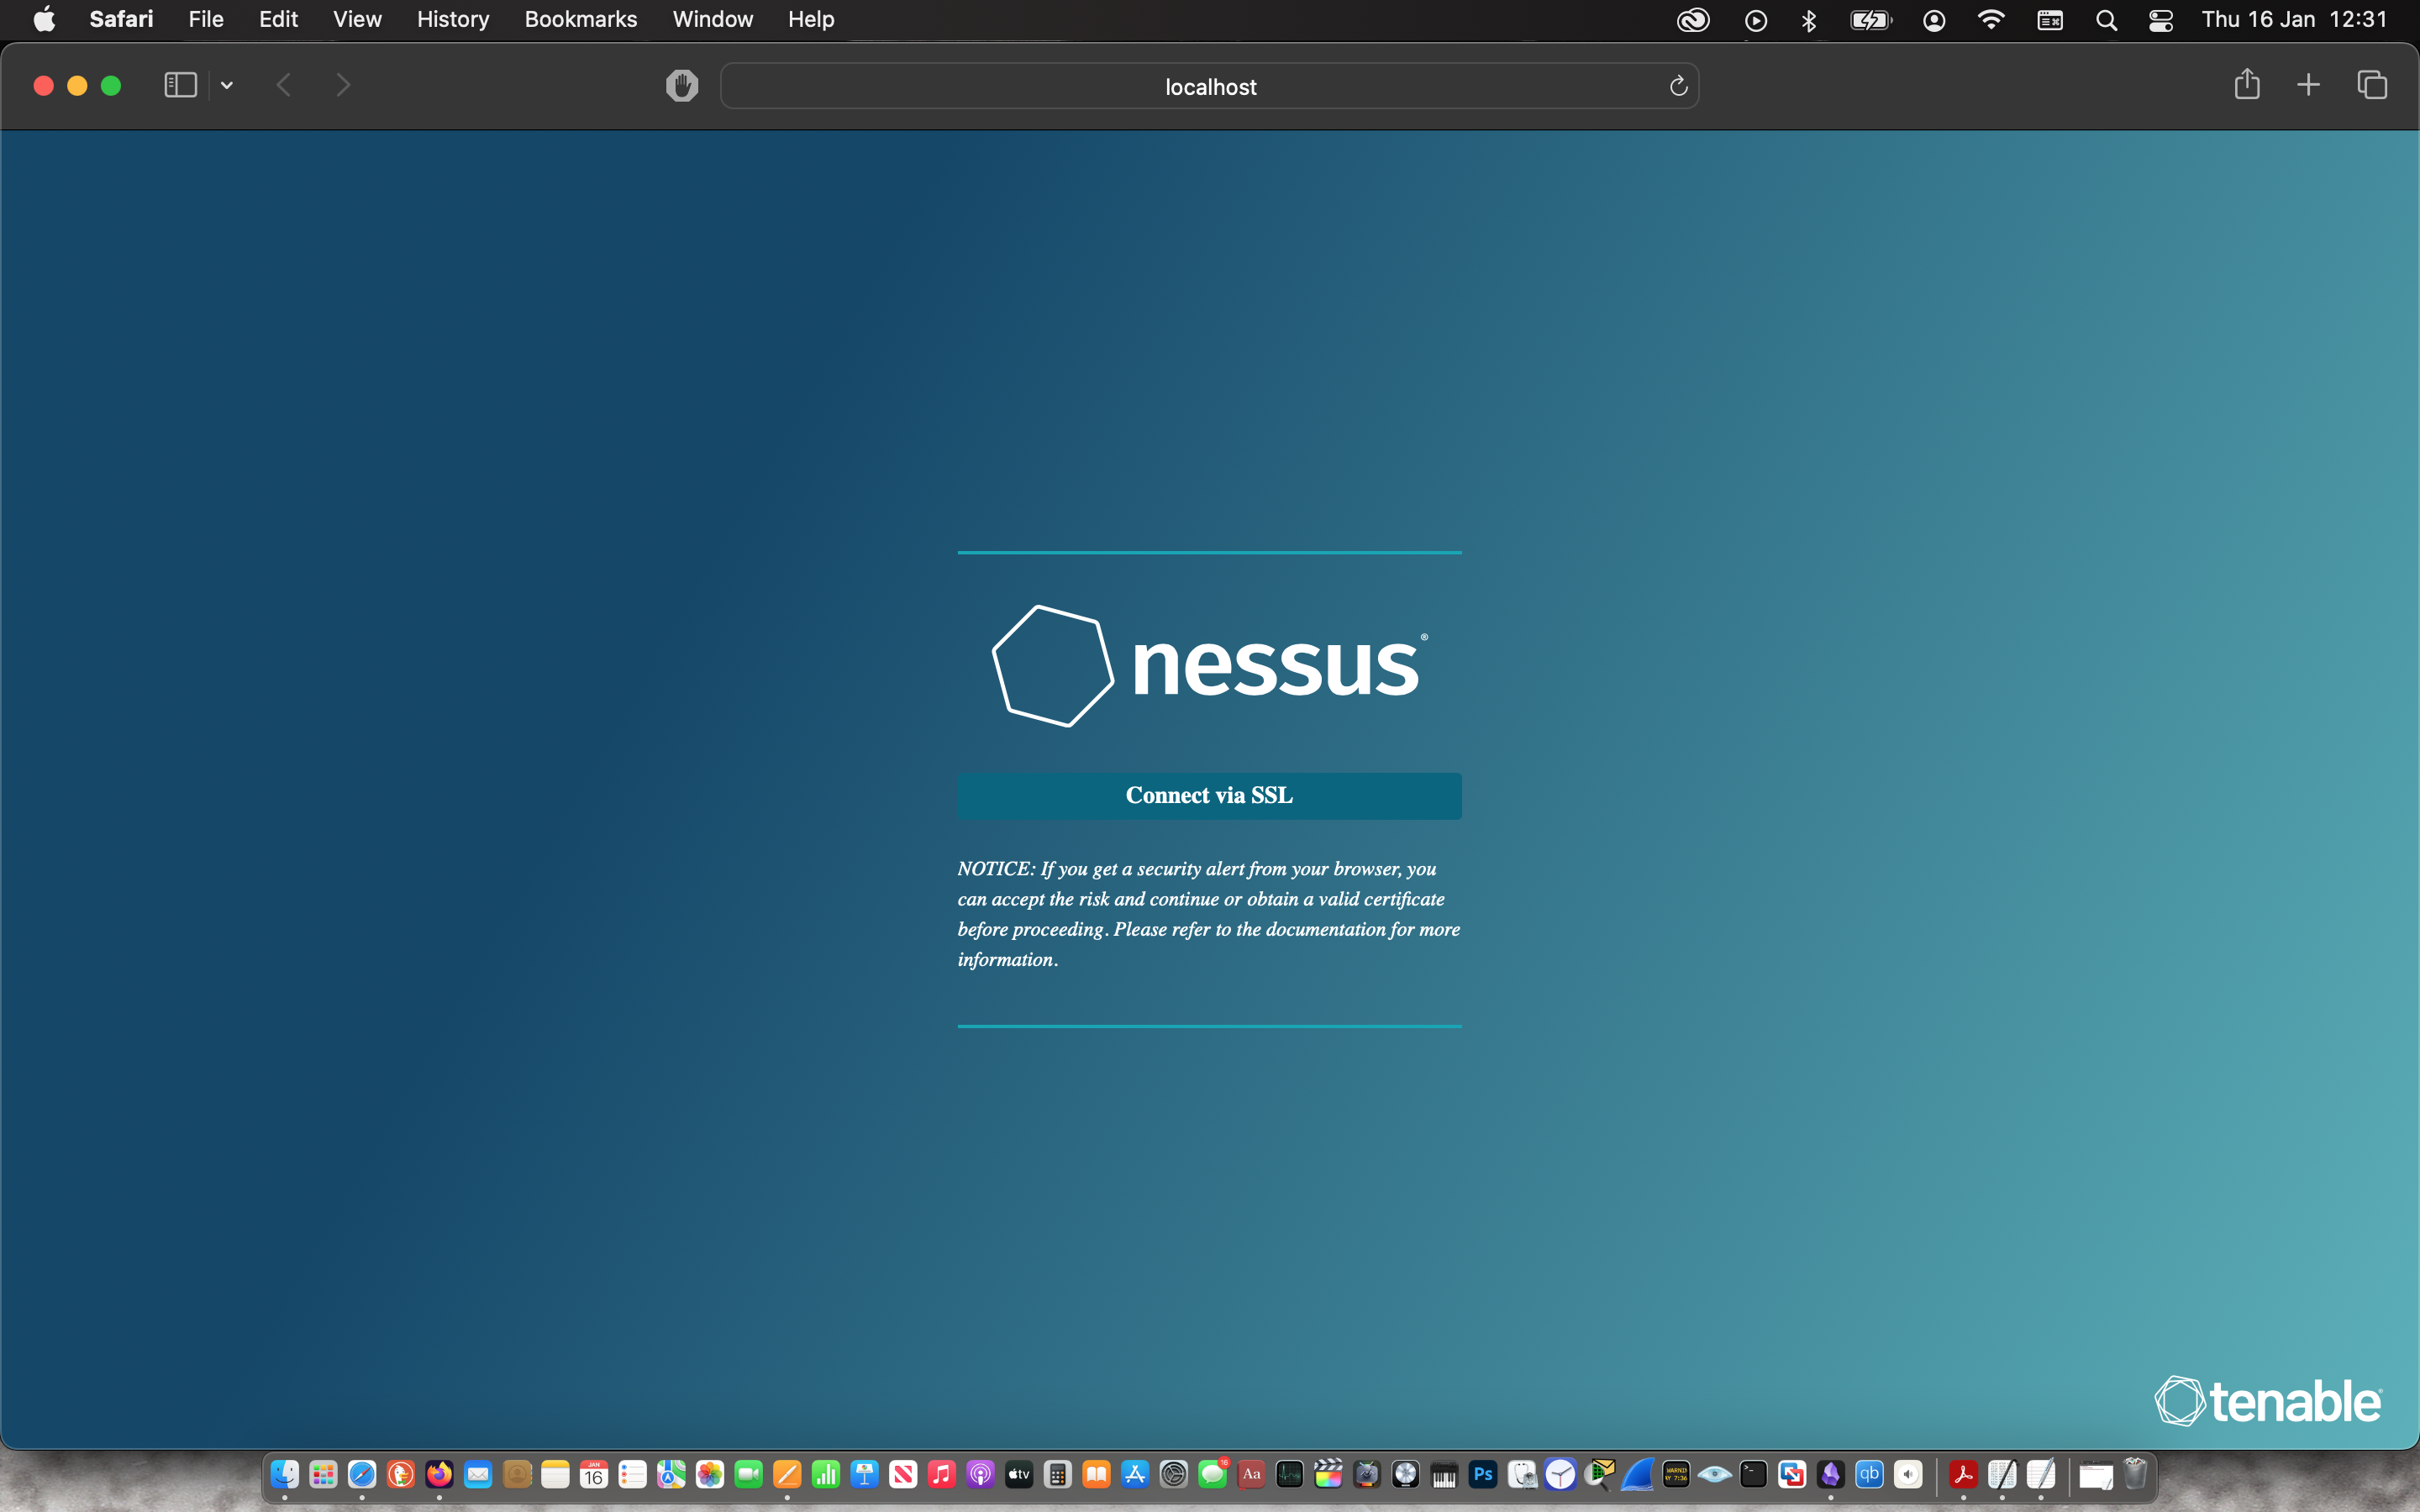
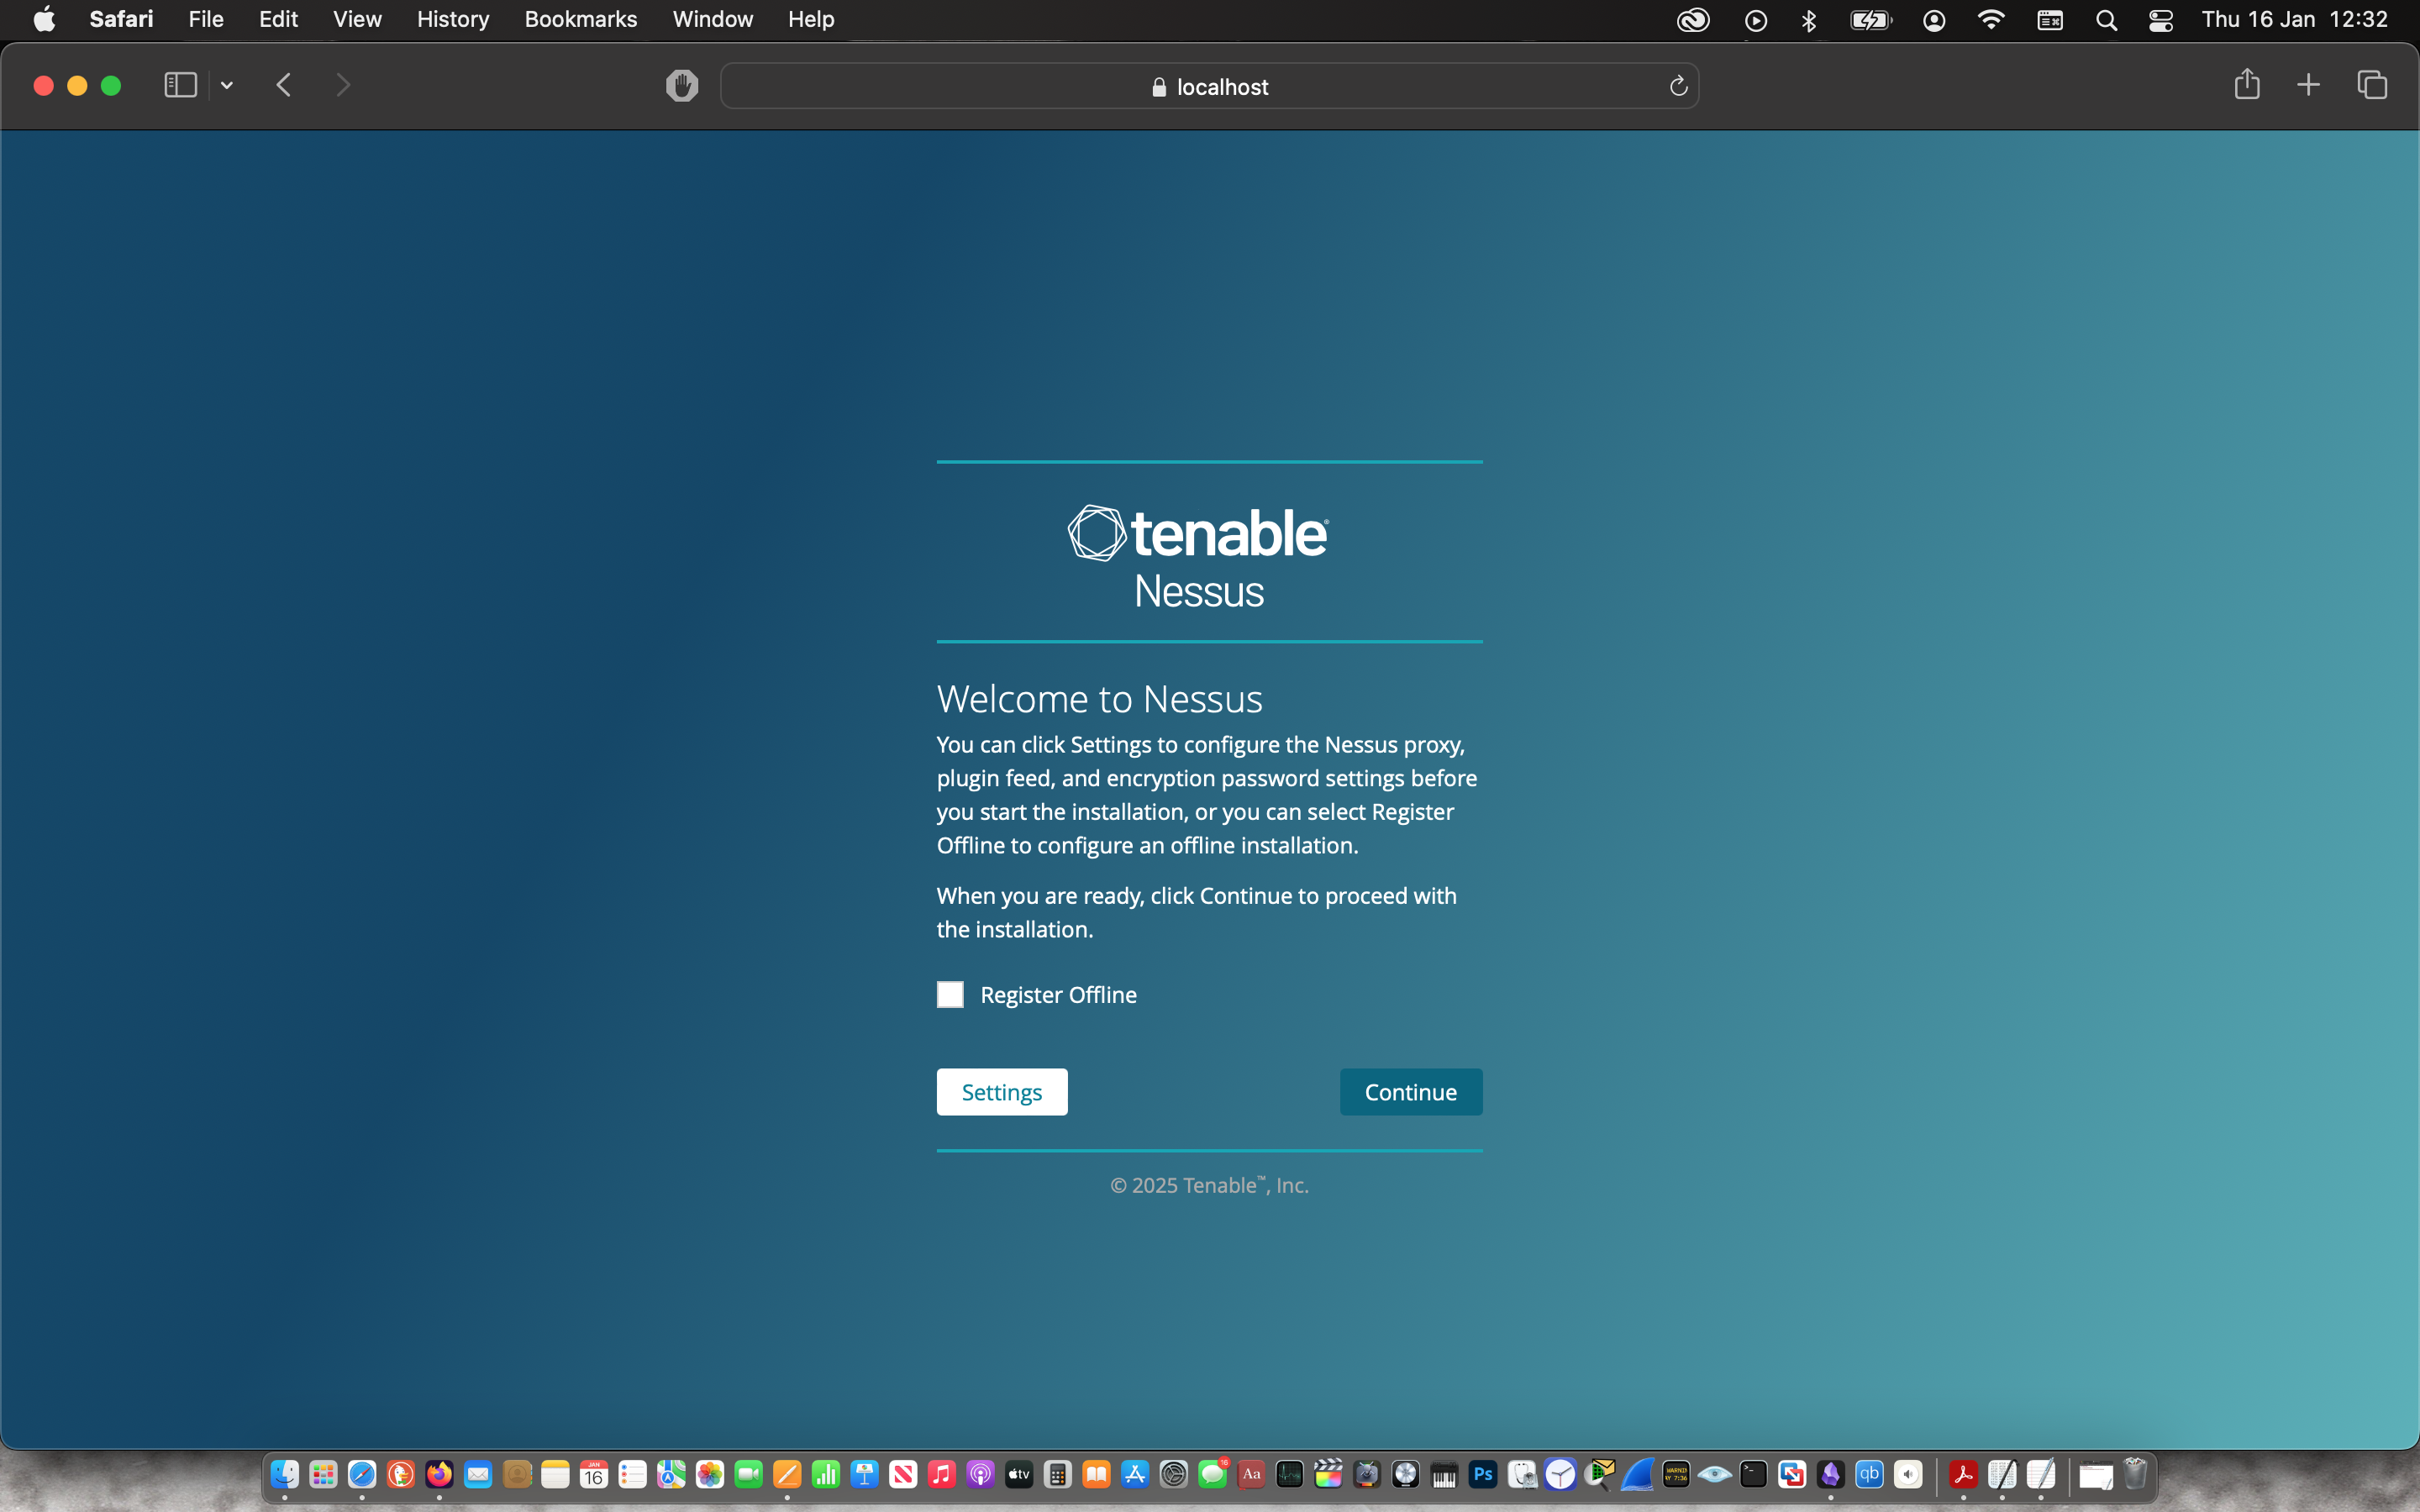
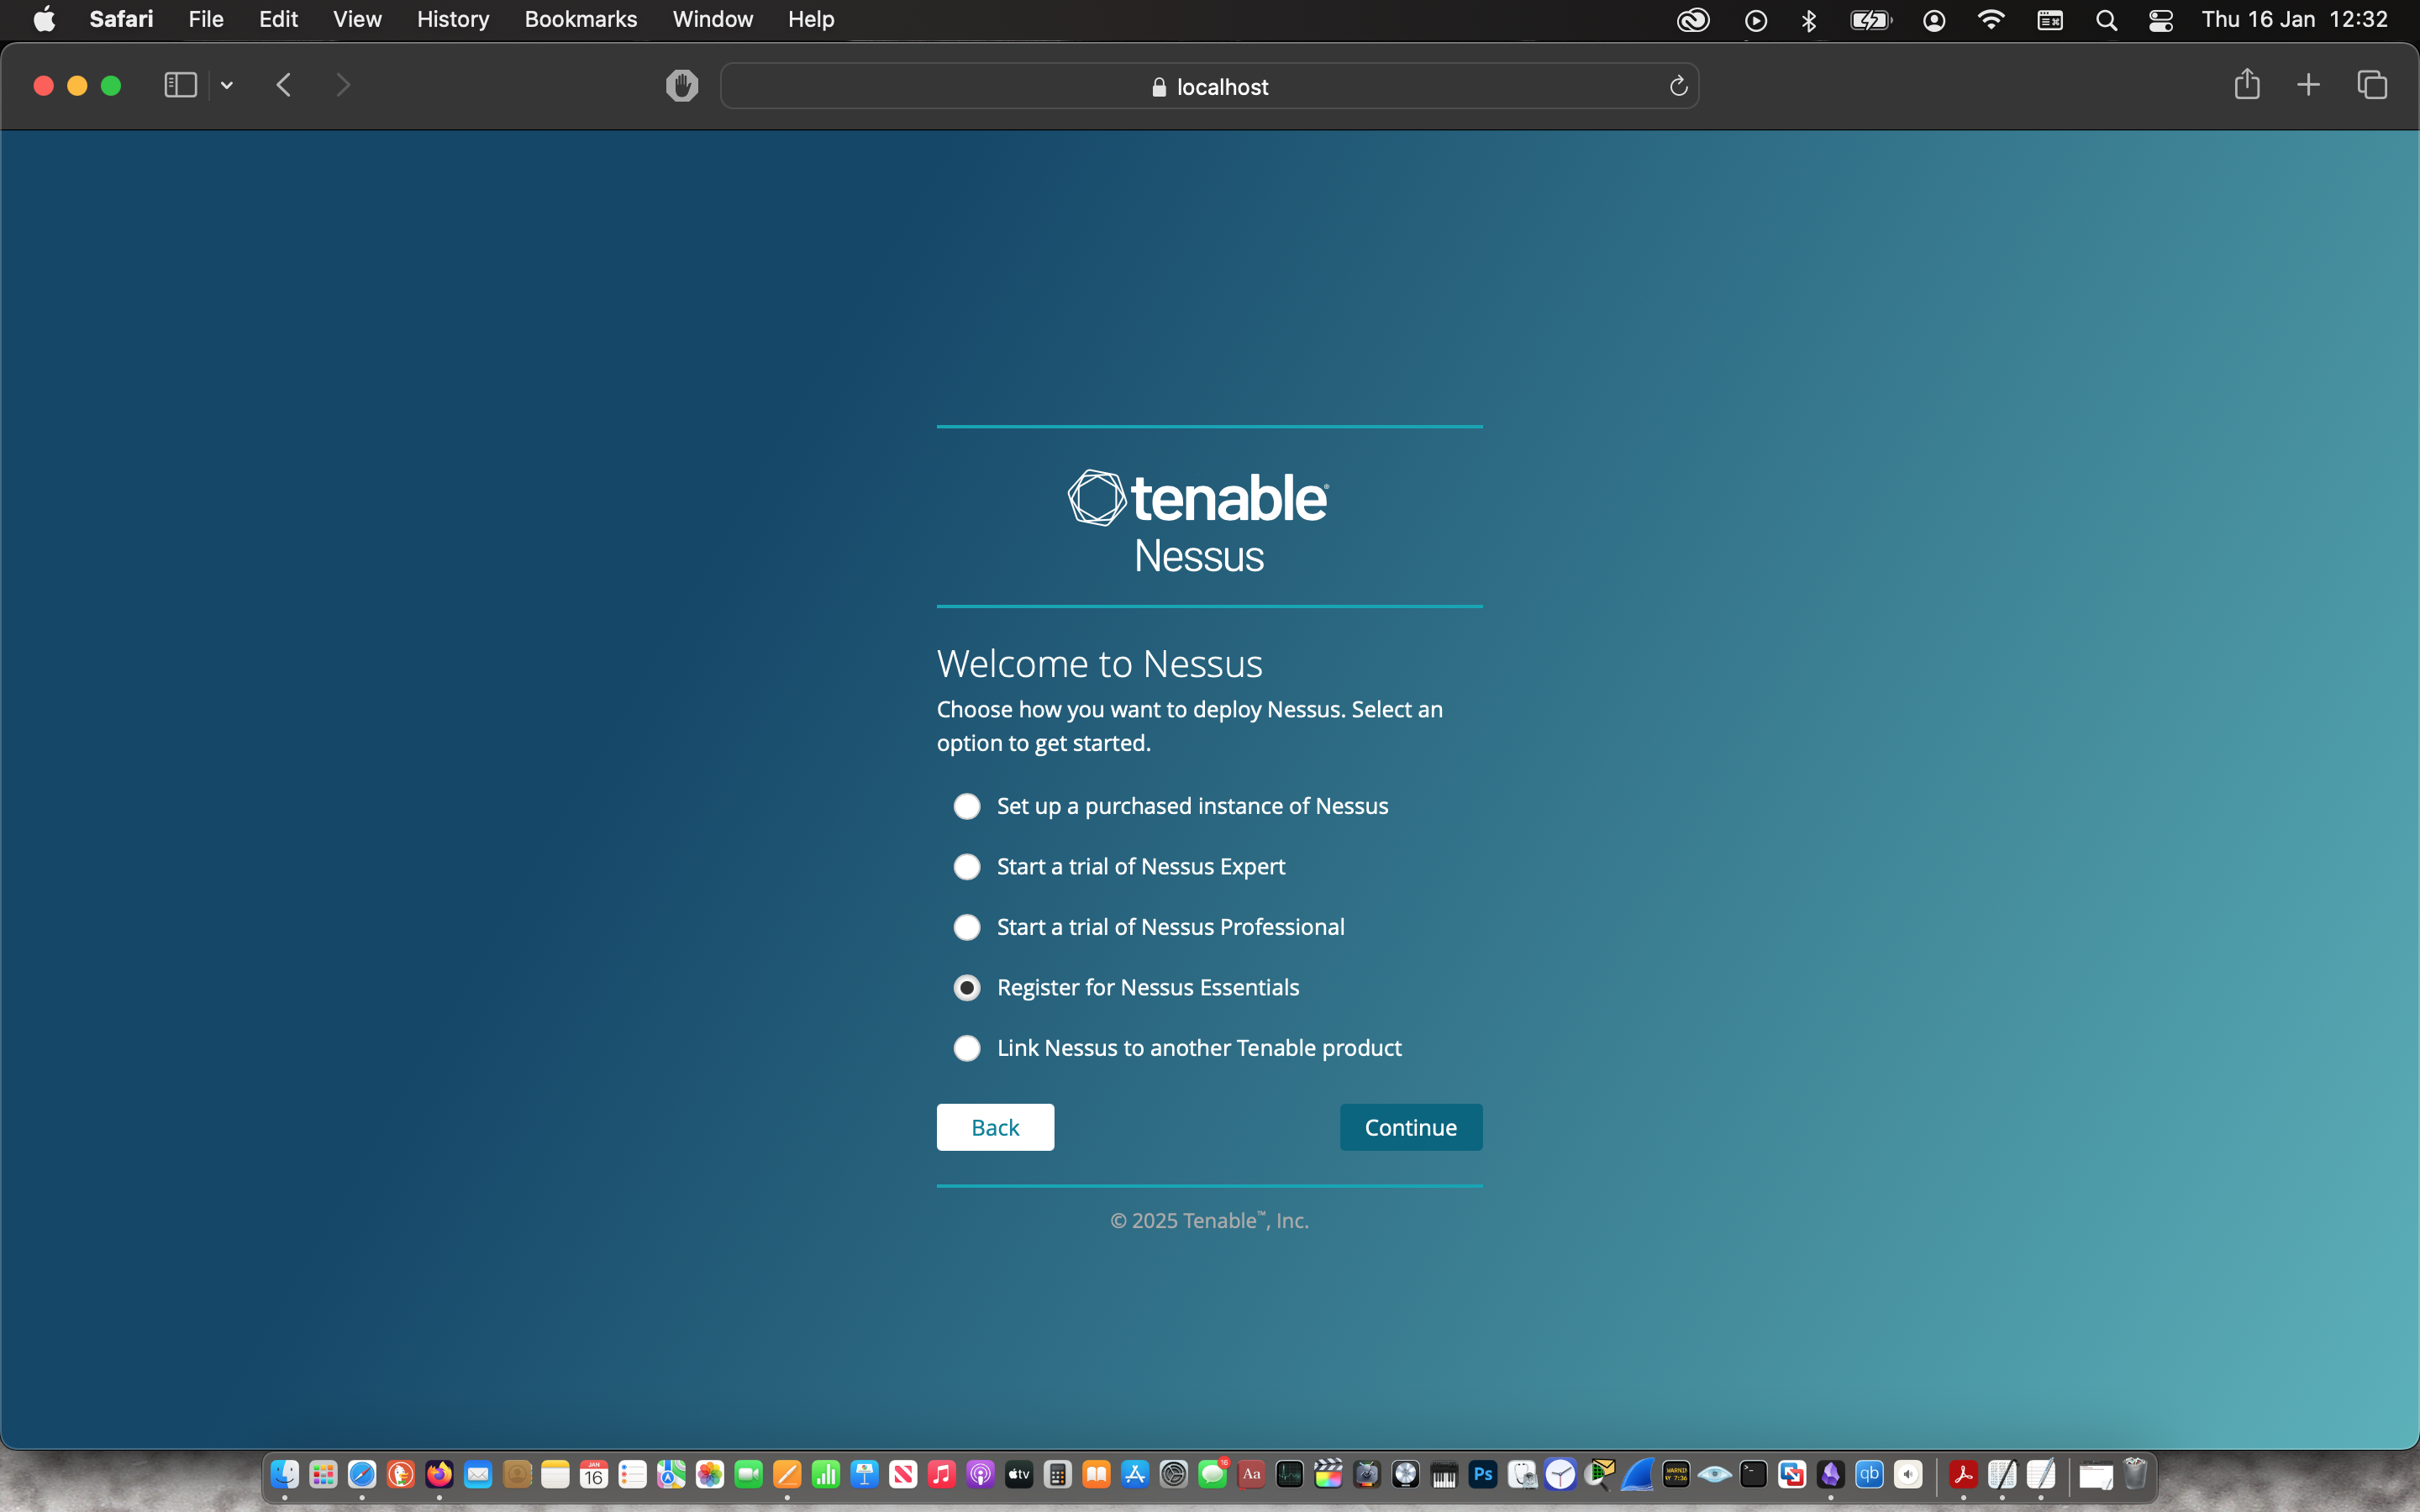
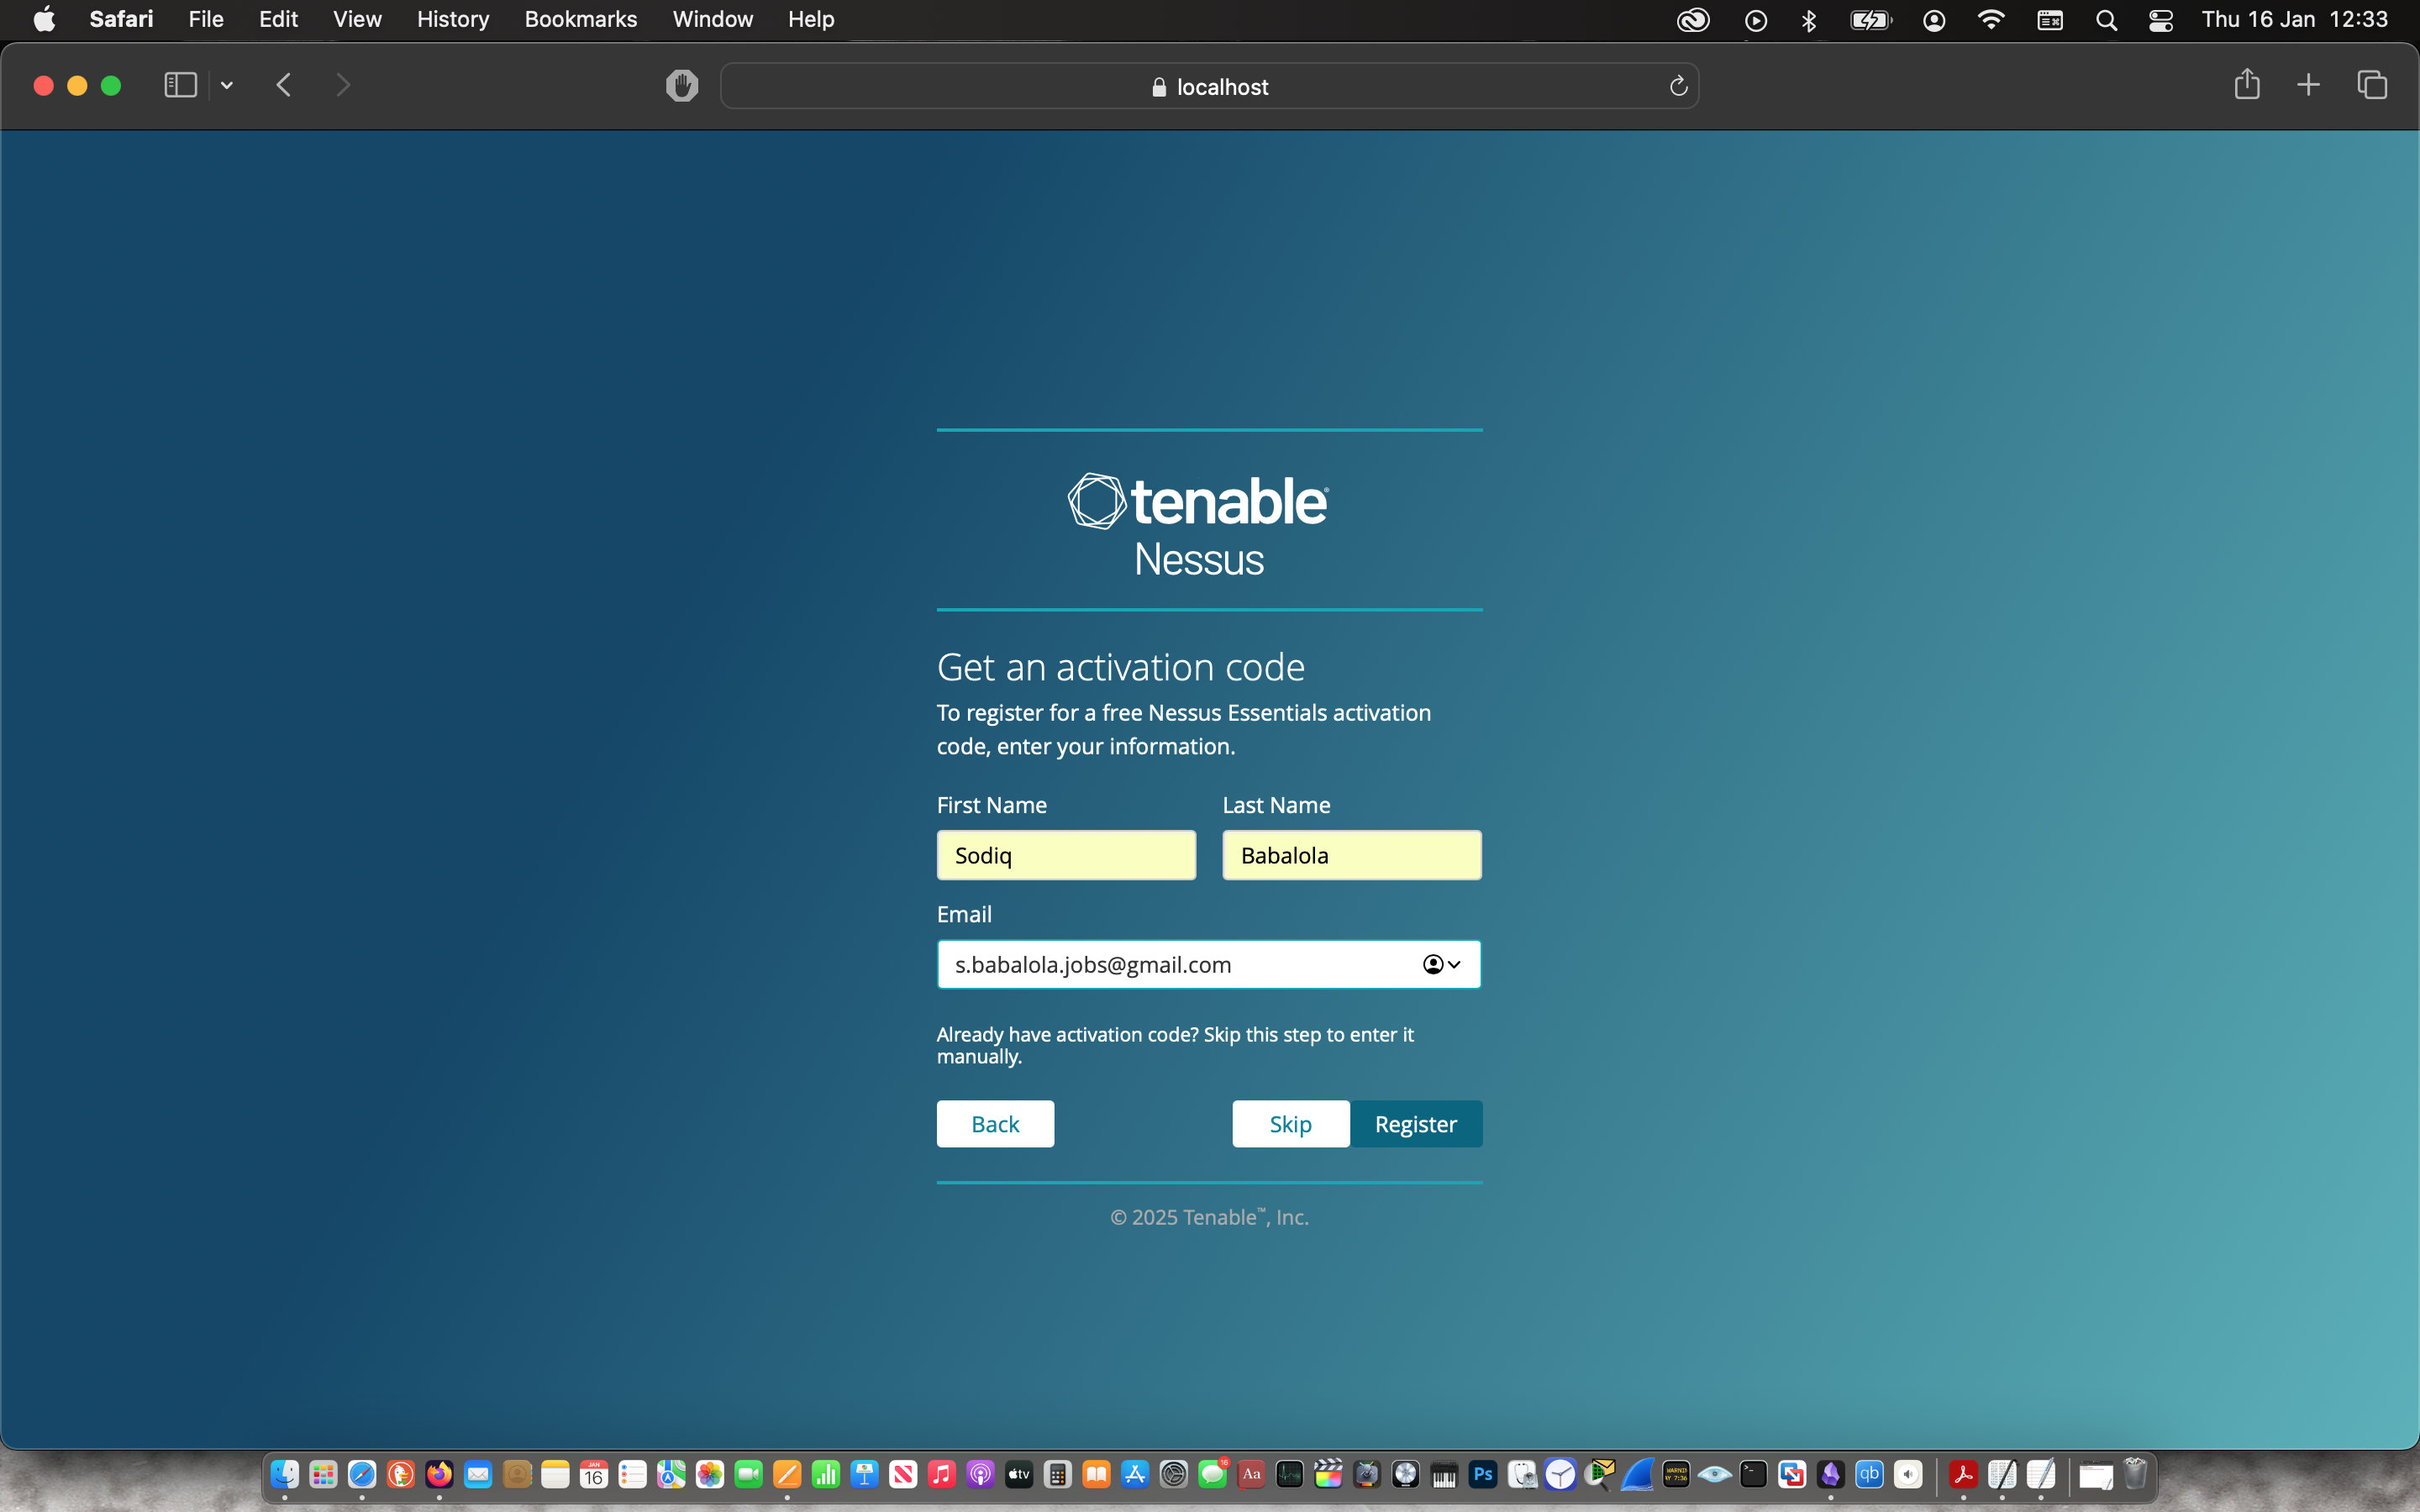
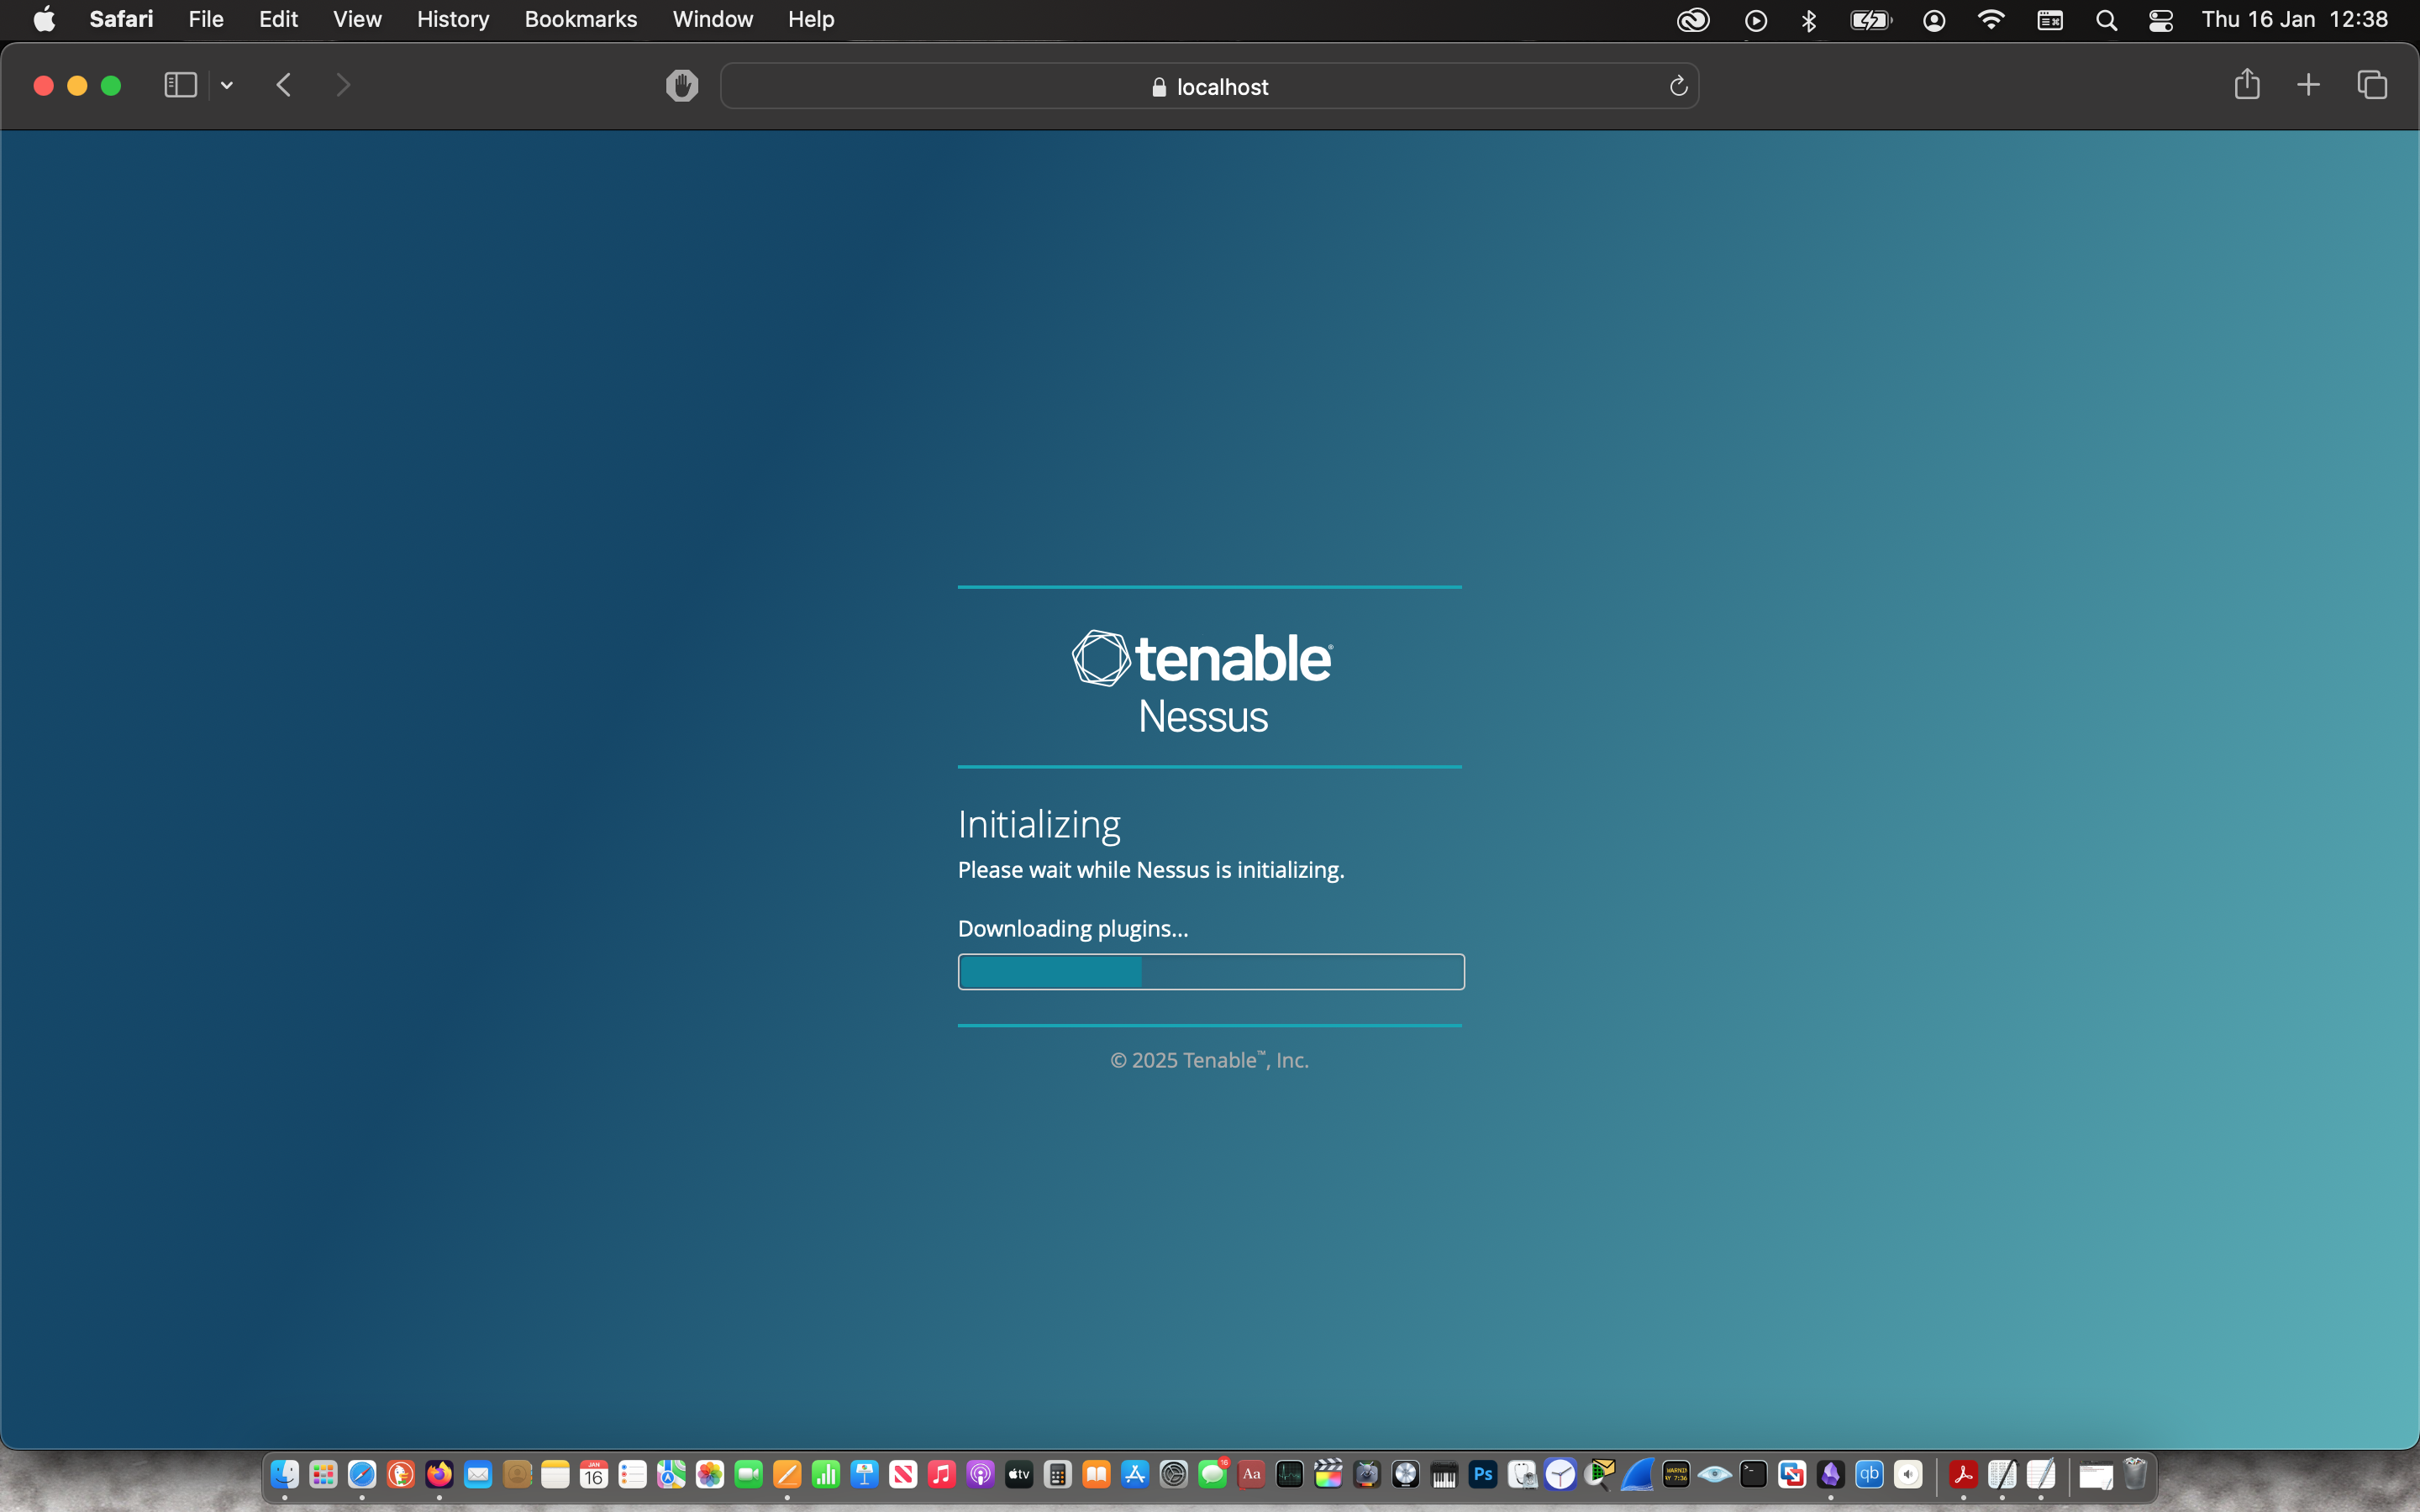
The installer prompted the web application where I configured & registered for Nessus Essential.
 |
 |
 |
 |
 |
 |
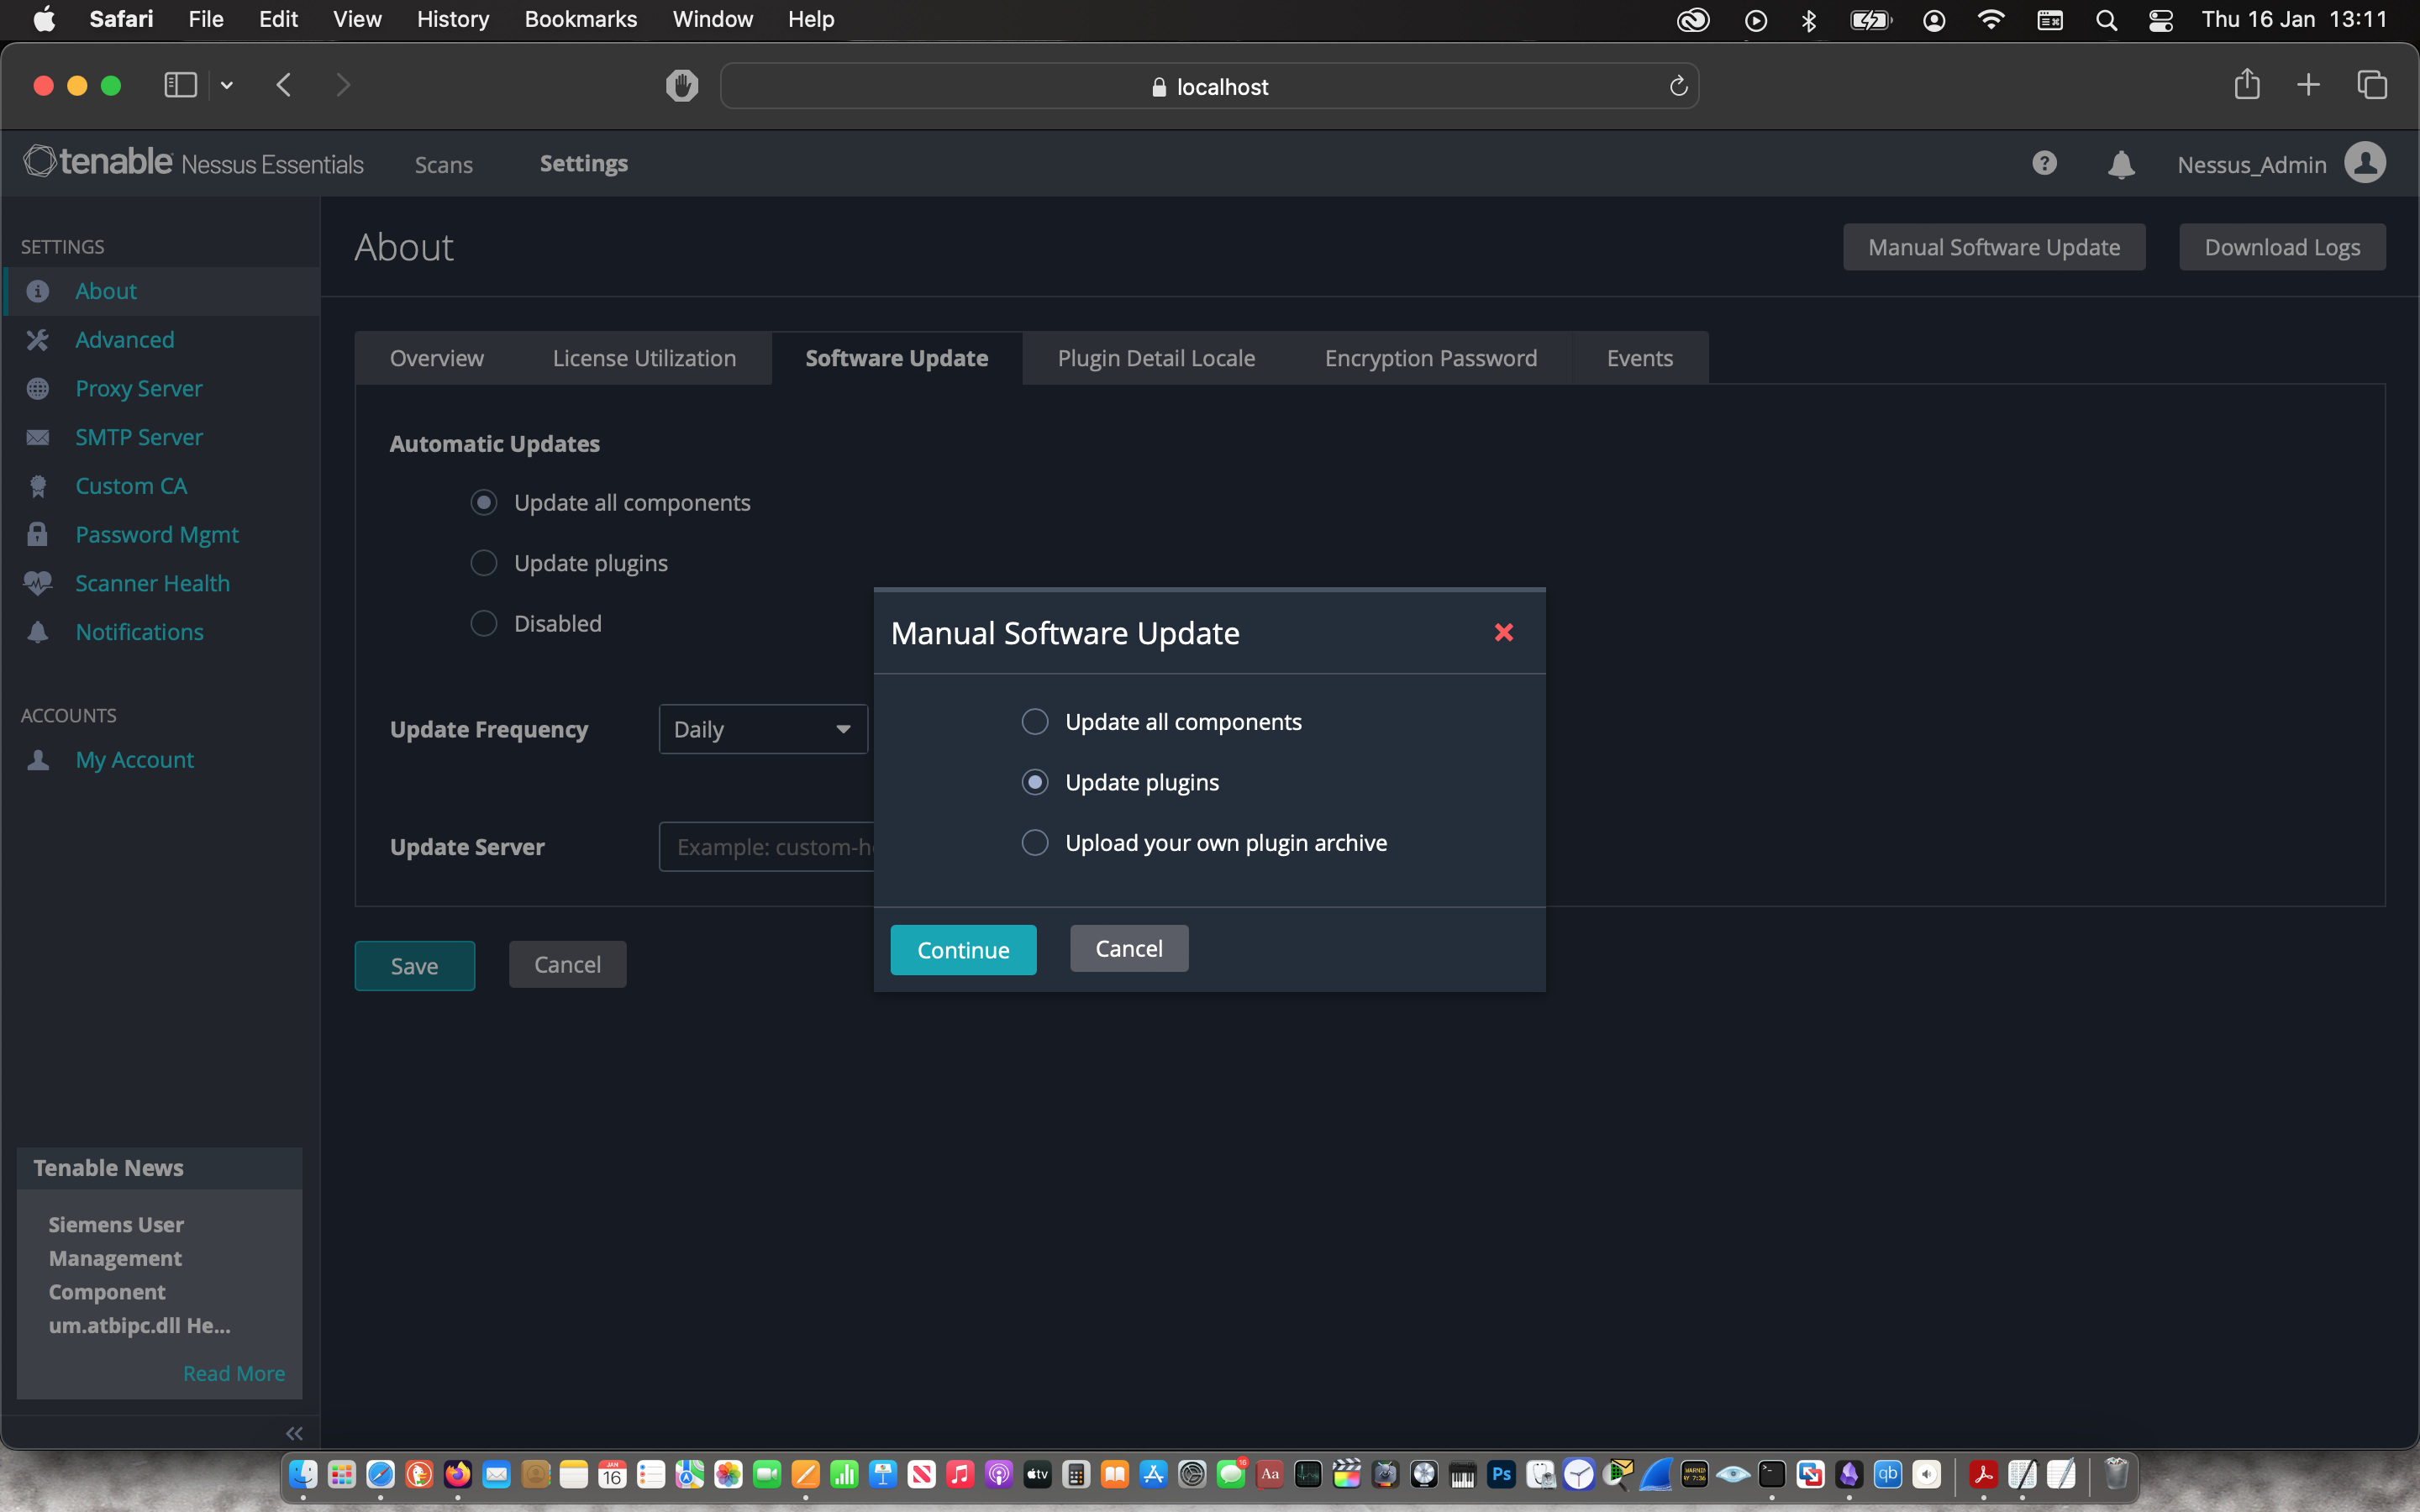
Then I waited about 10 mins for the plugin to be compiled after which I manually updated the plugins.

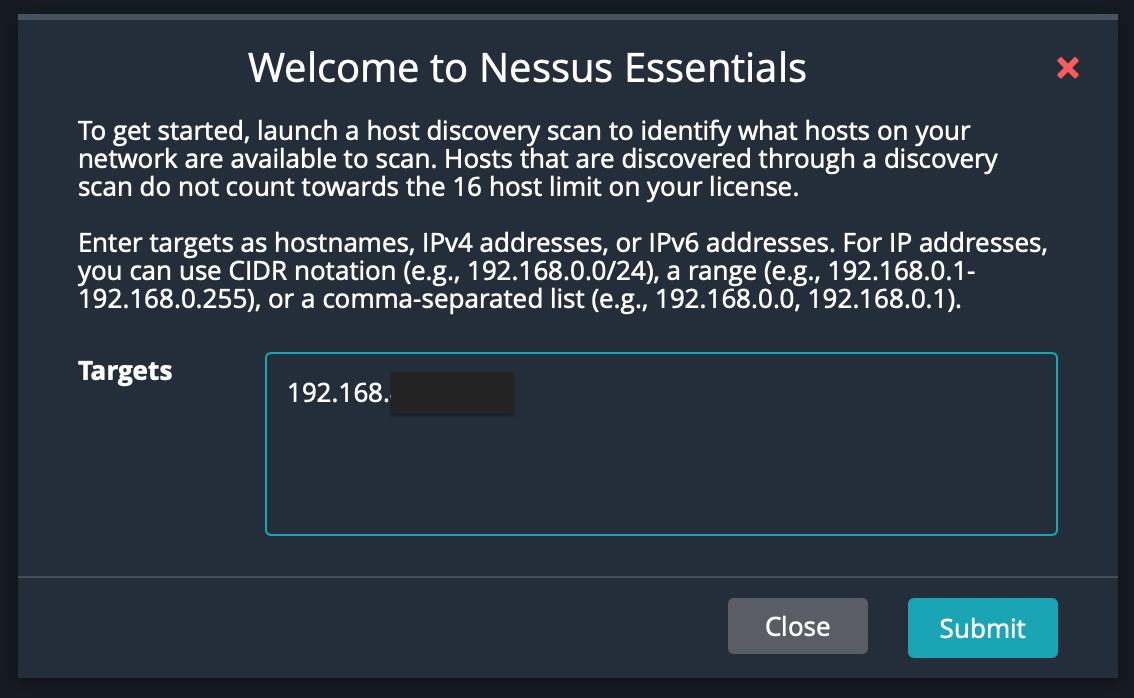
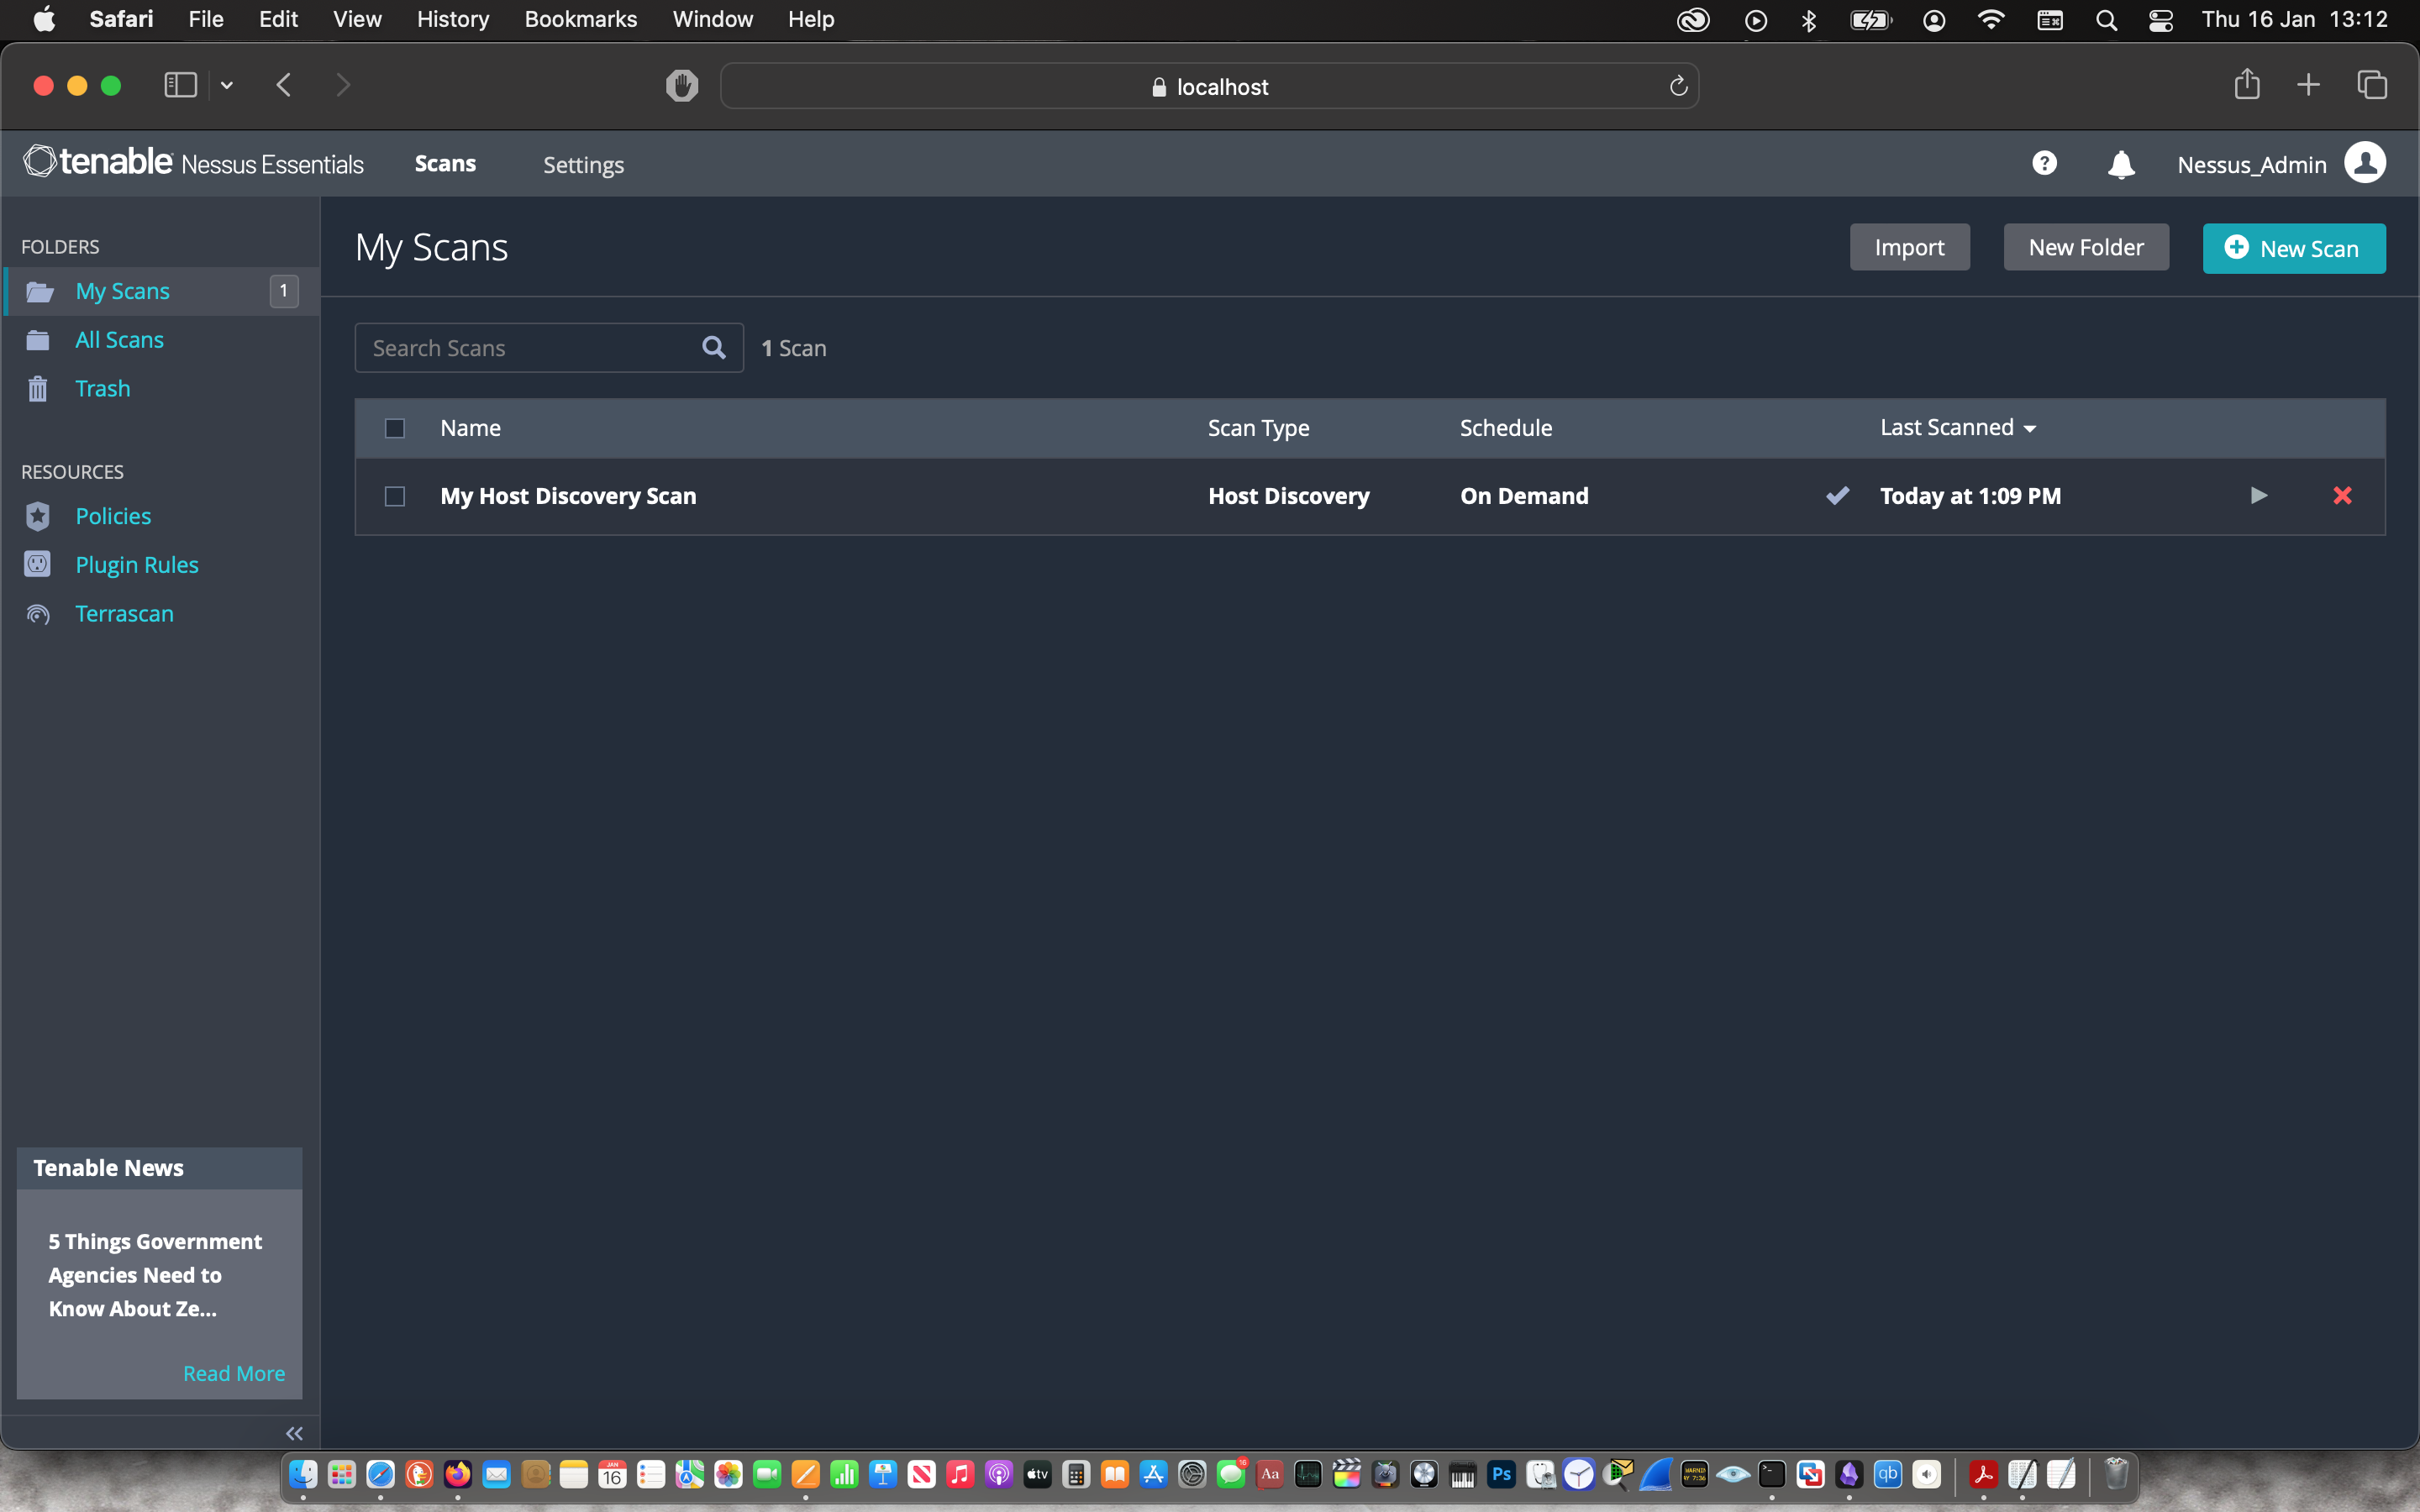
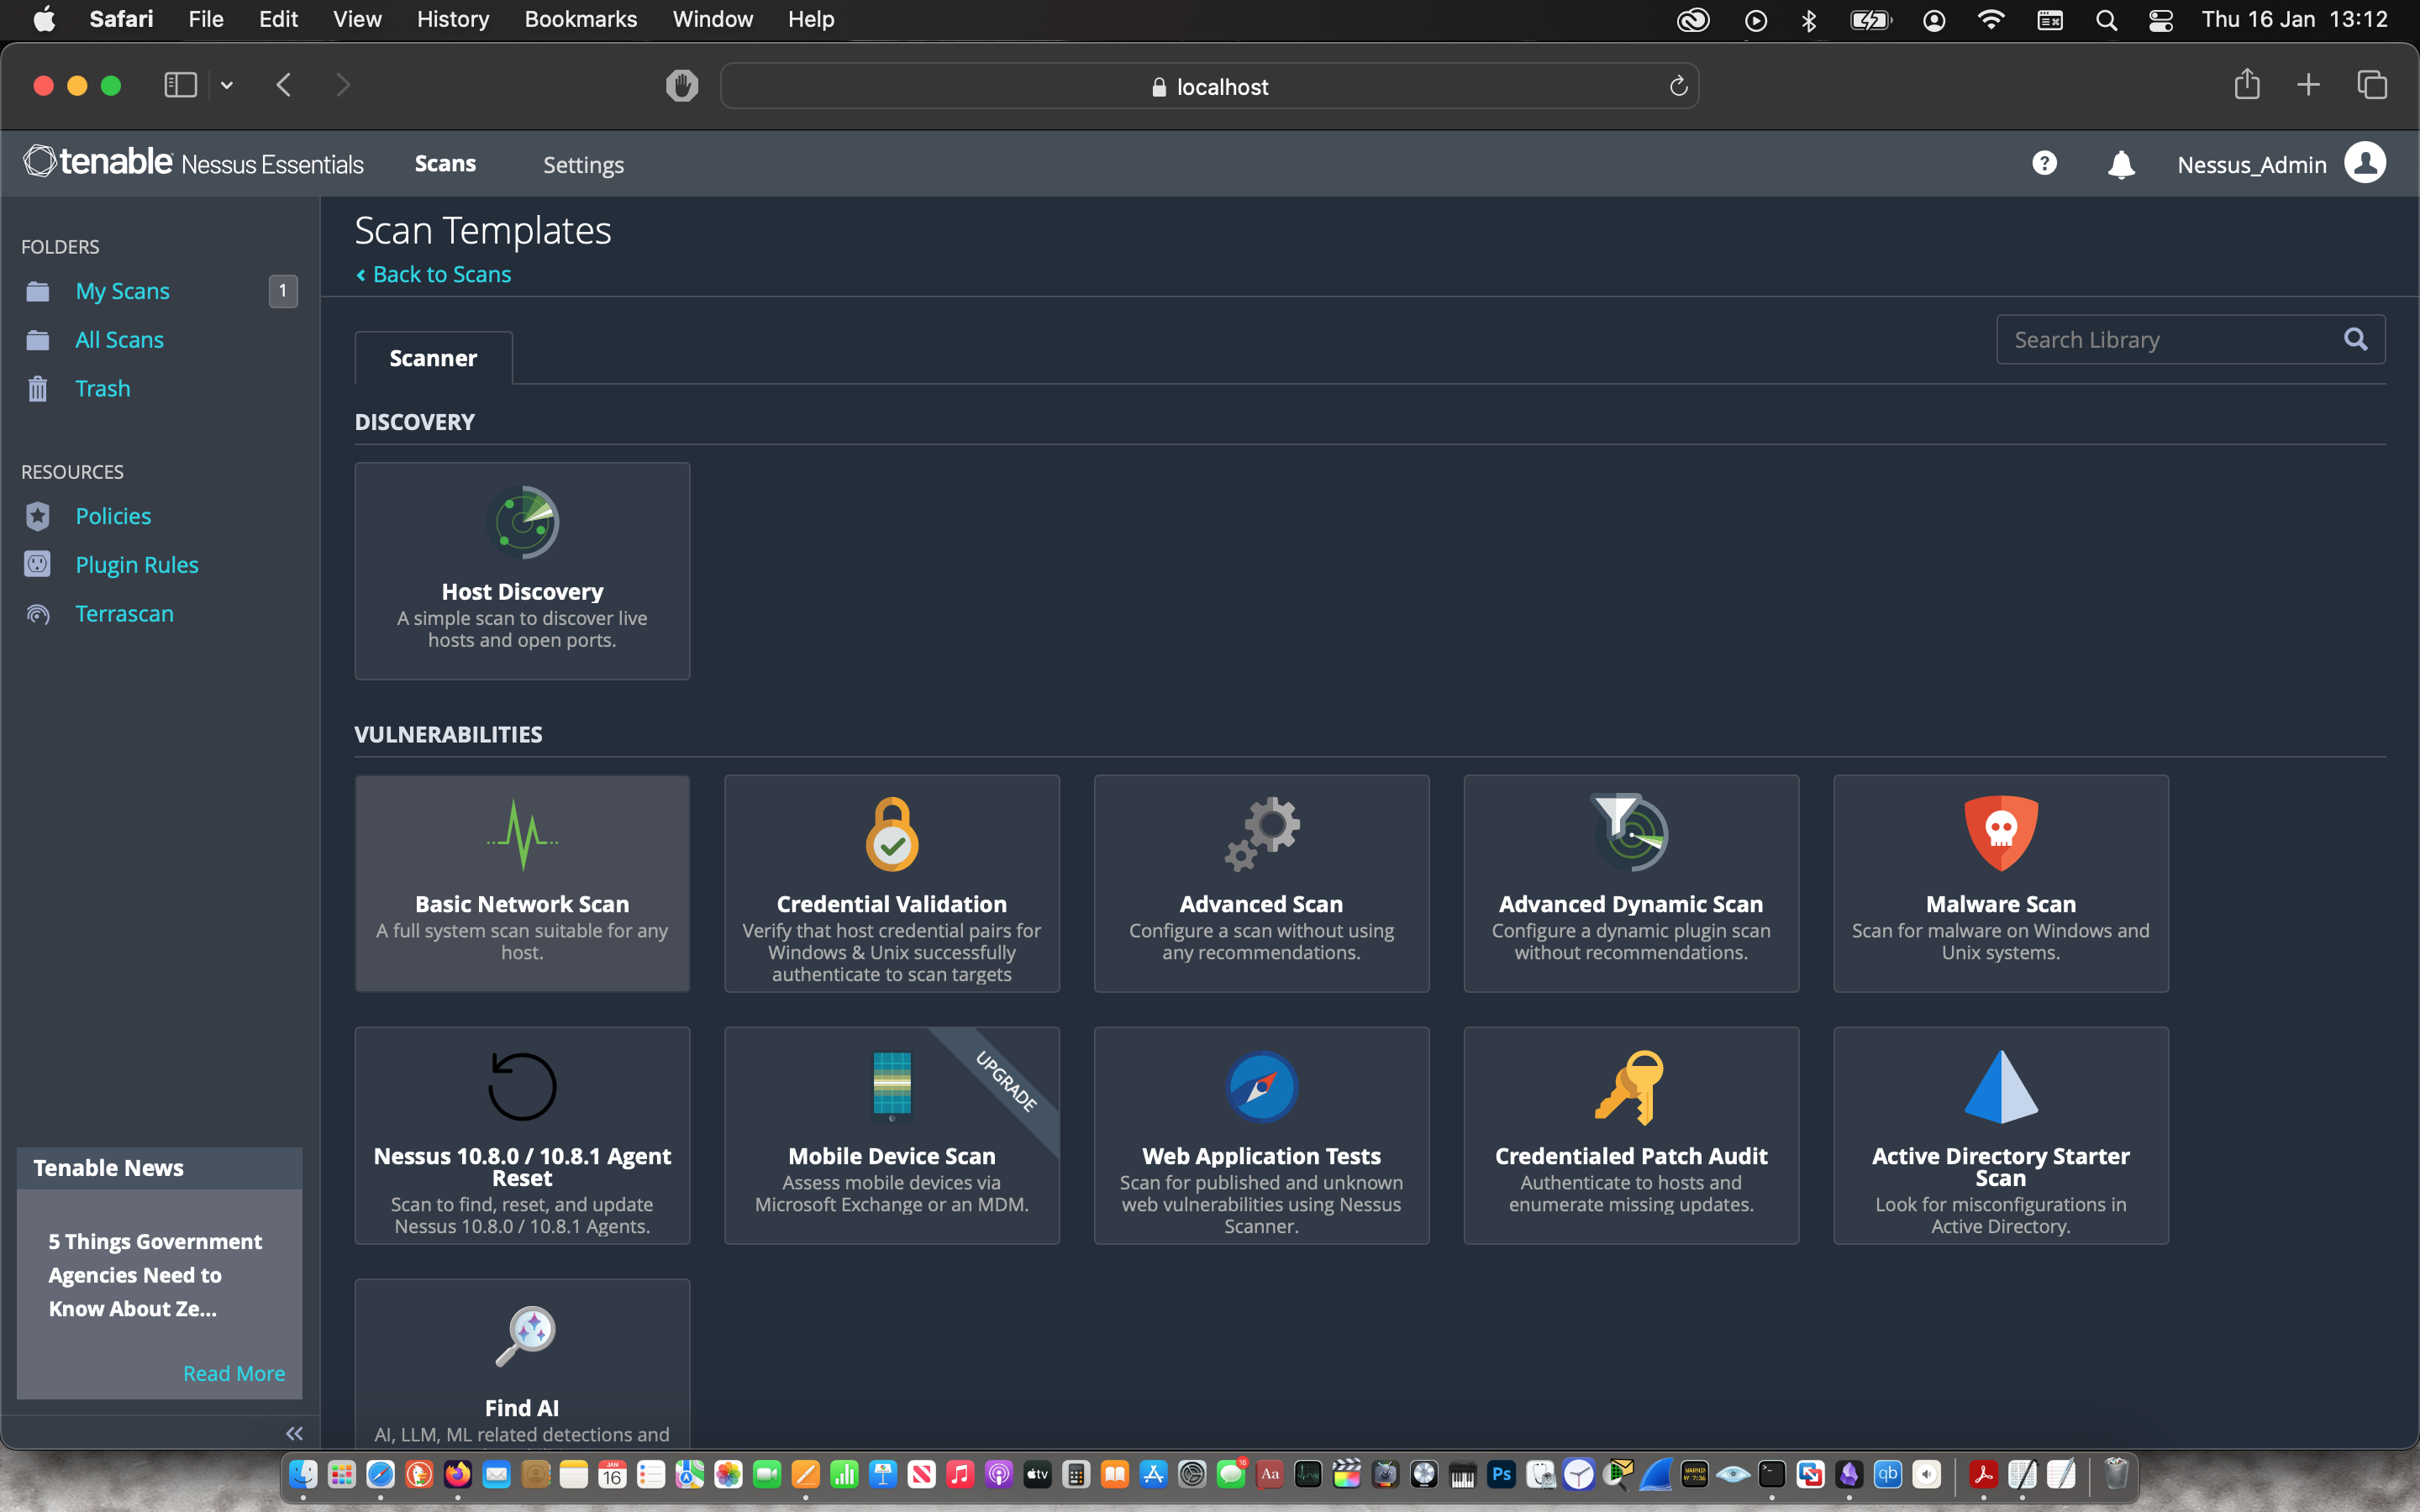
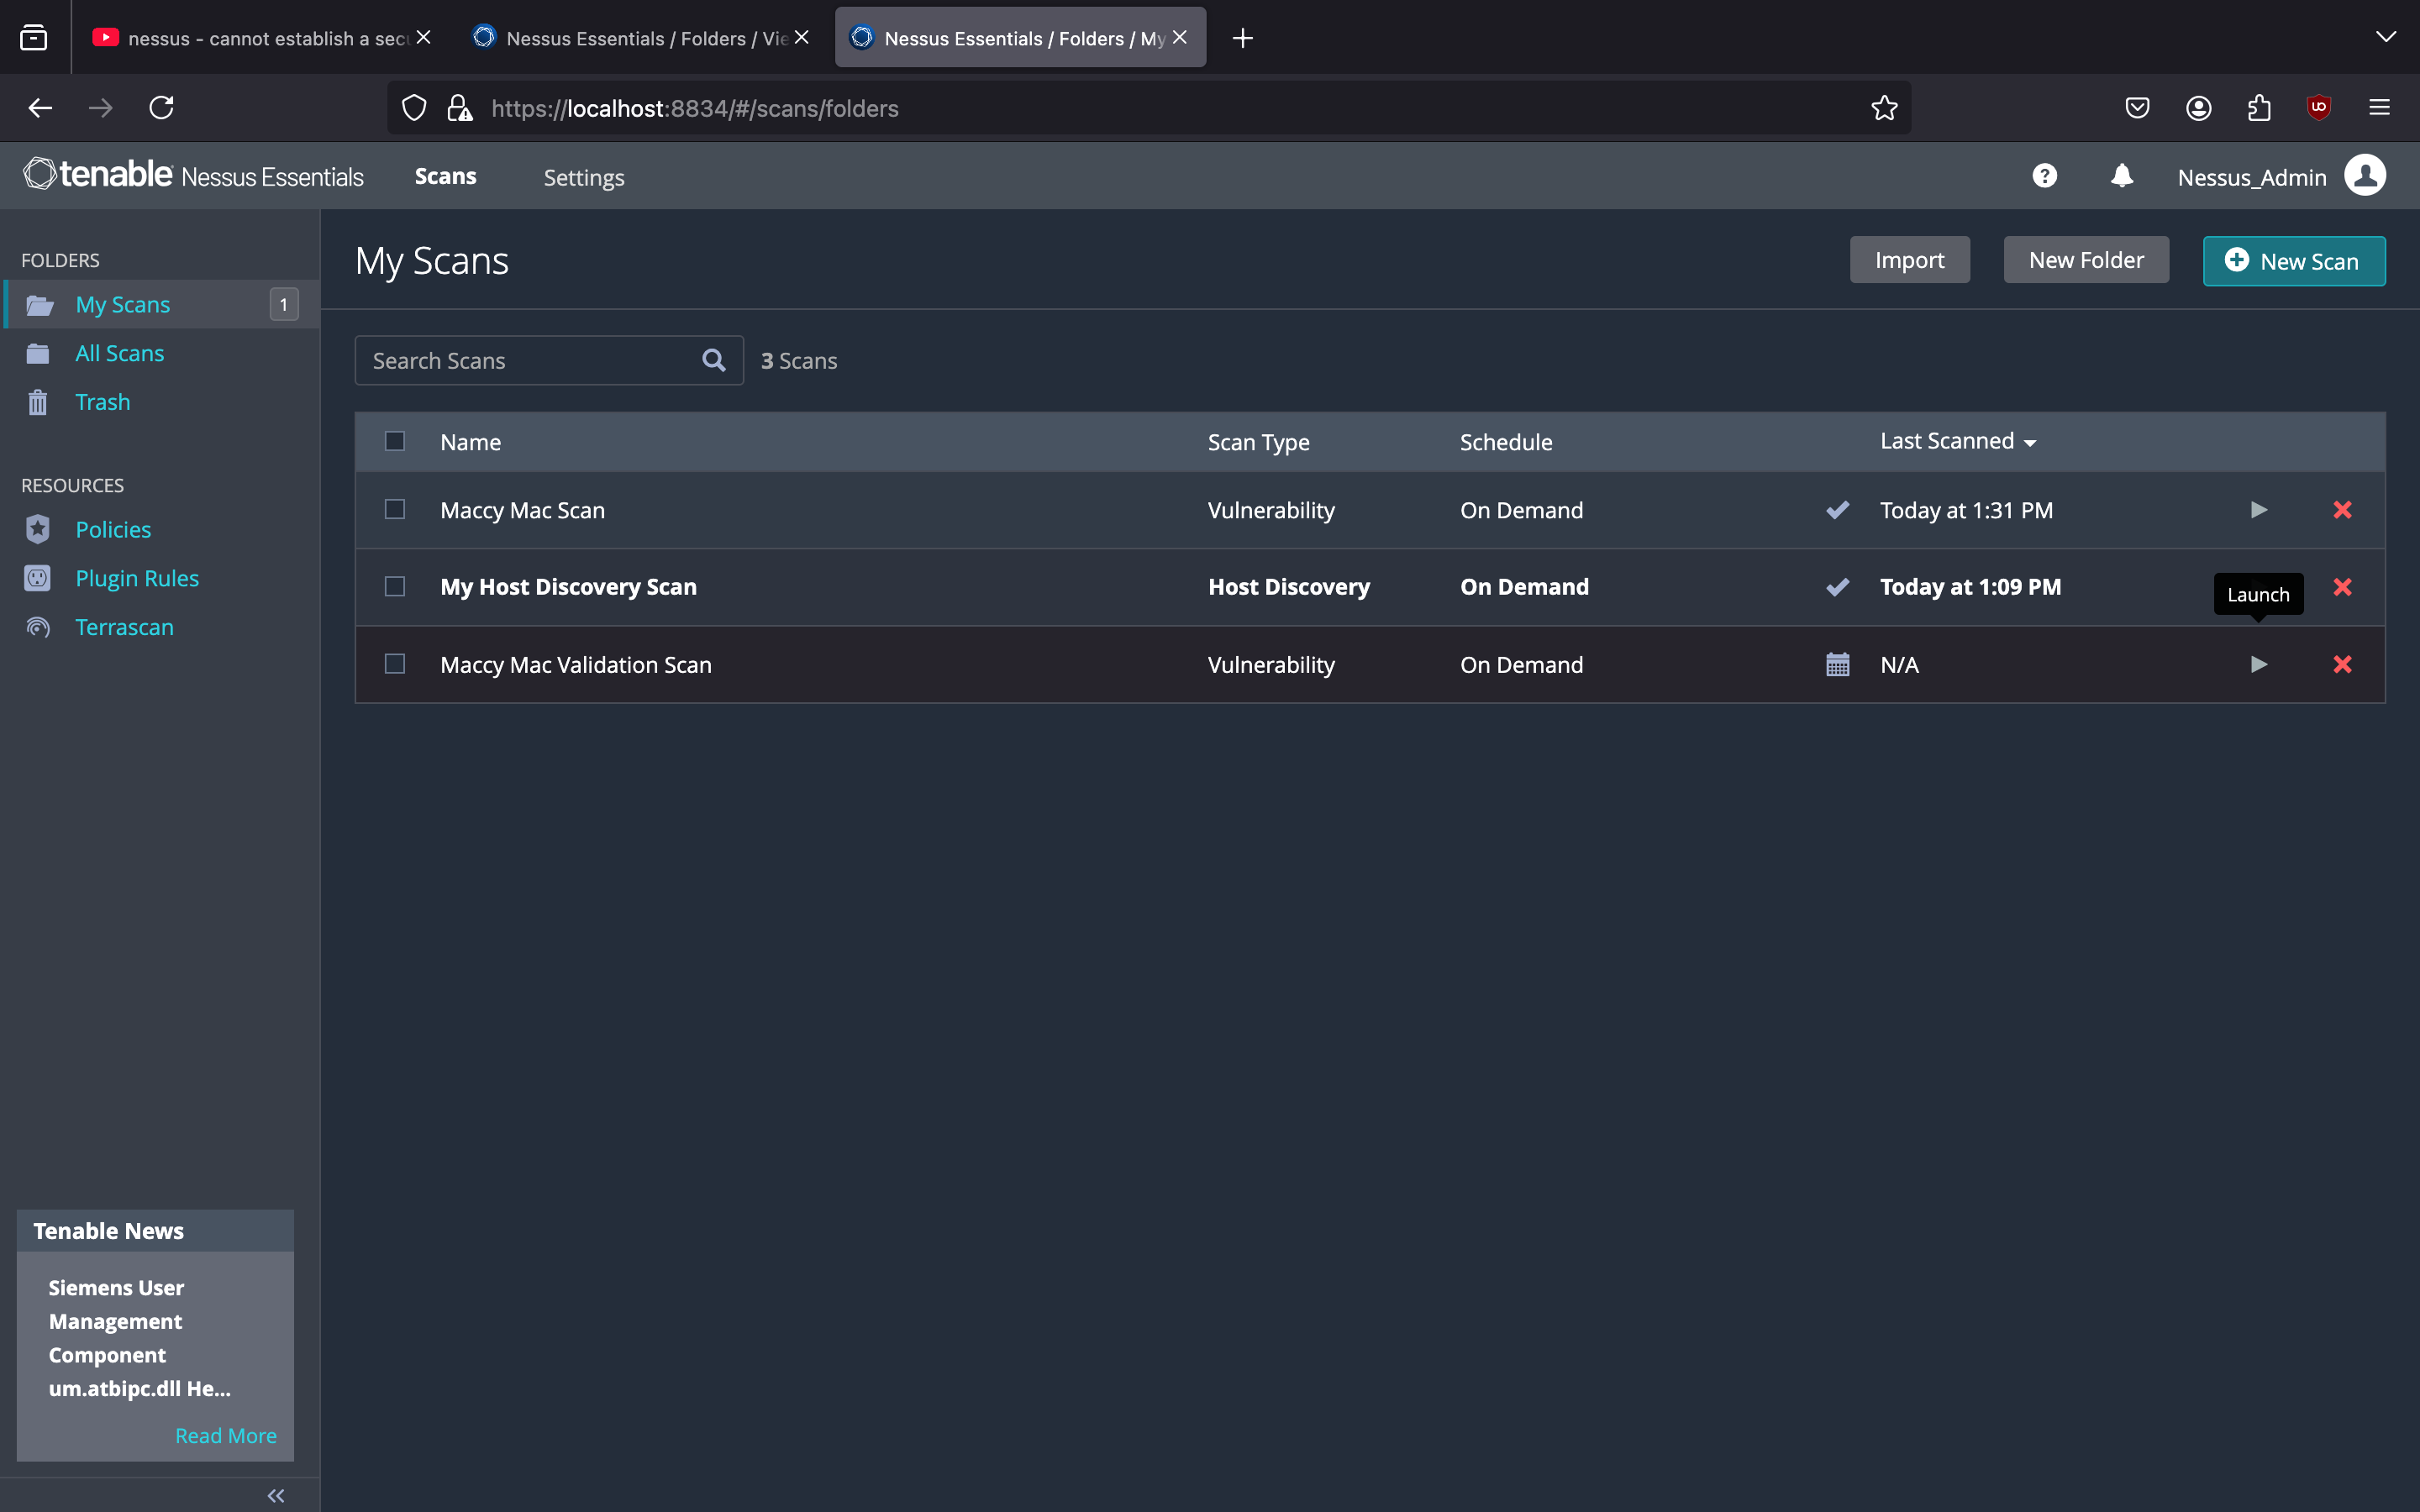
To get started, I was prompted to launch a host discovery scan to identify my laptop.
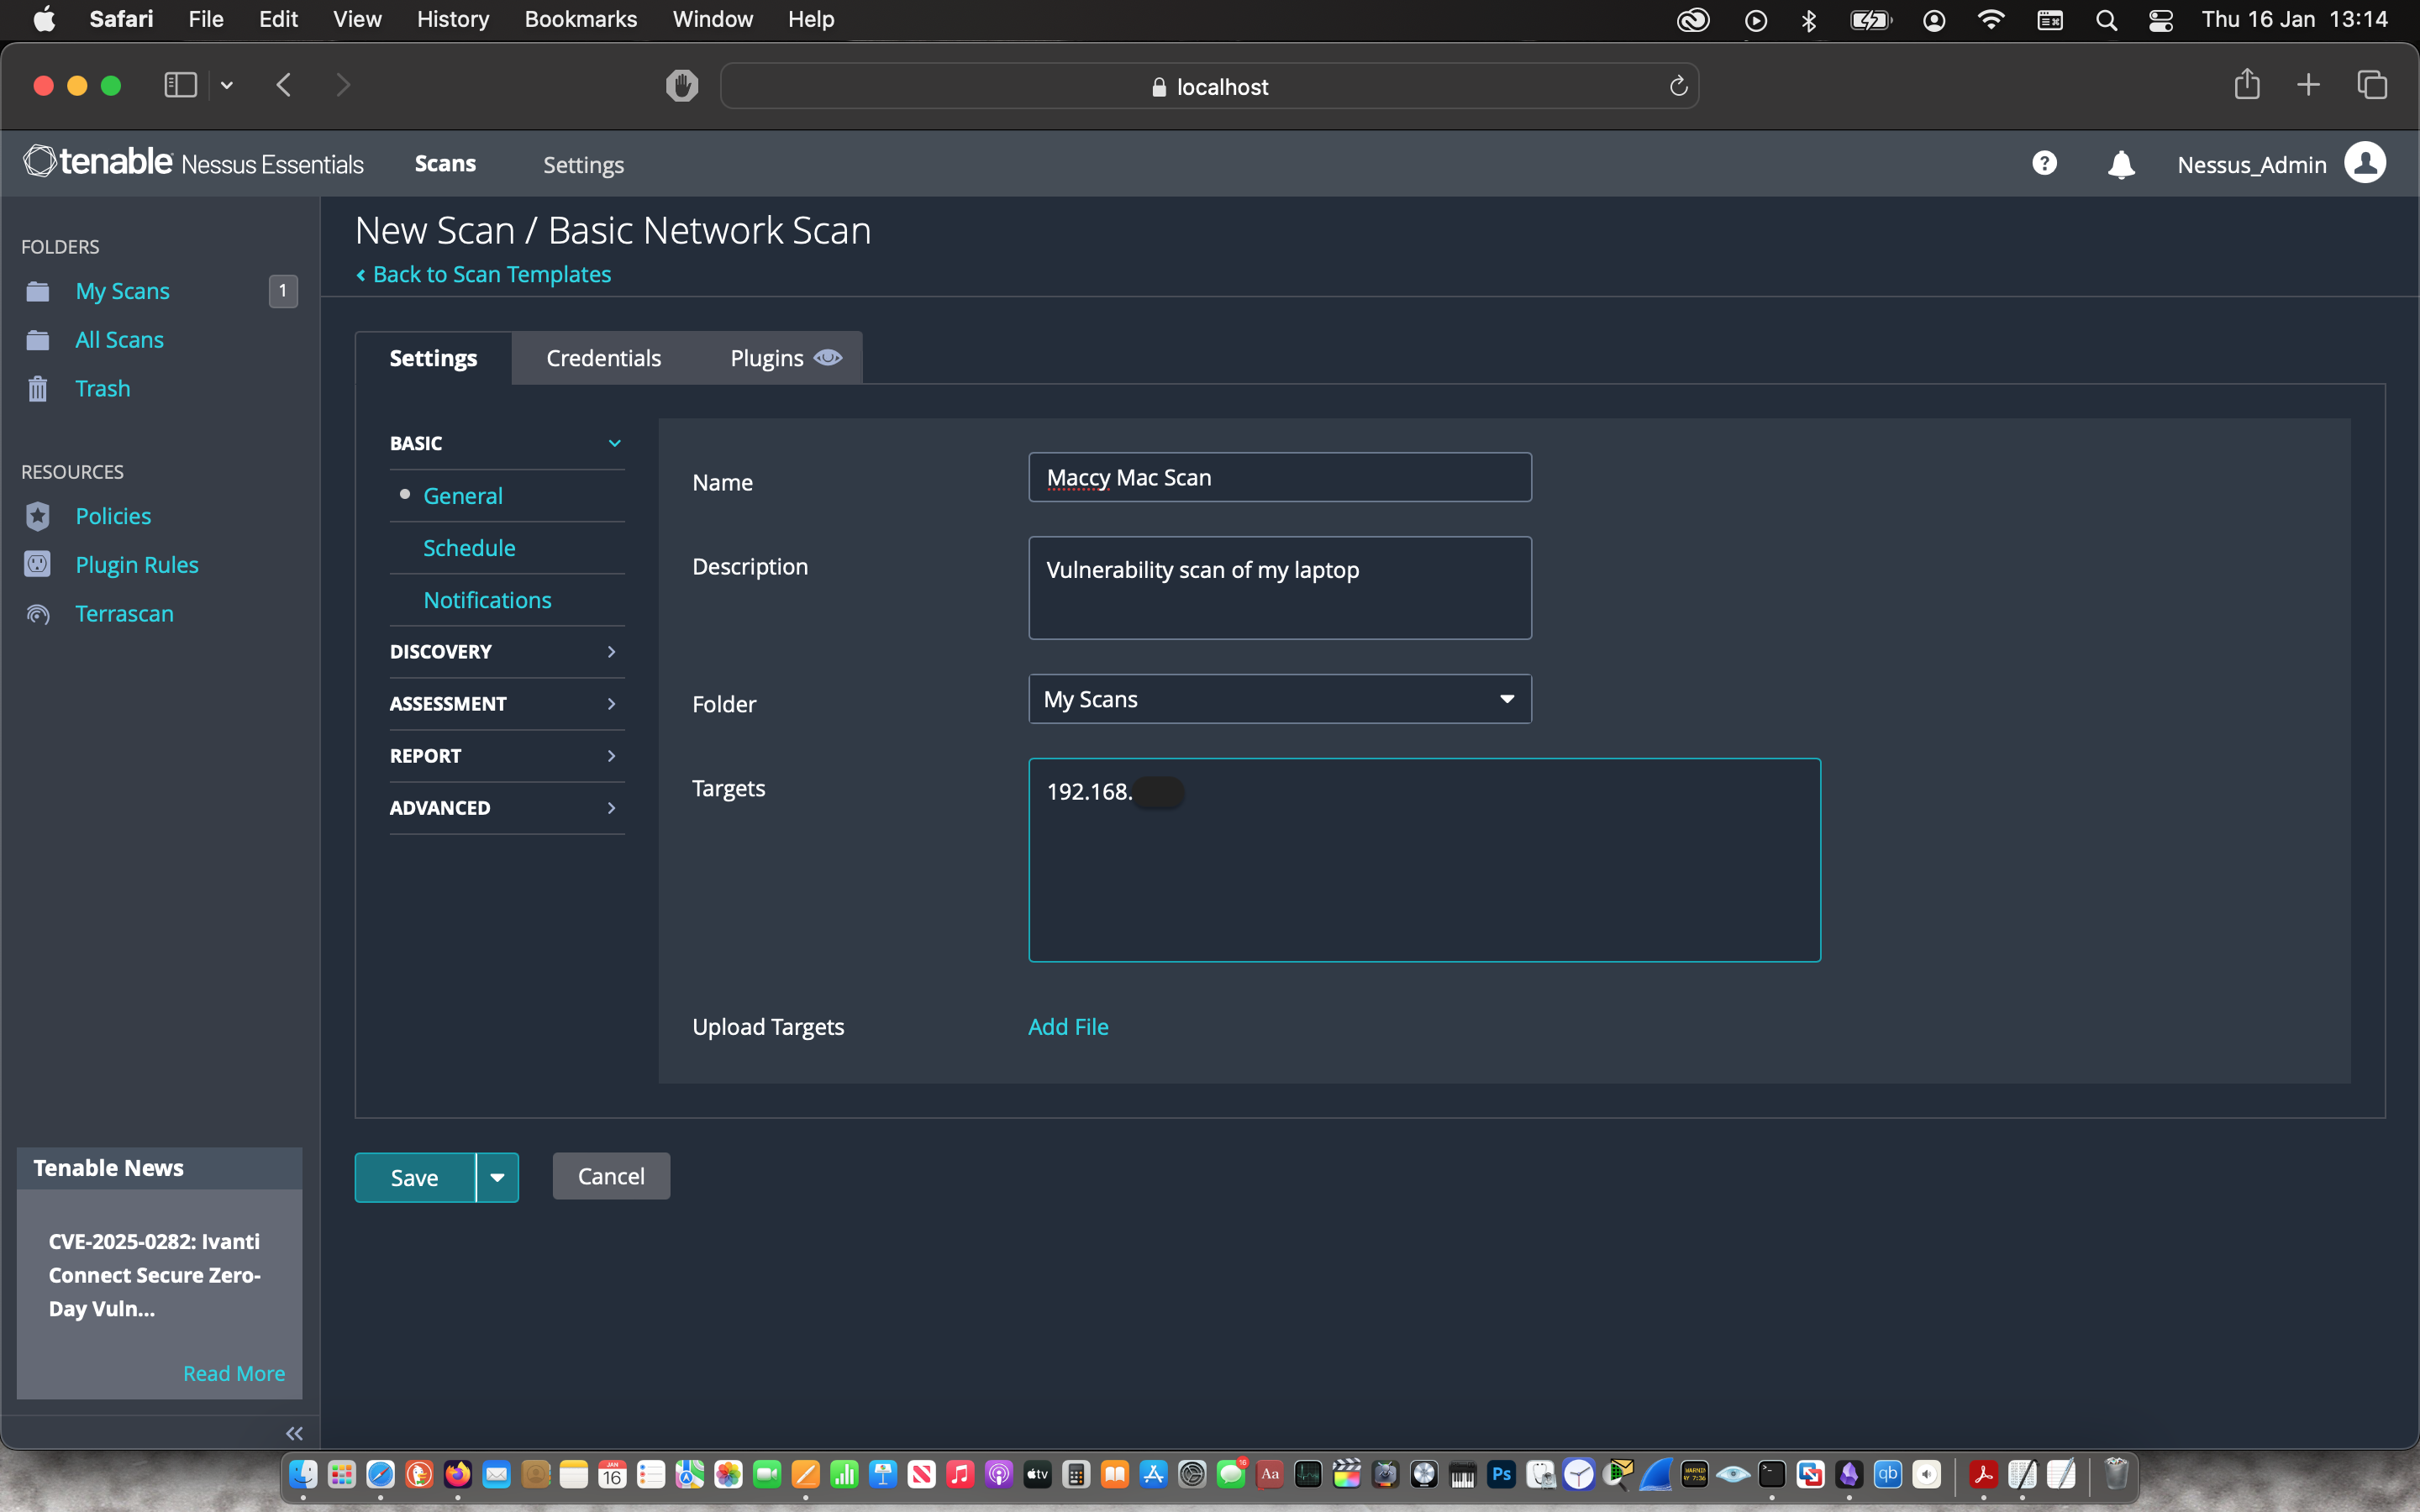
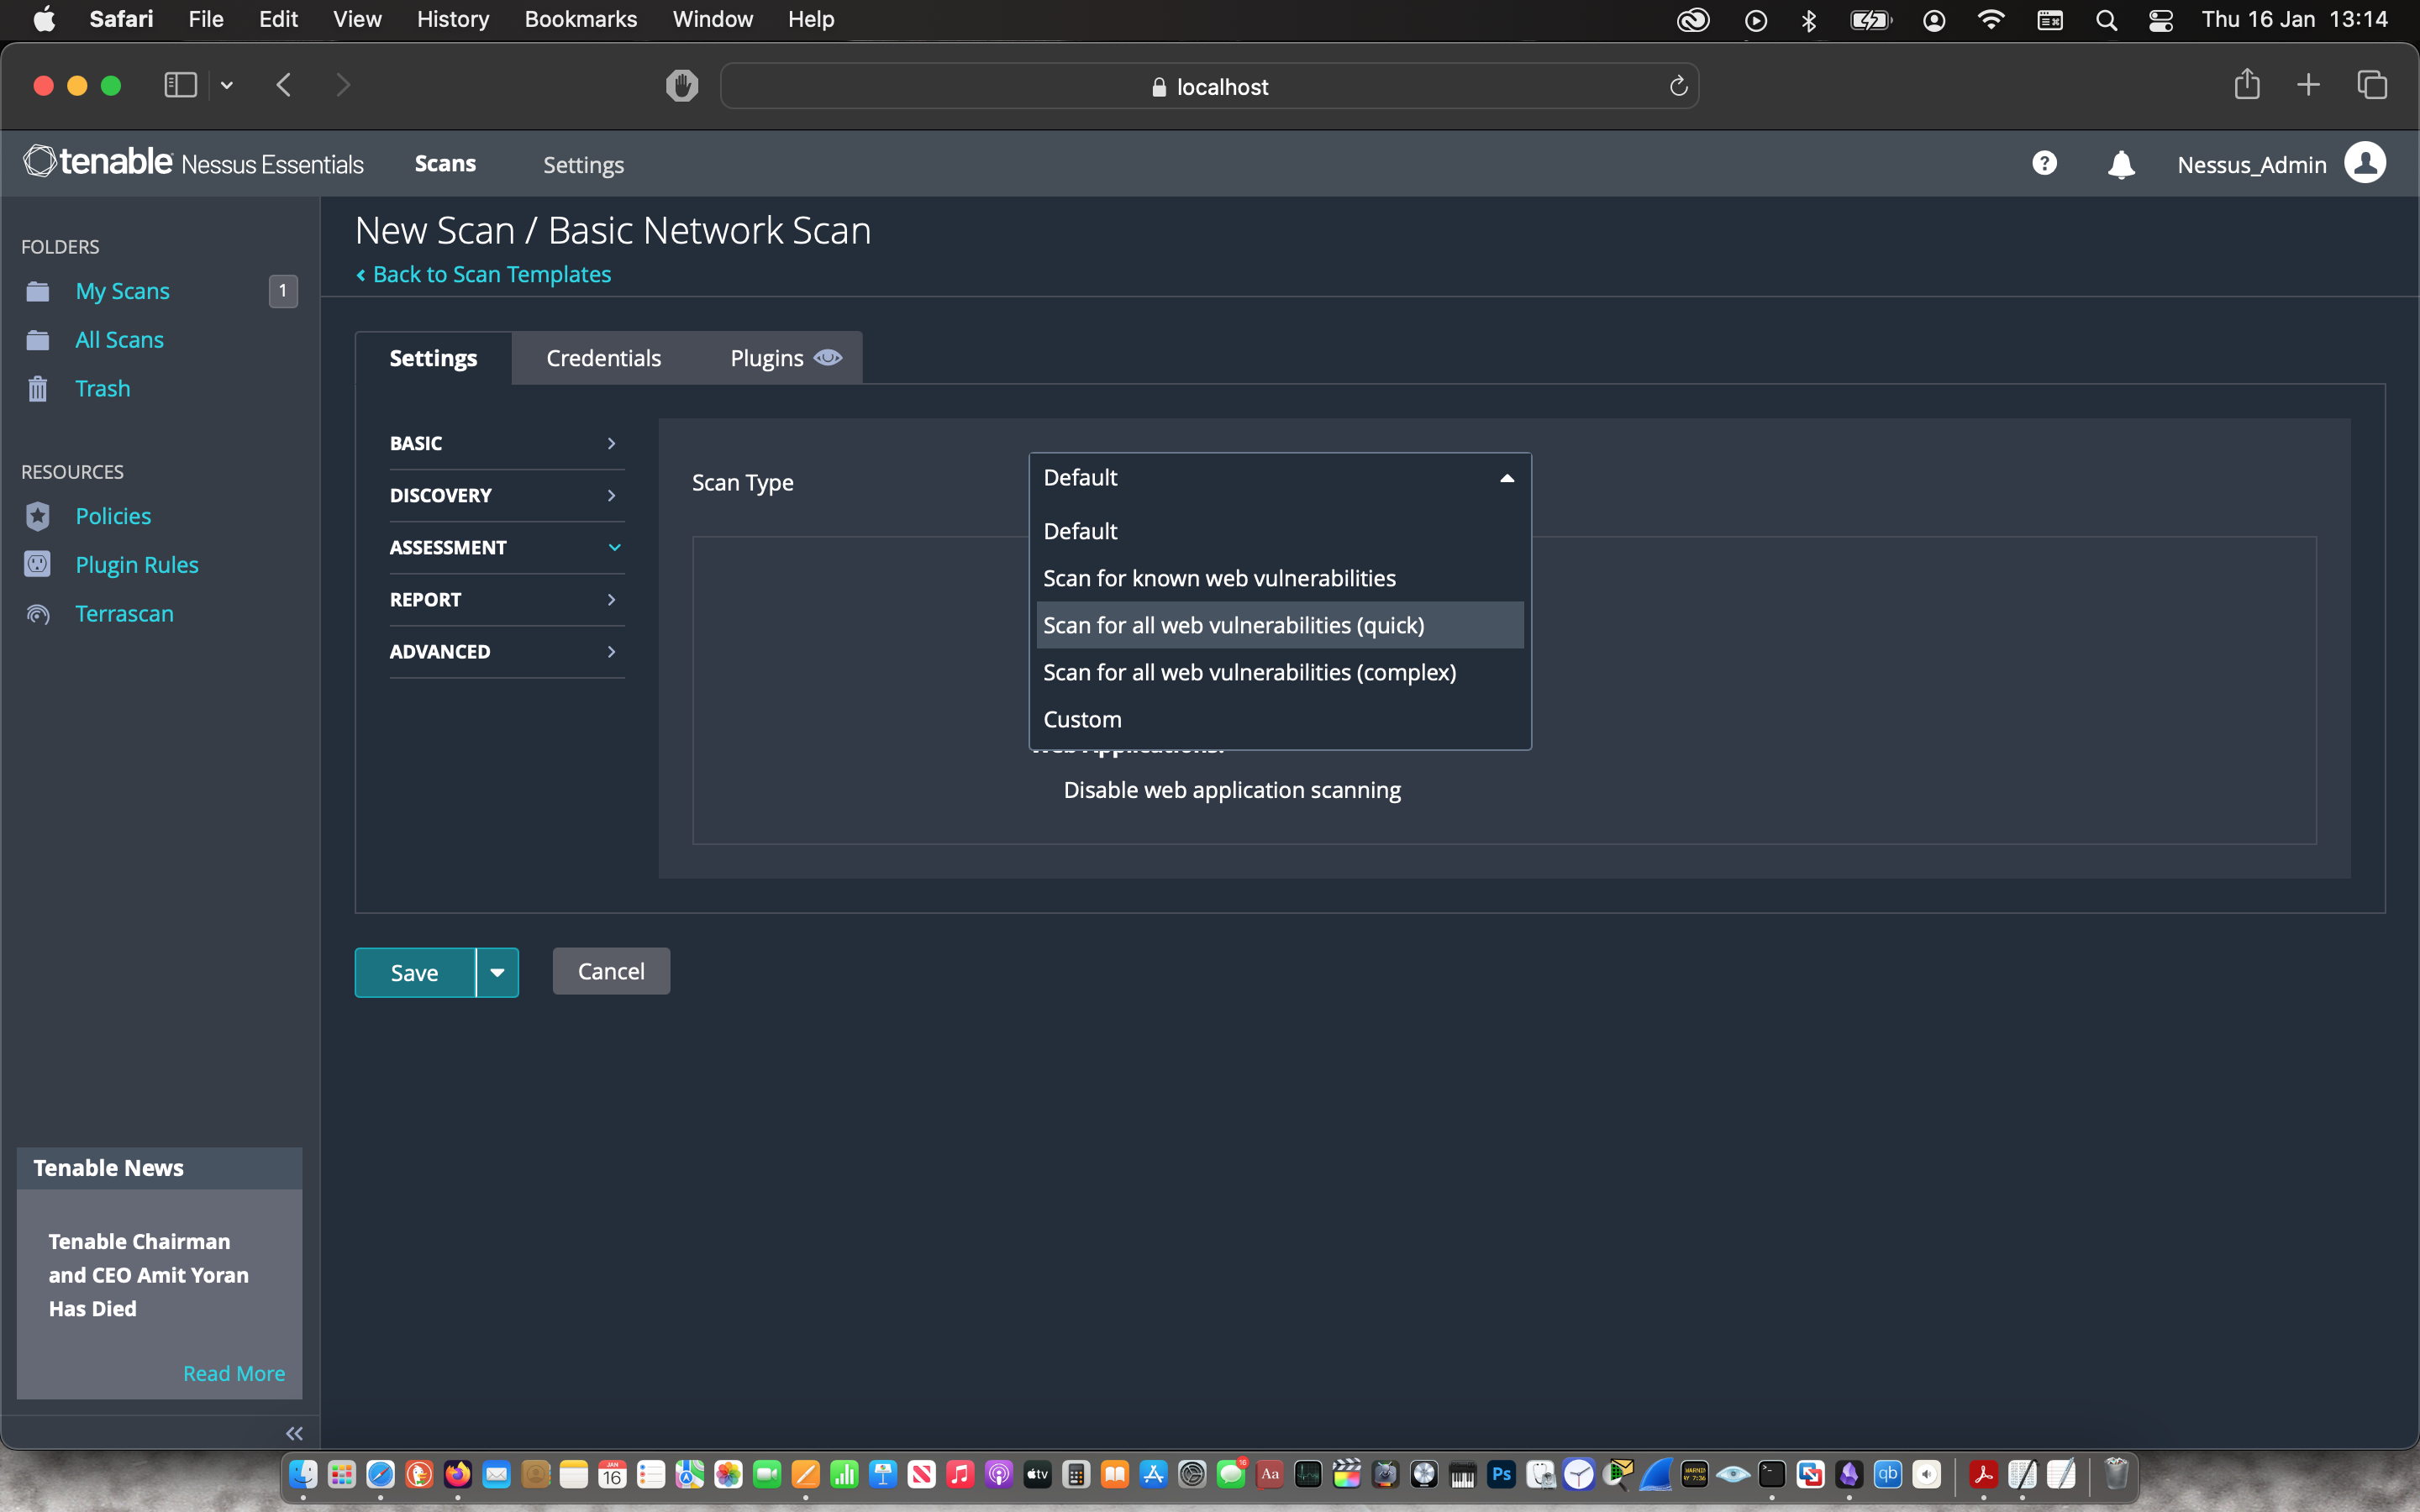
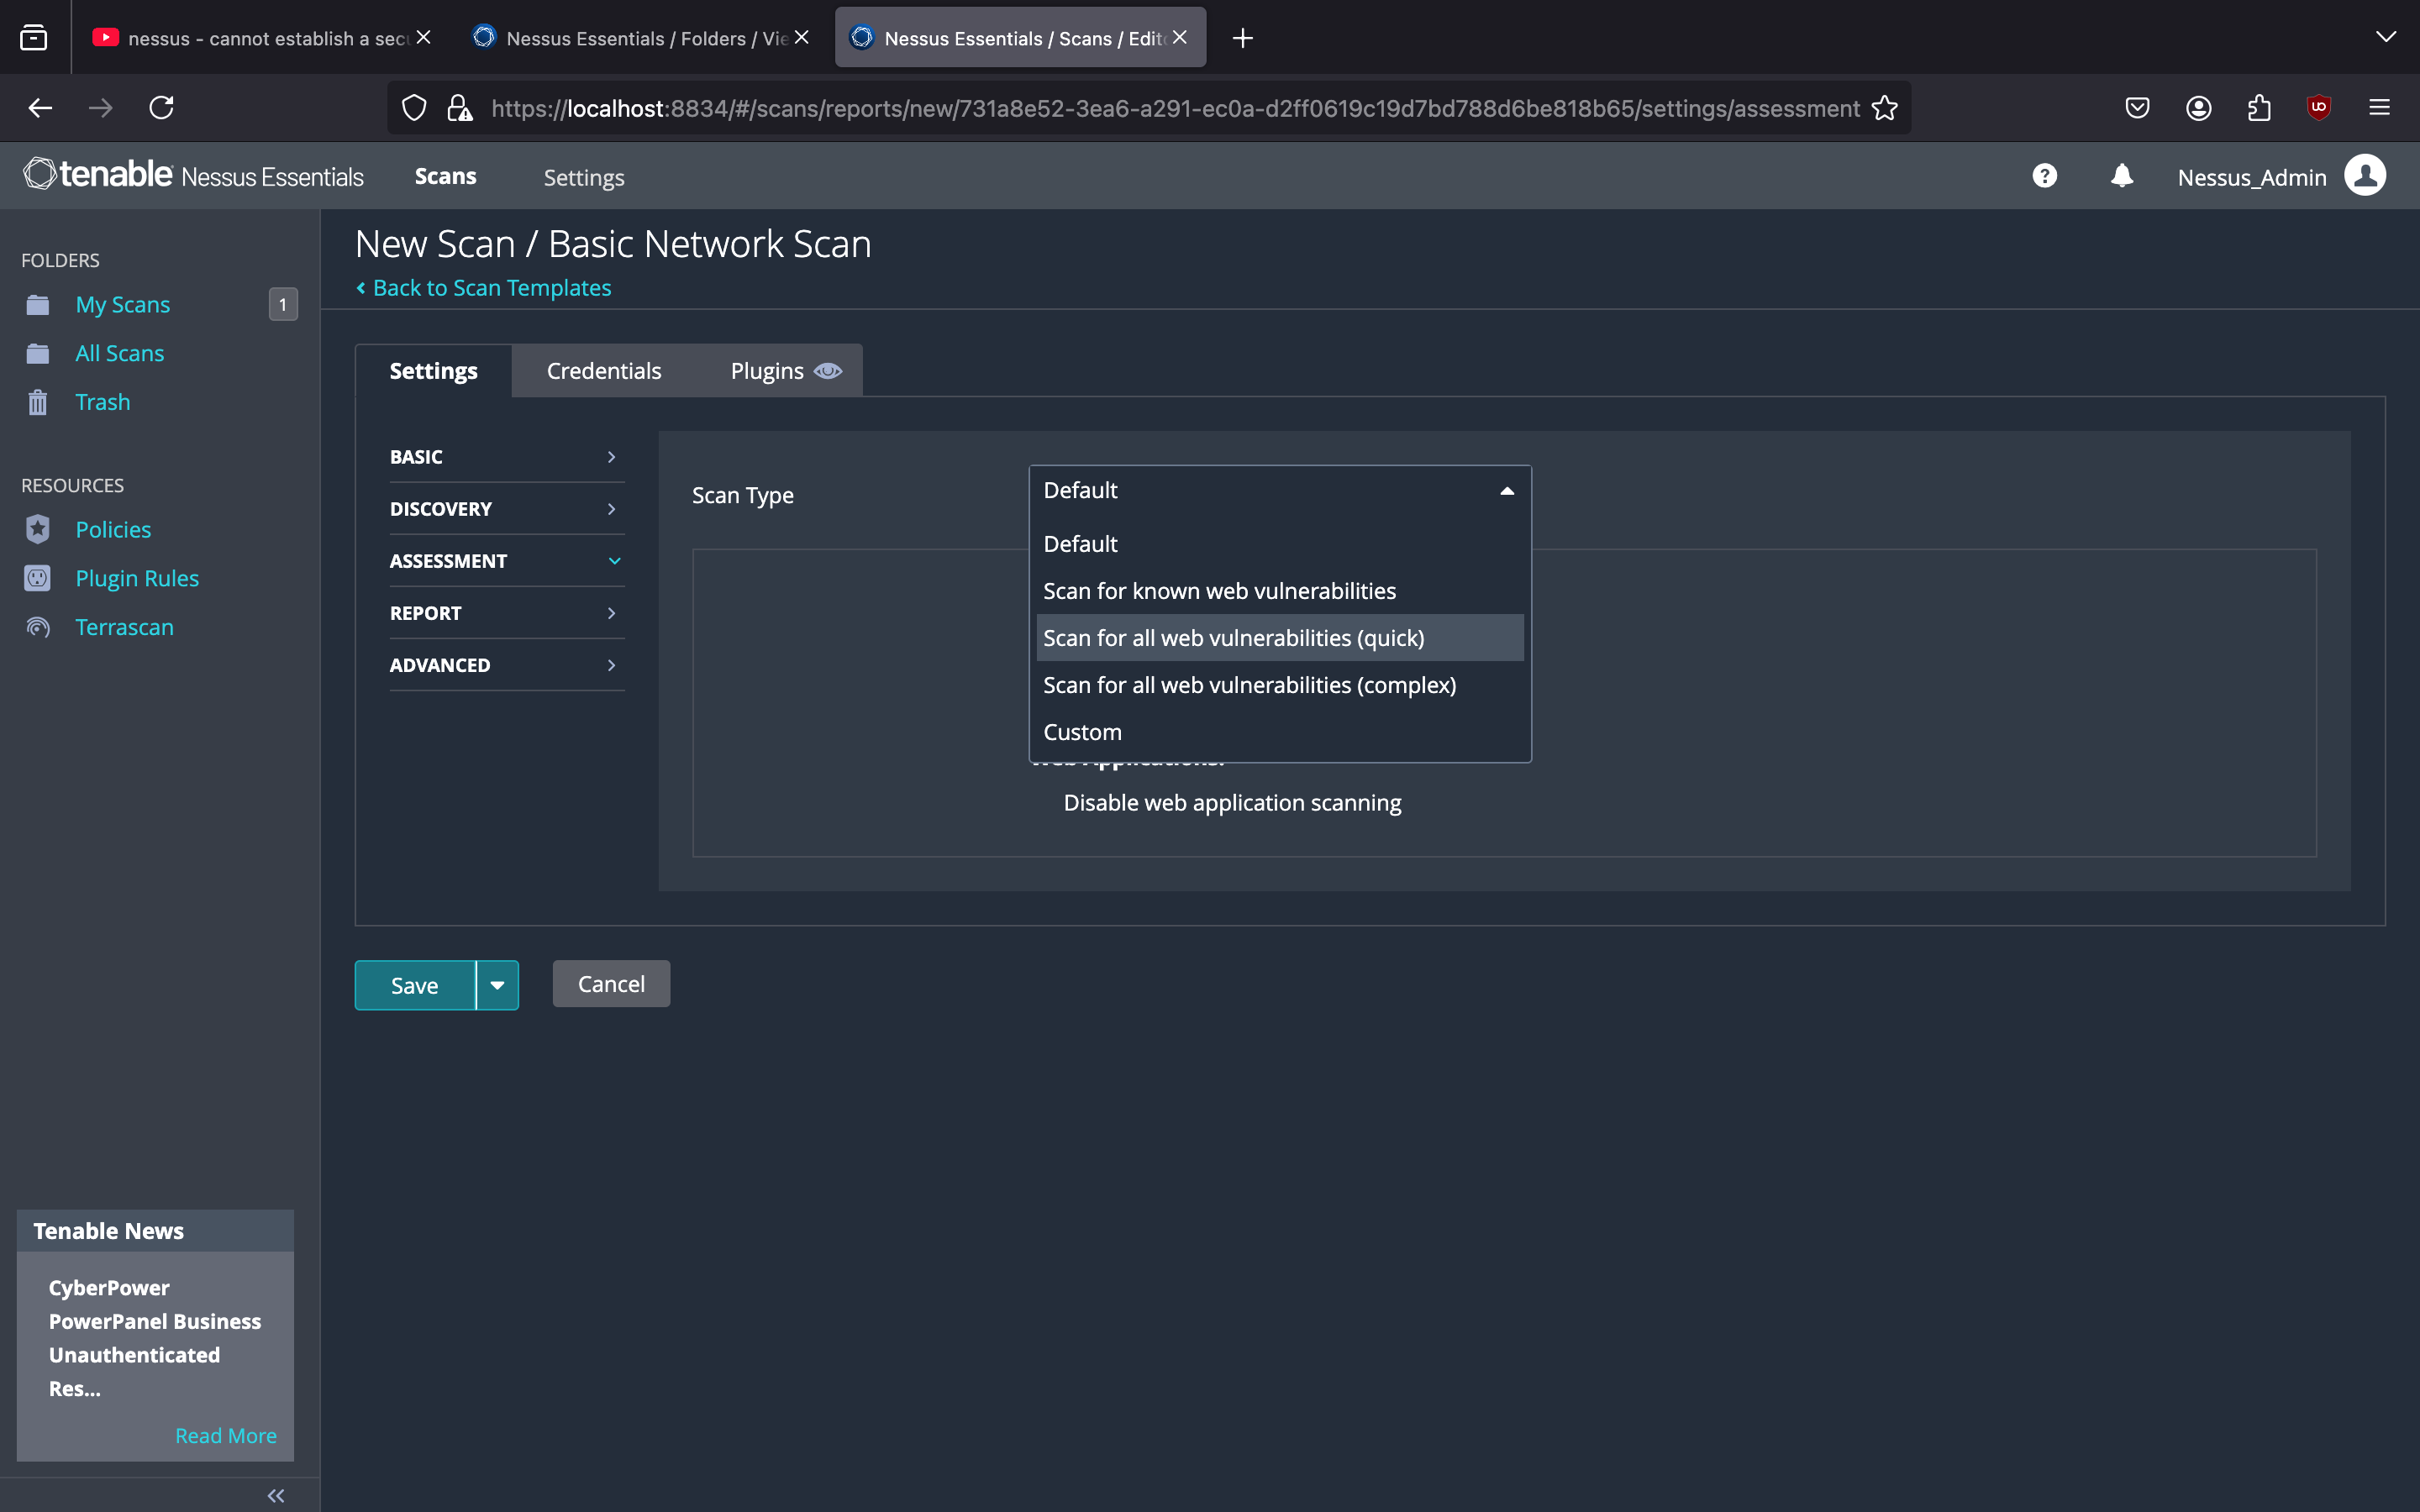
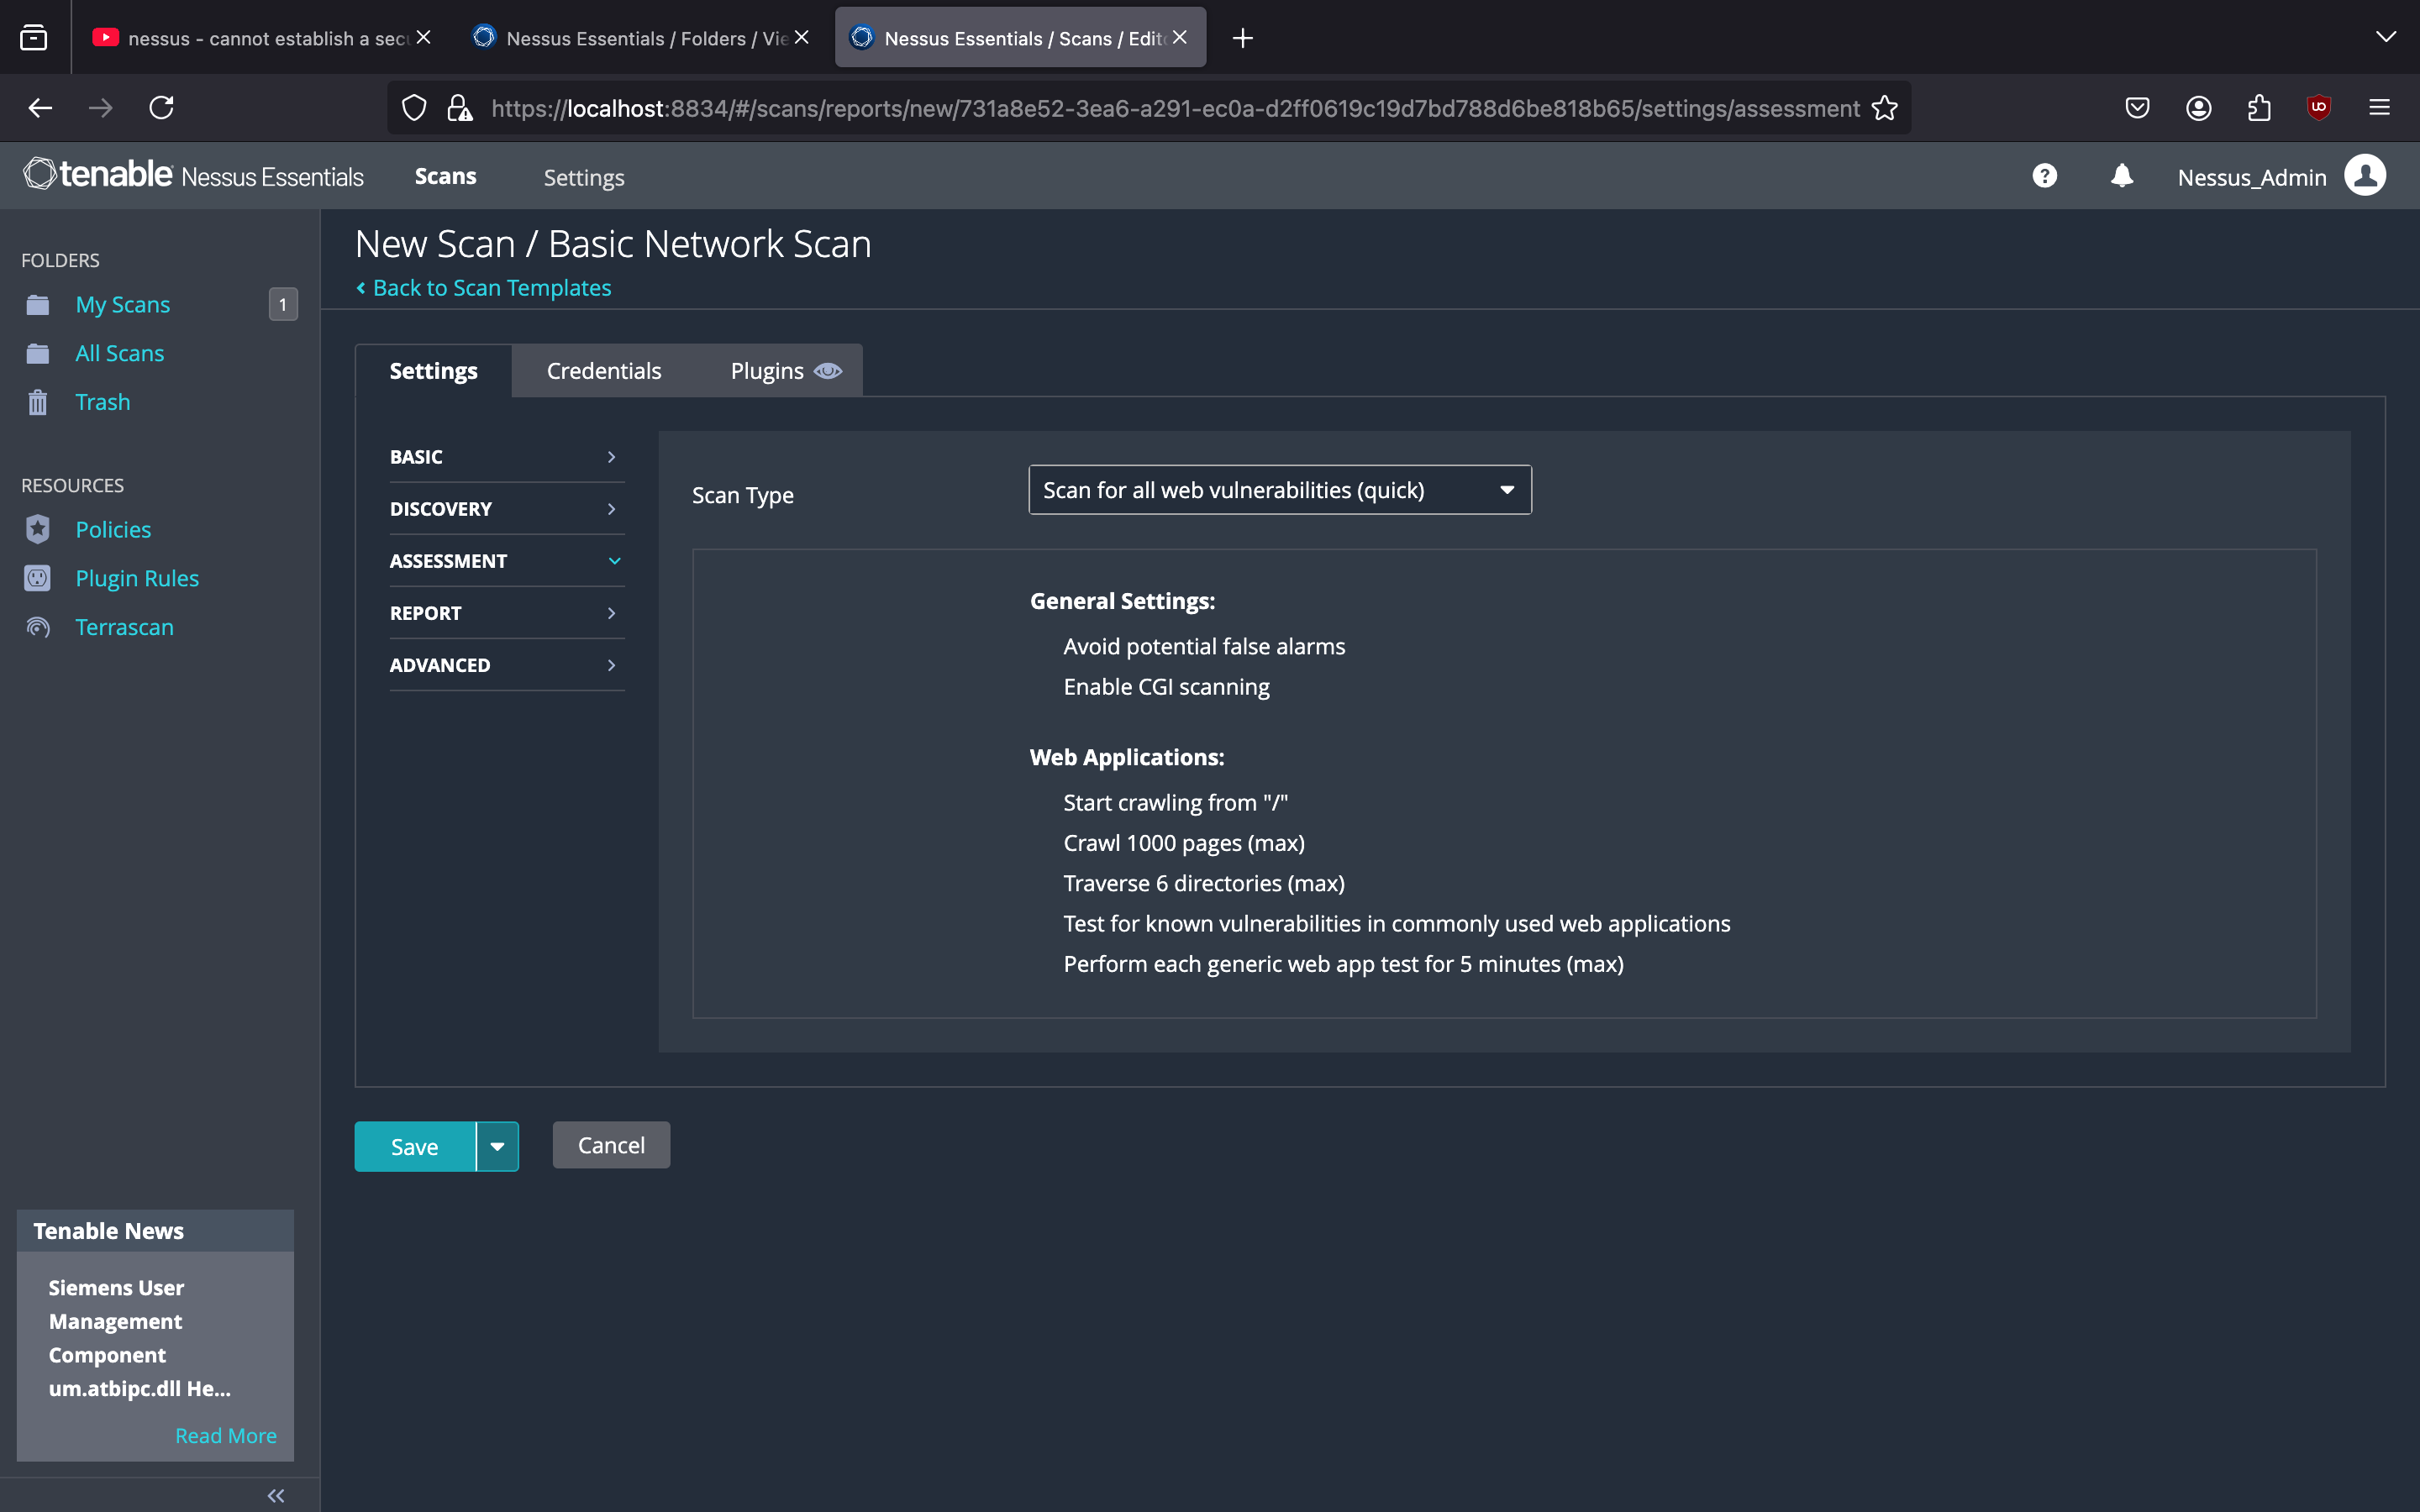
Then I started basic network scan that I named the “Maccy Mac Scan” with the target being my laptop. Under the “Assessment” tab, I changed the Scan Type to “Scan for all web vulnerabilities (quick)” before saving and starting the vulnerability scan.
 |
 |
 |
 |
 |
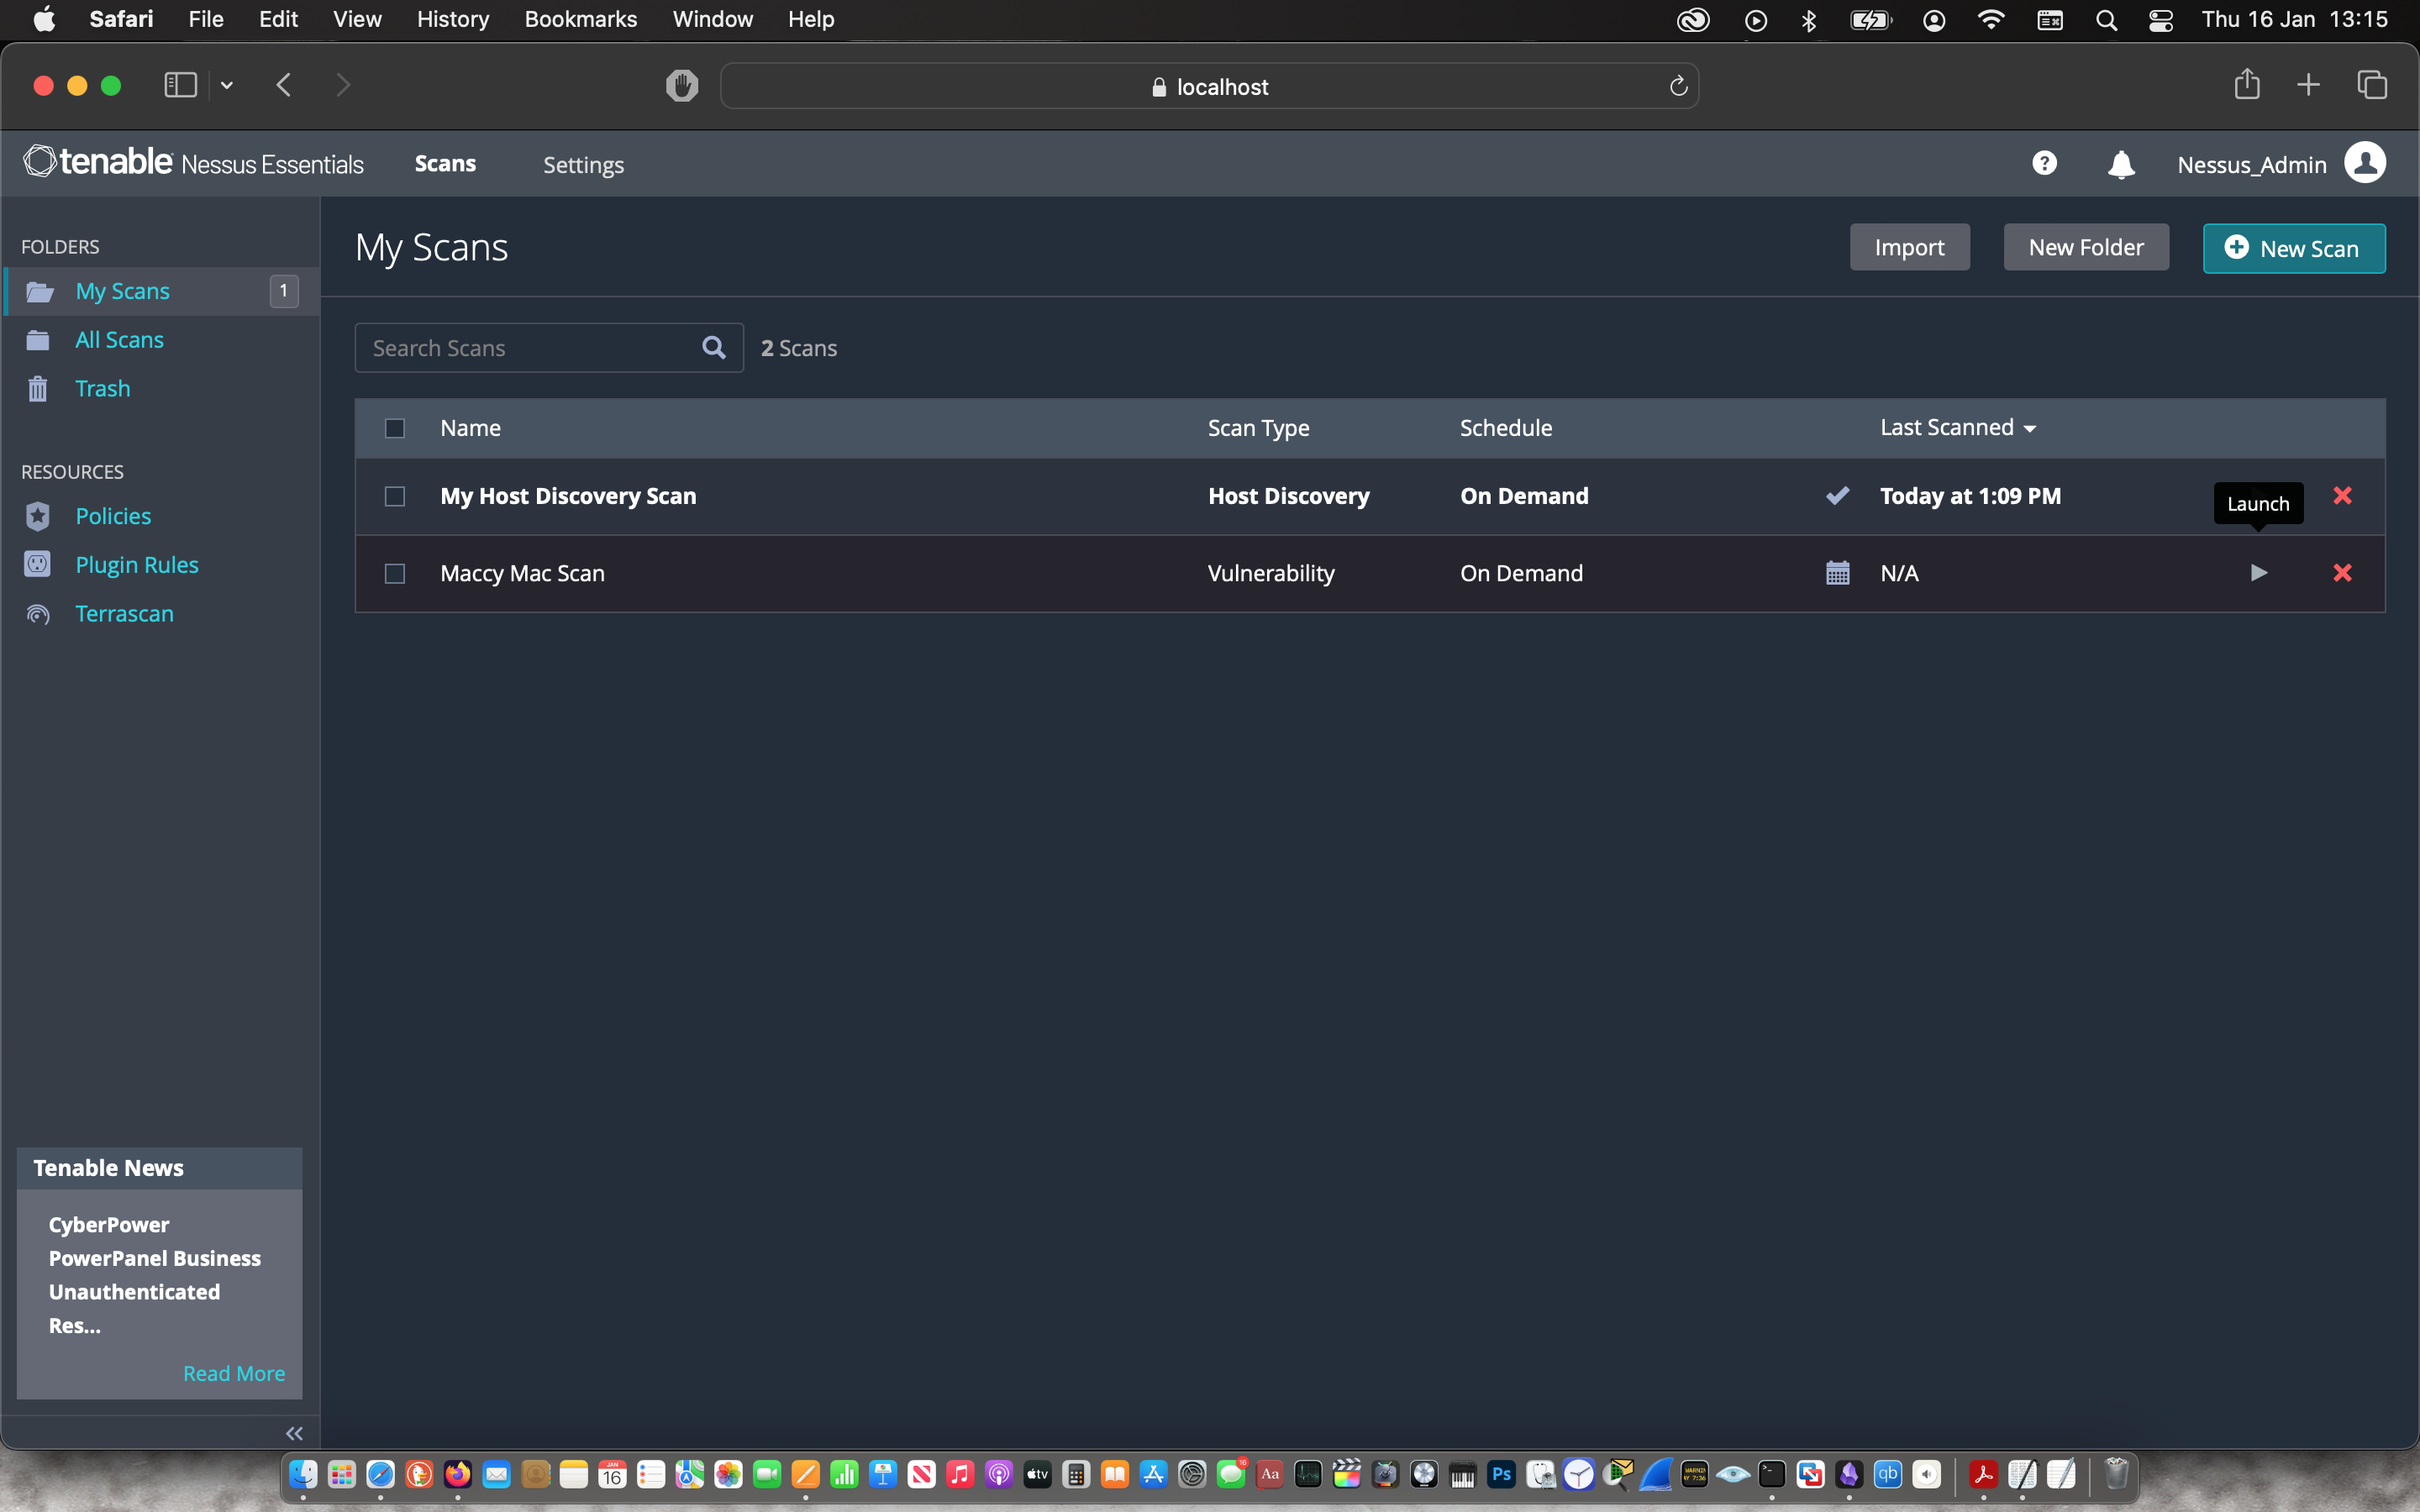 |

The scan was ready after 16 mins.
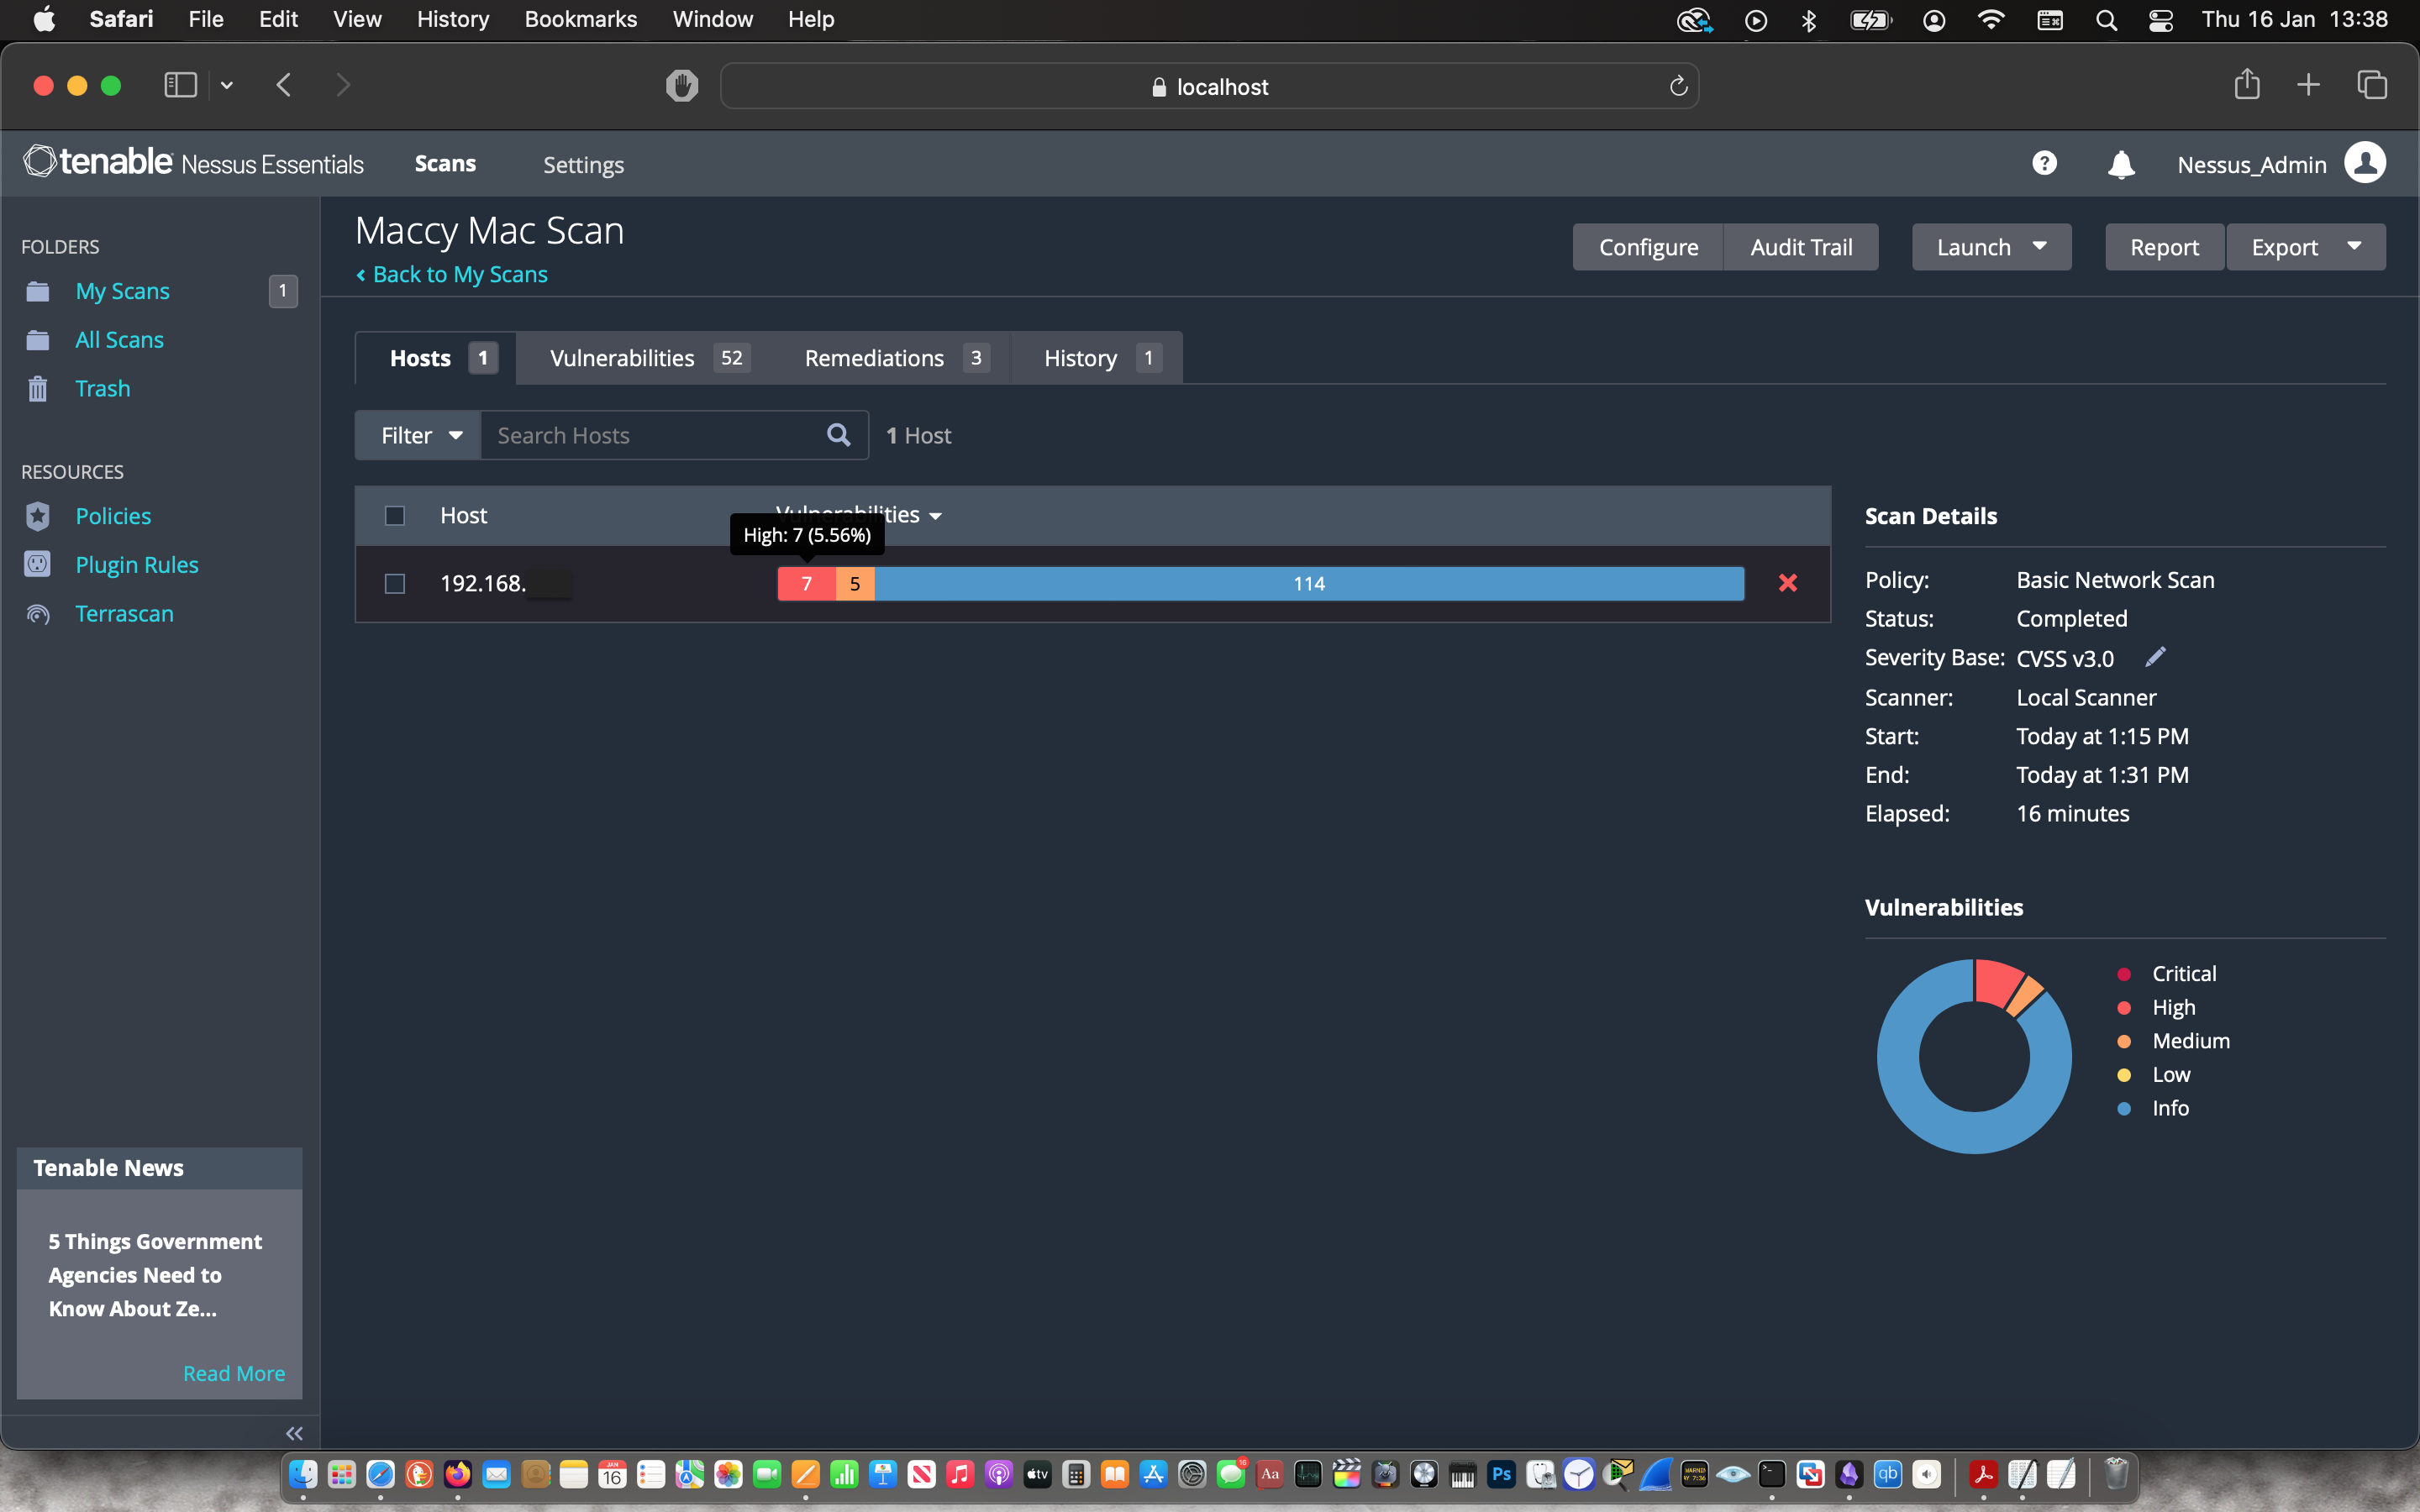
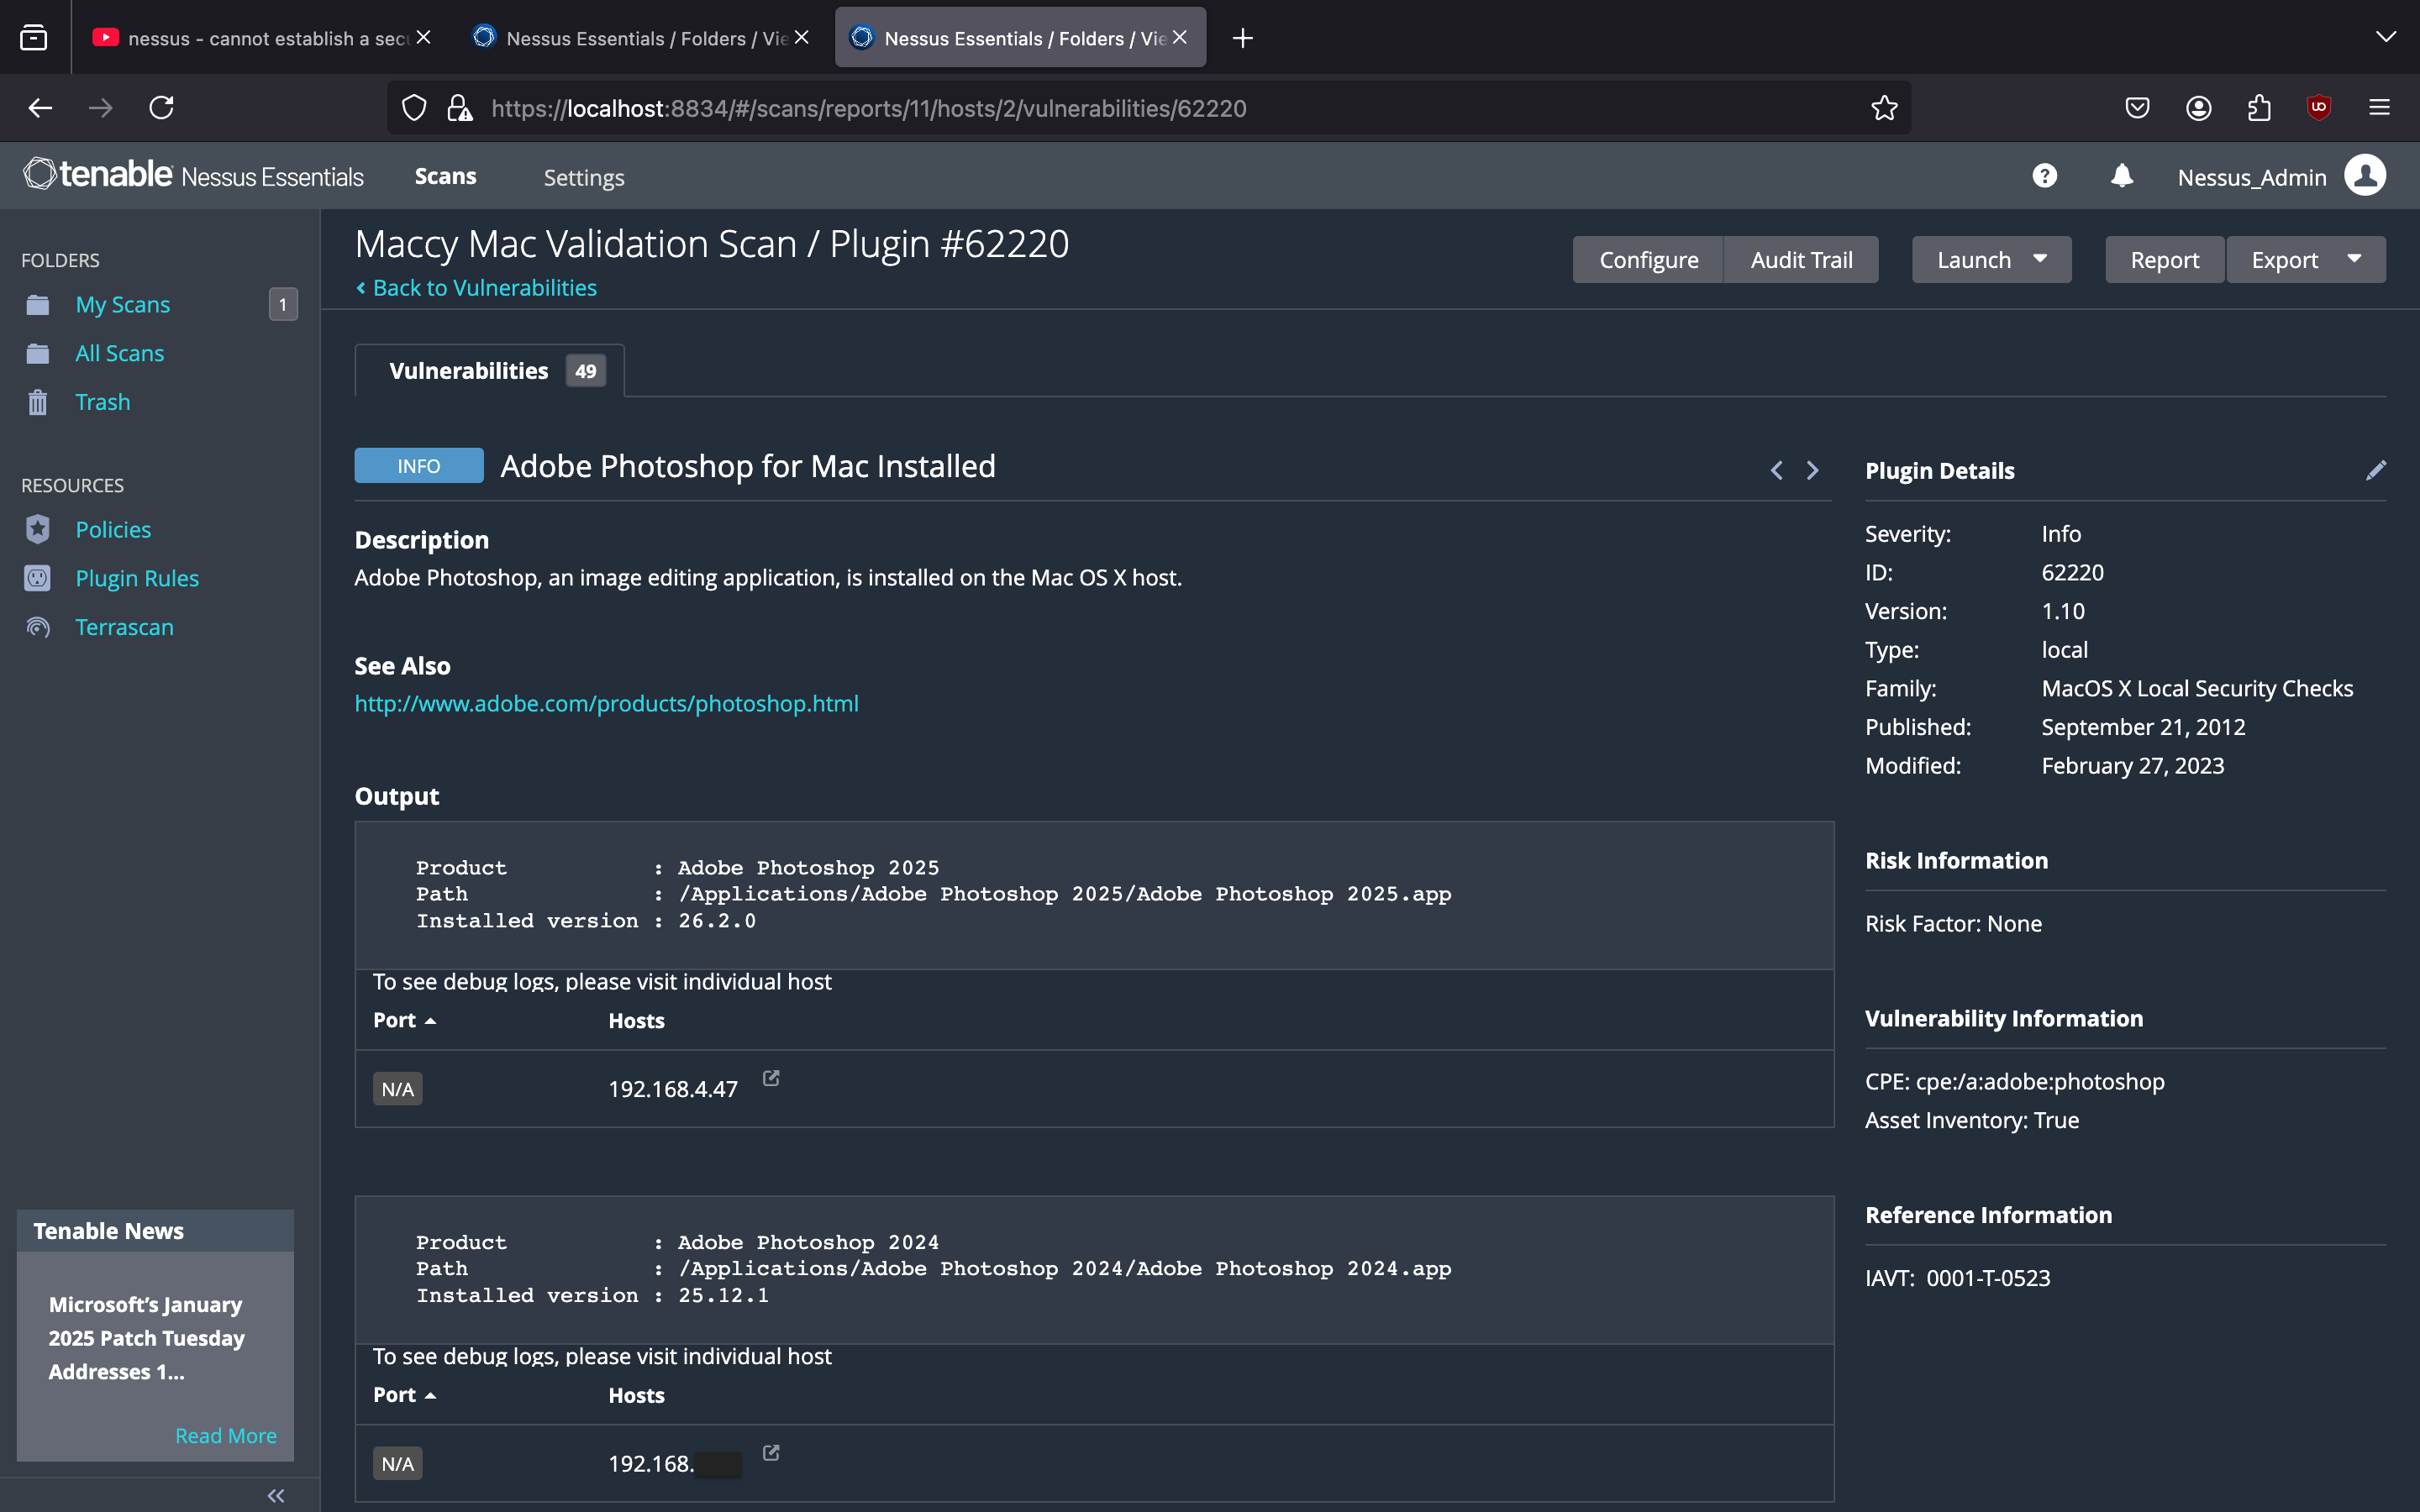
Vulnerability Scan Result
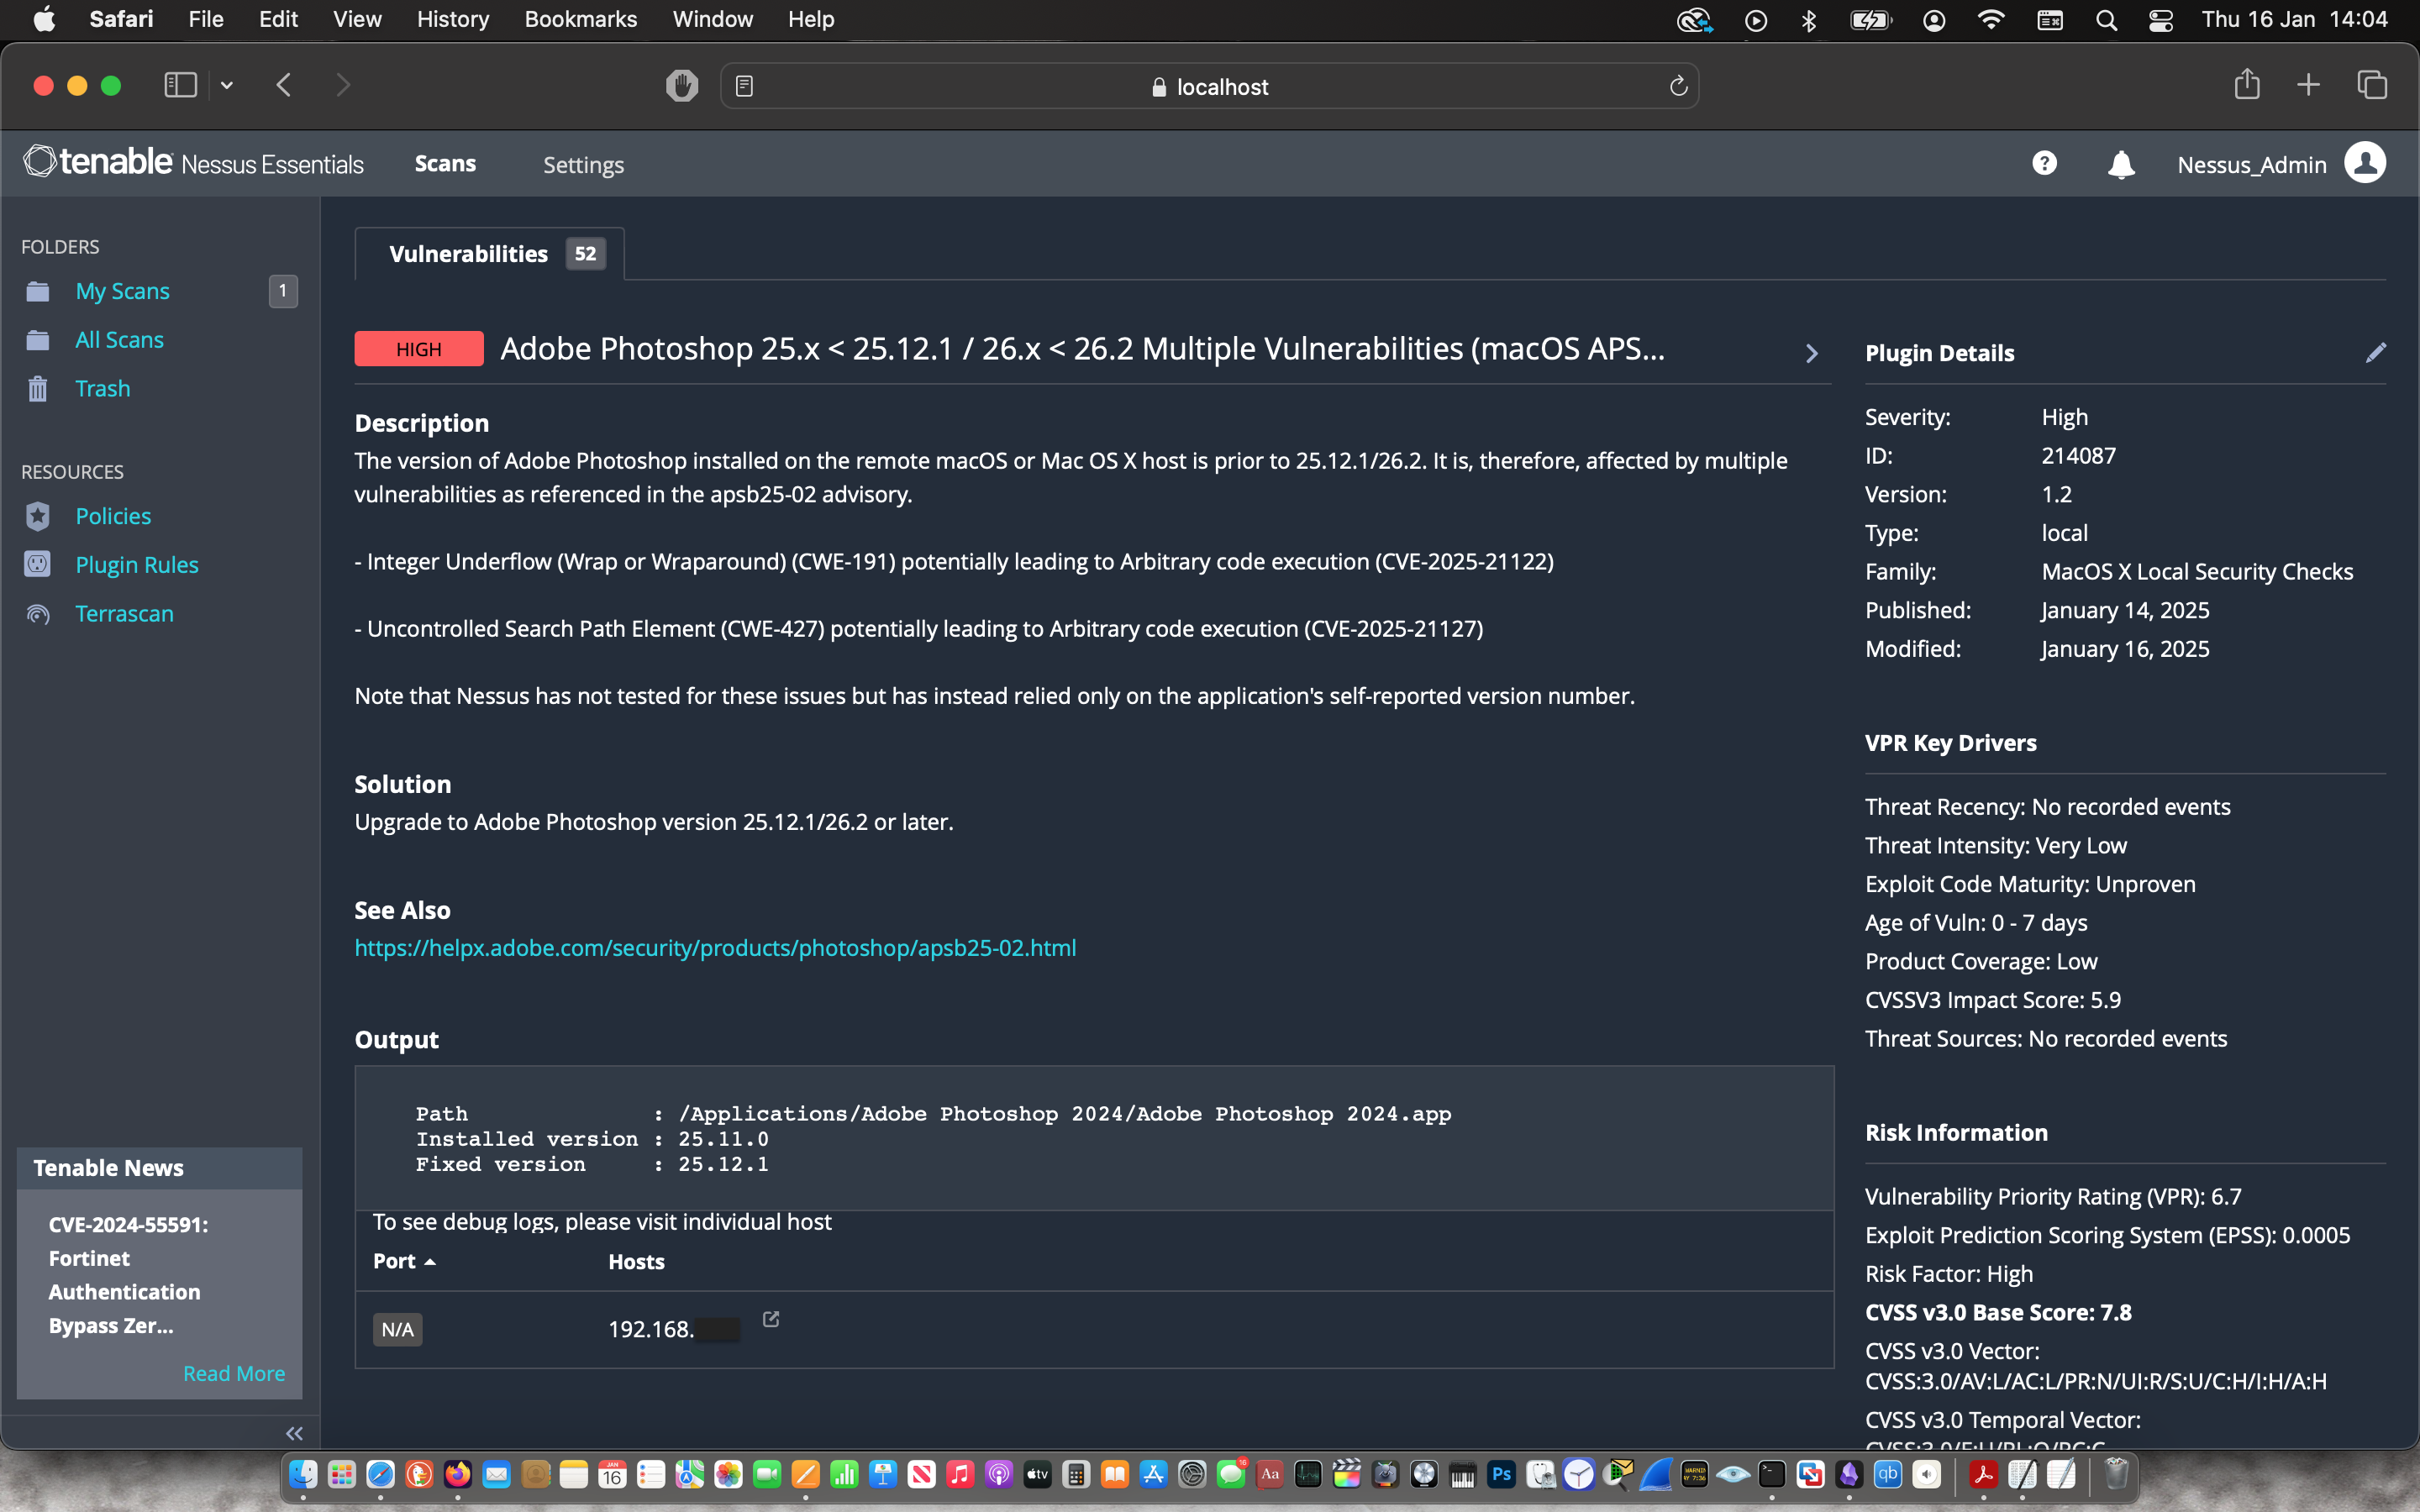
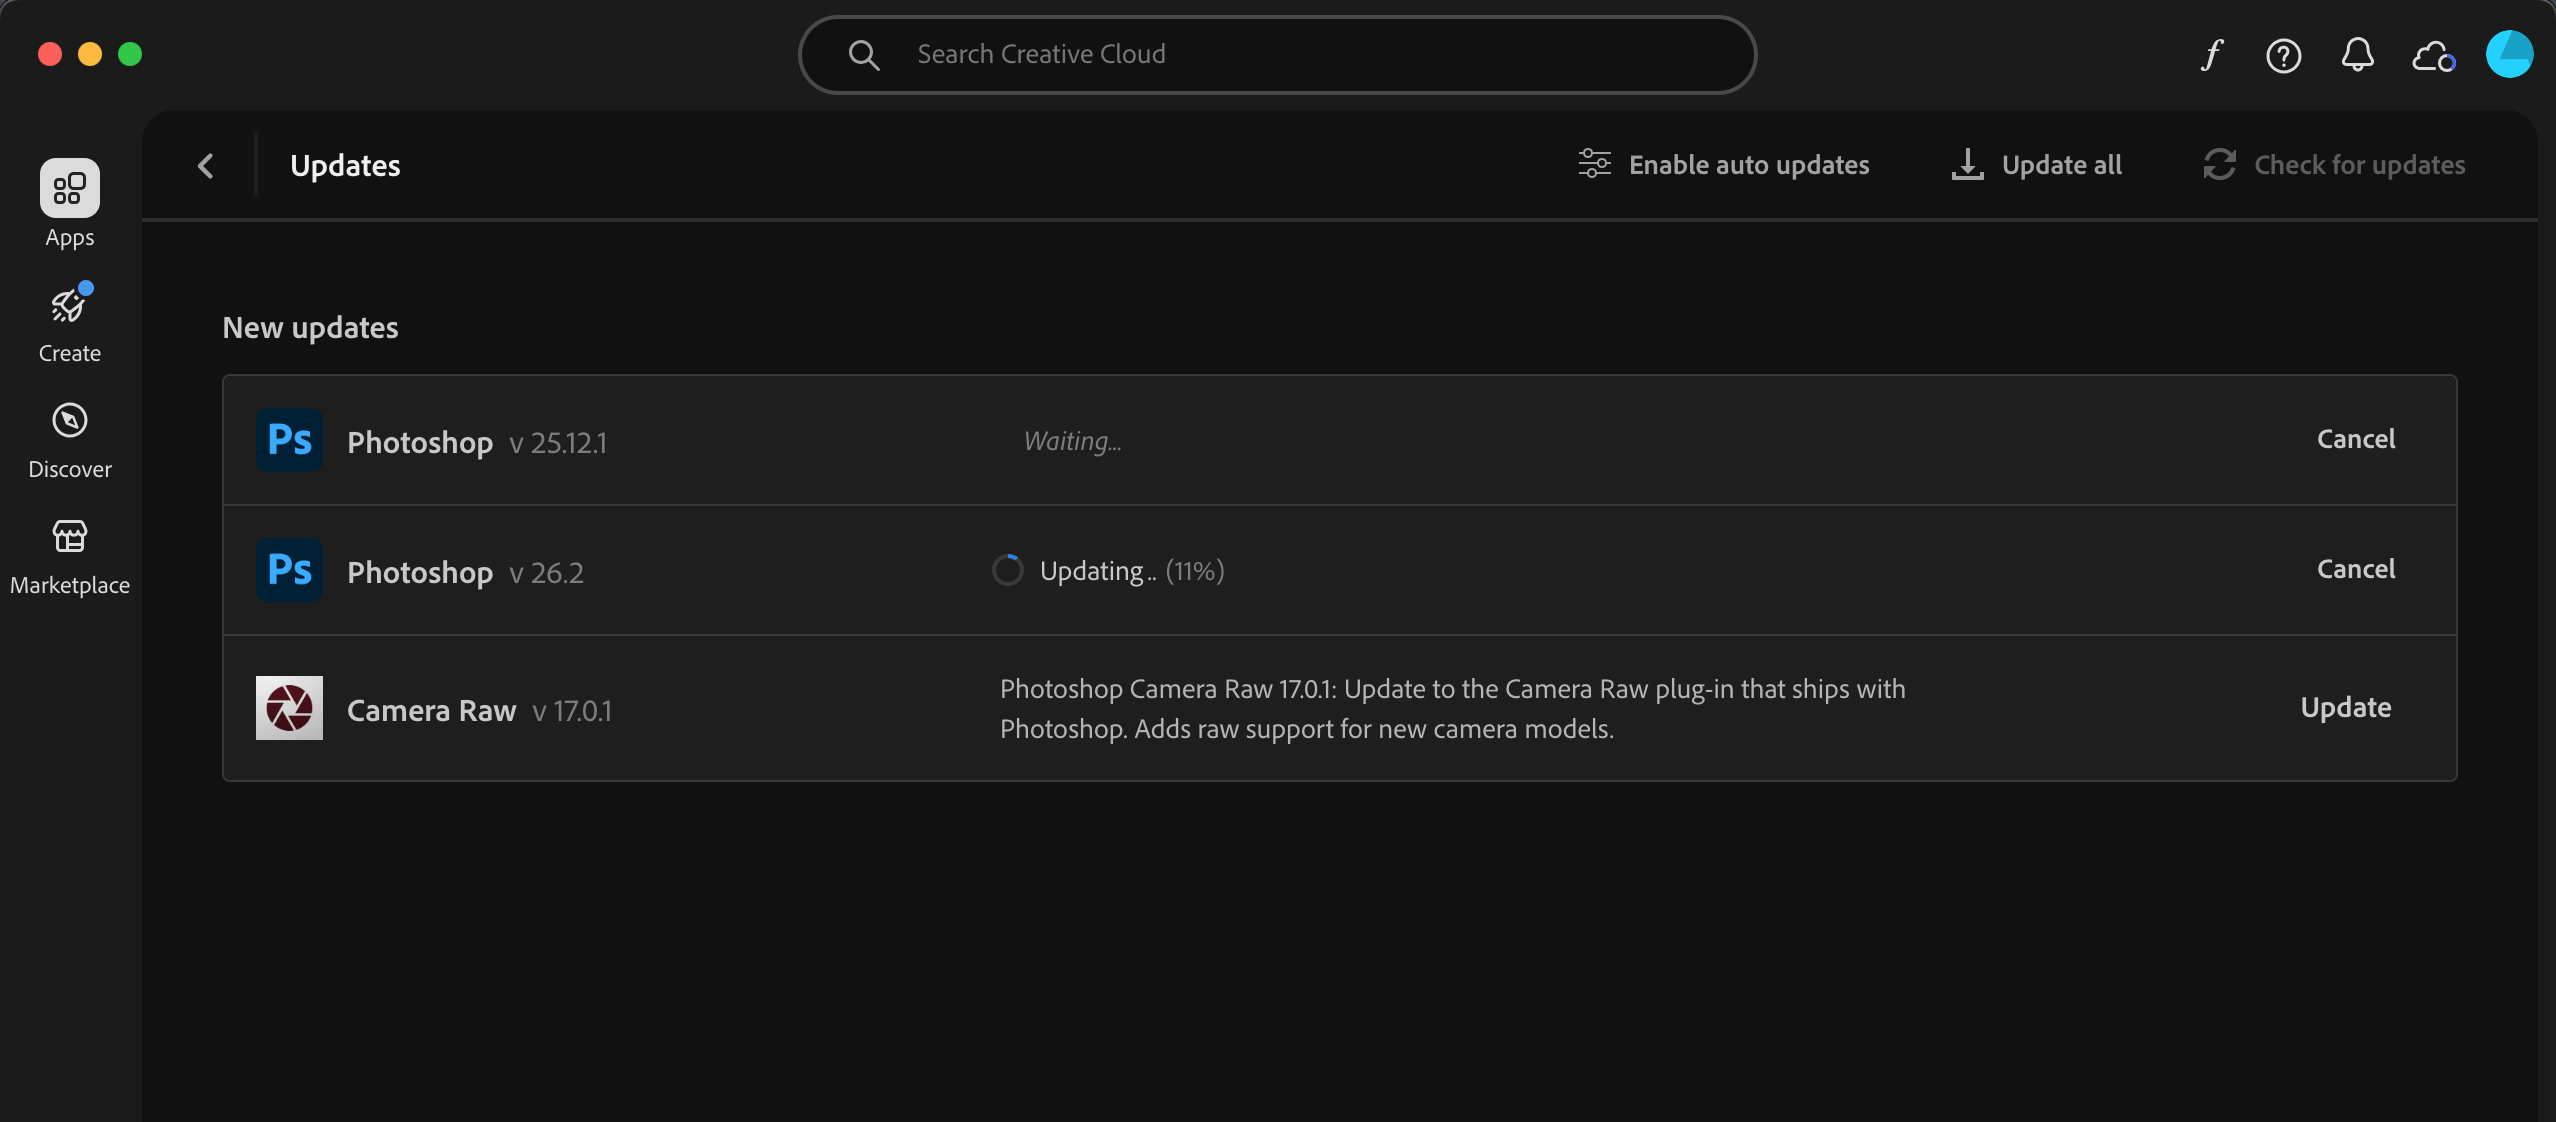
- Multiple vulnerabilities in the Adobe Photoshop application installed on the target
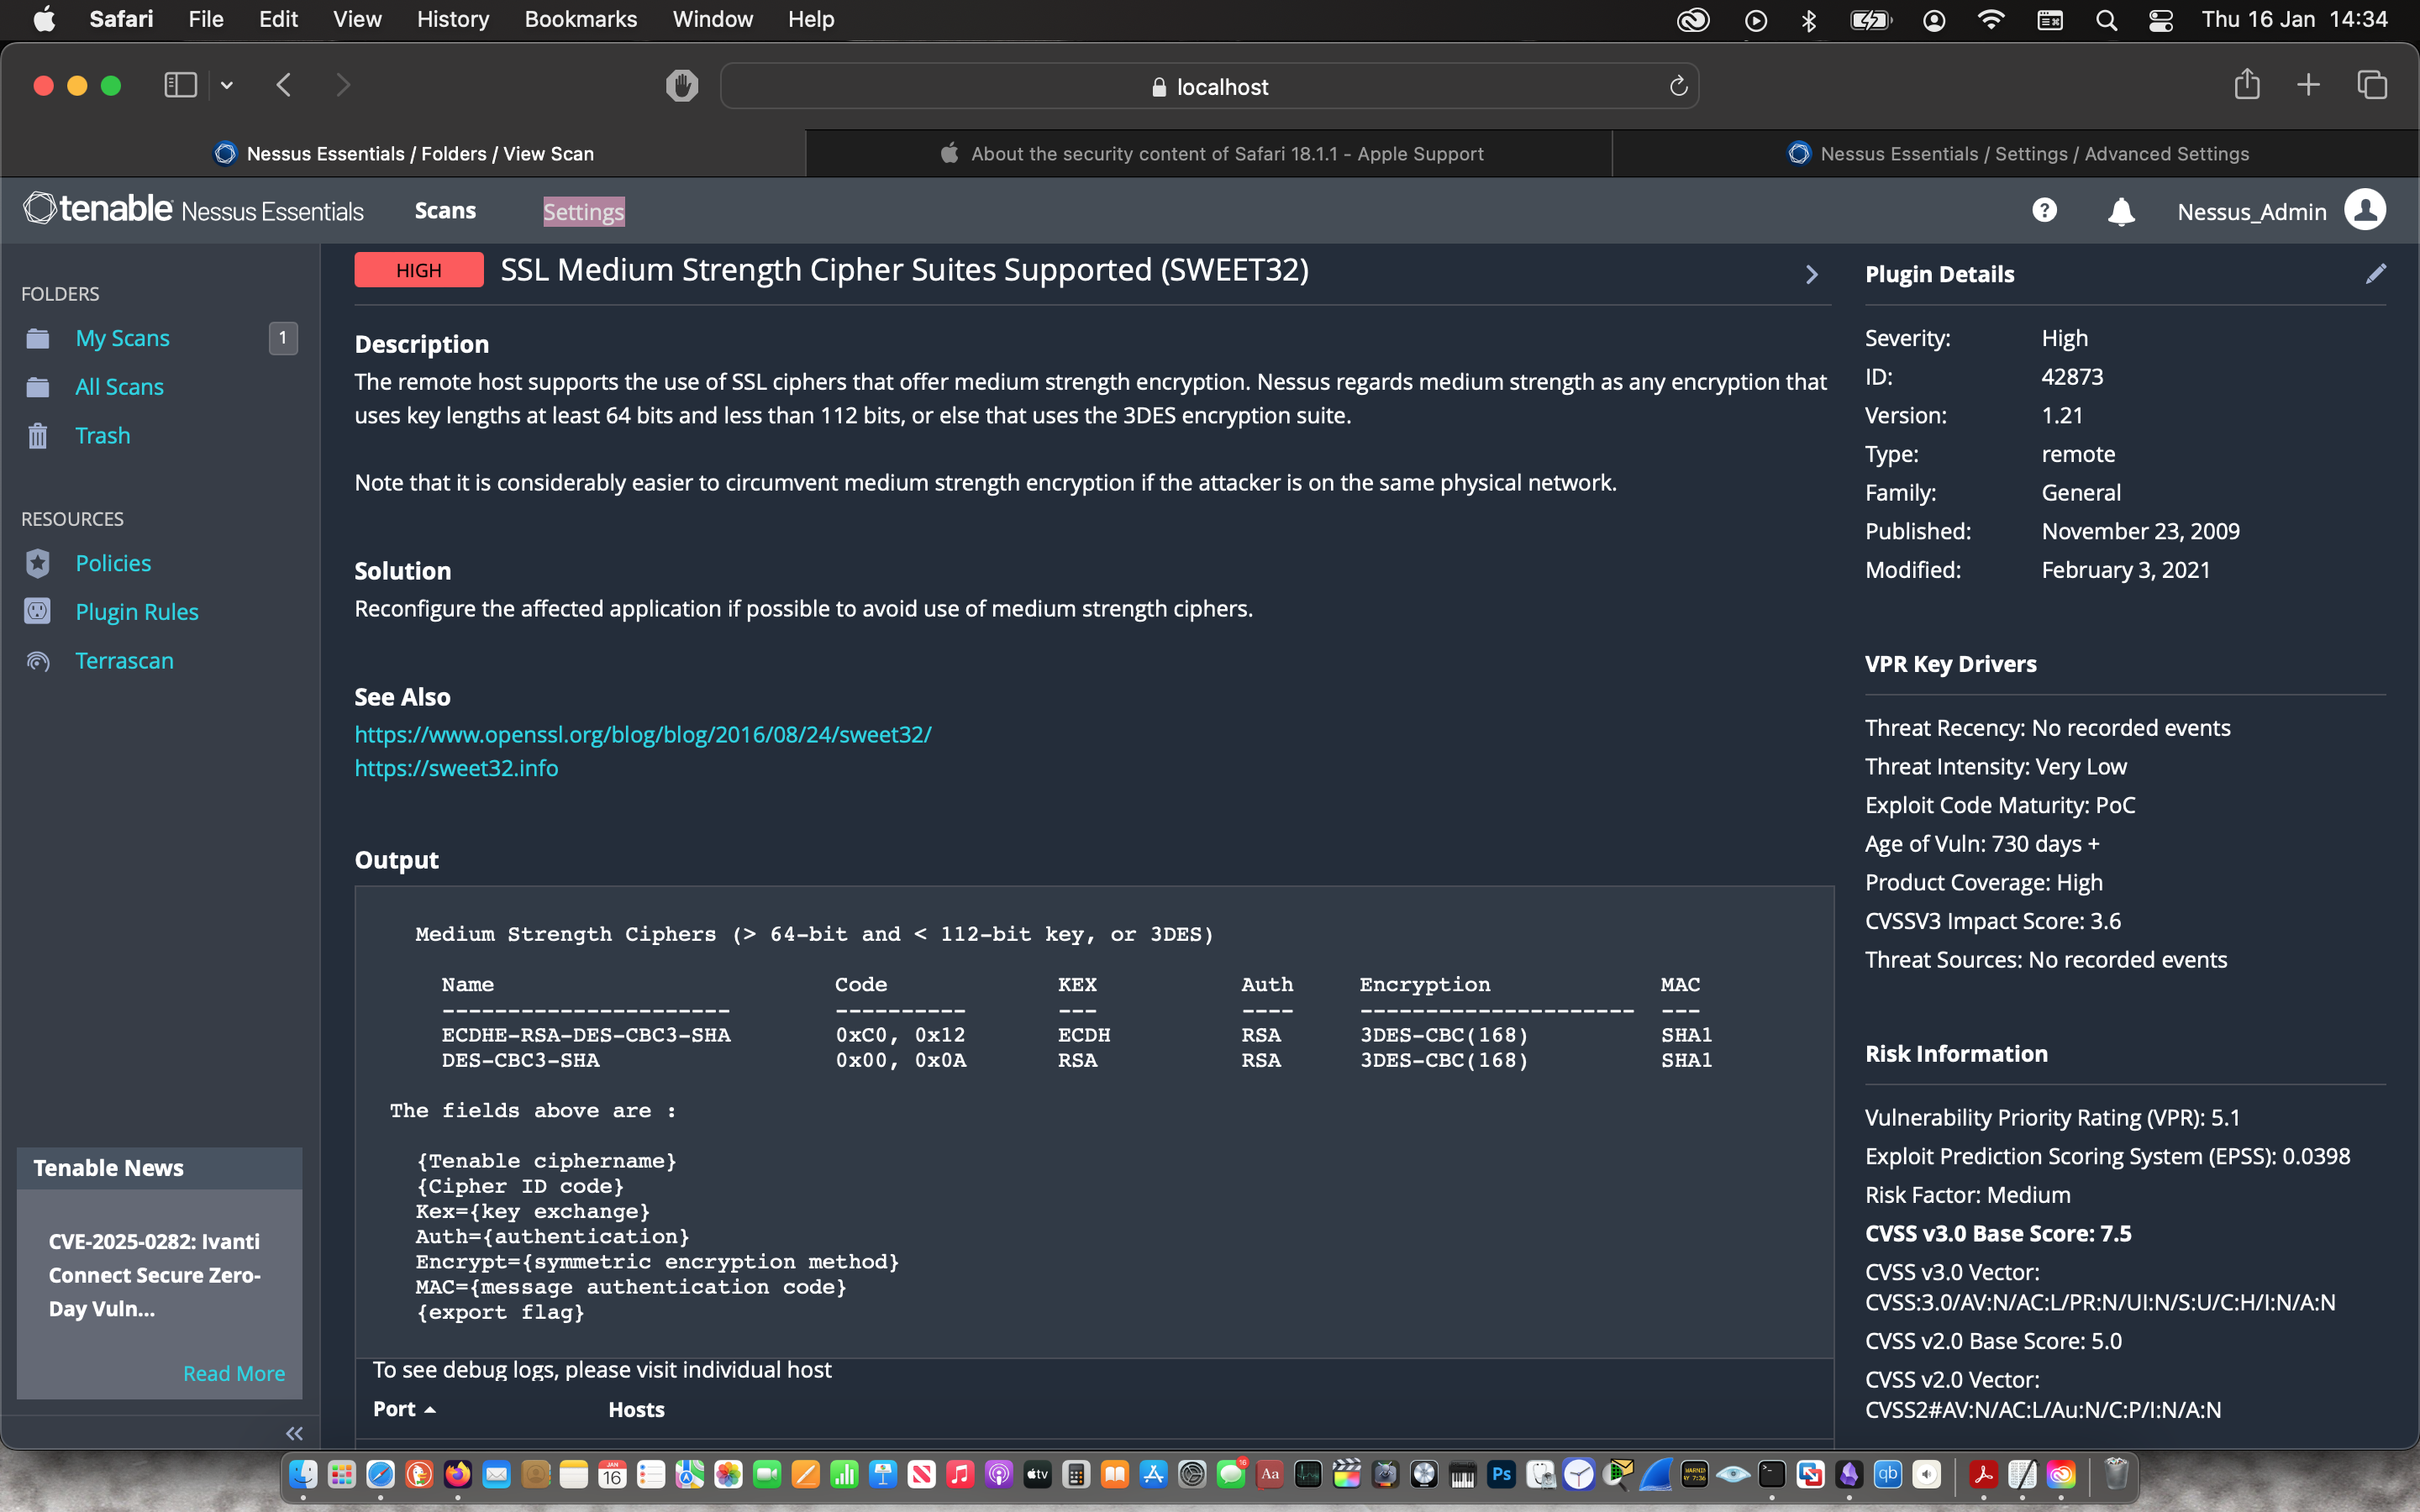
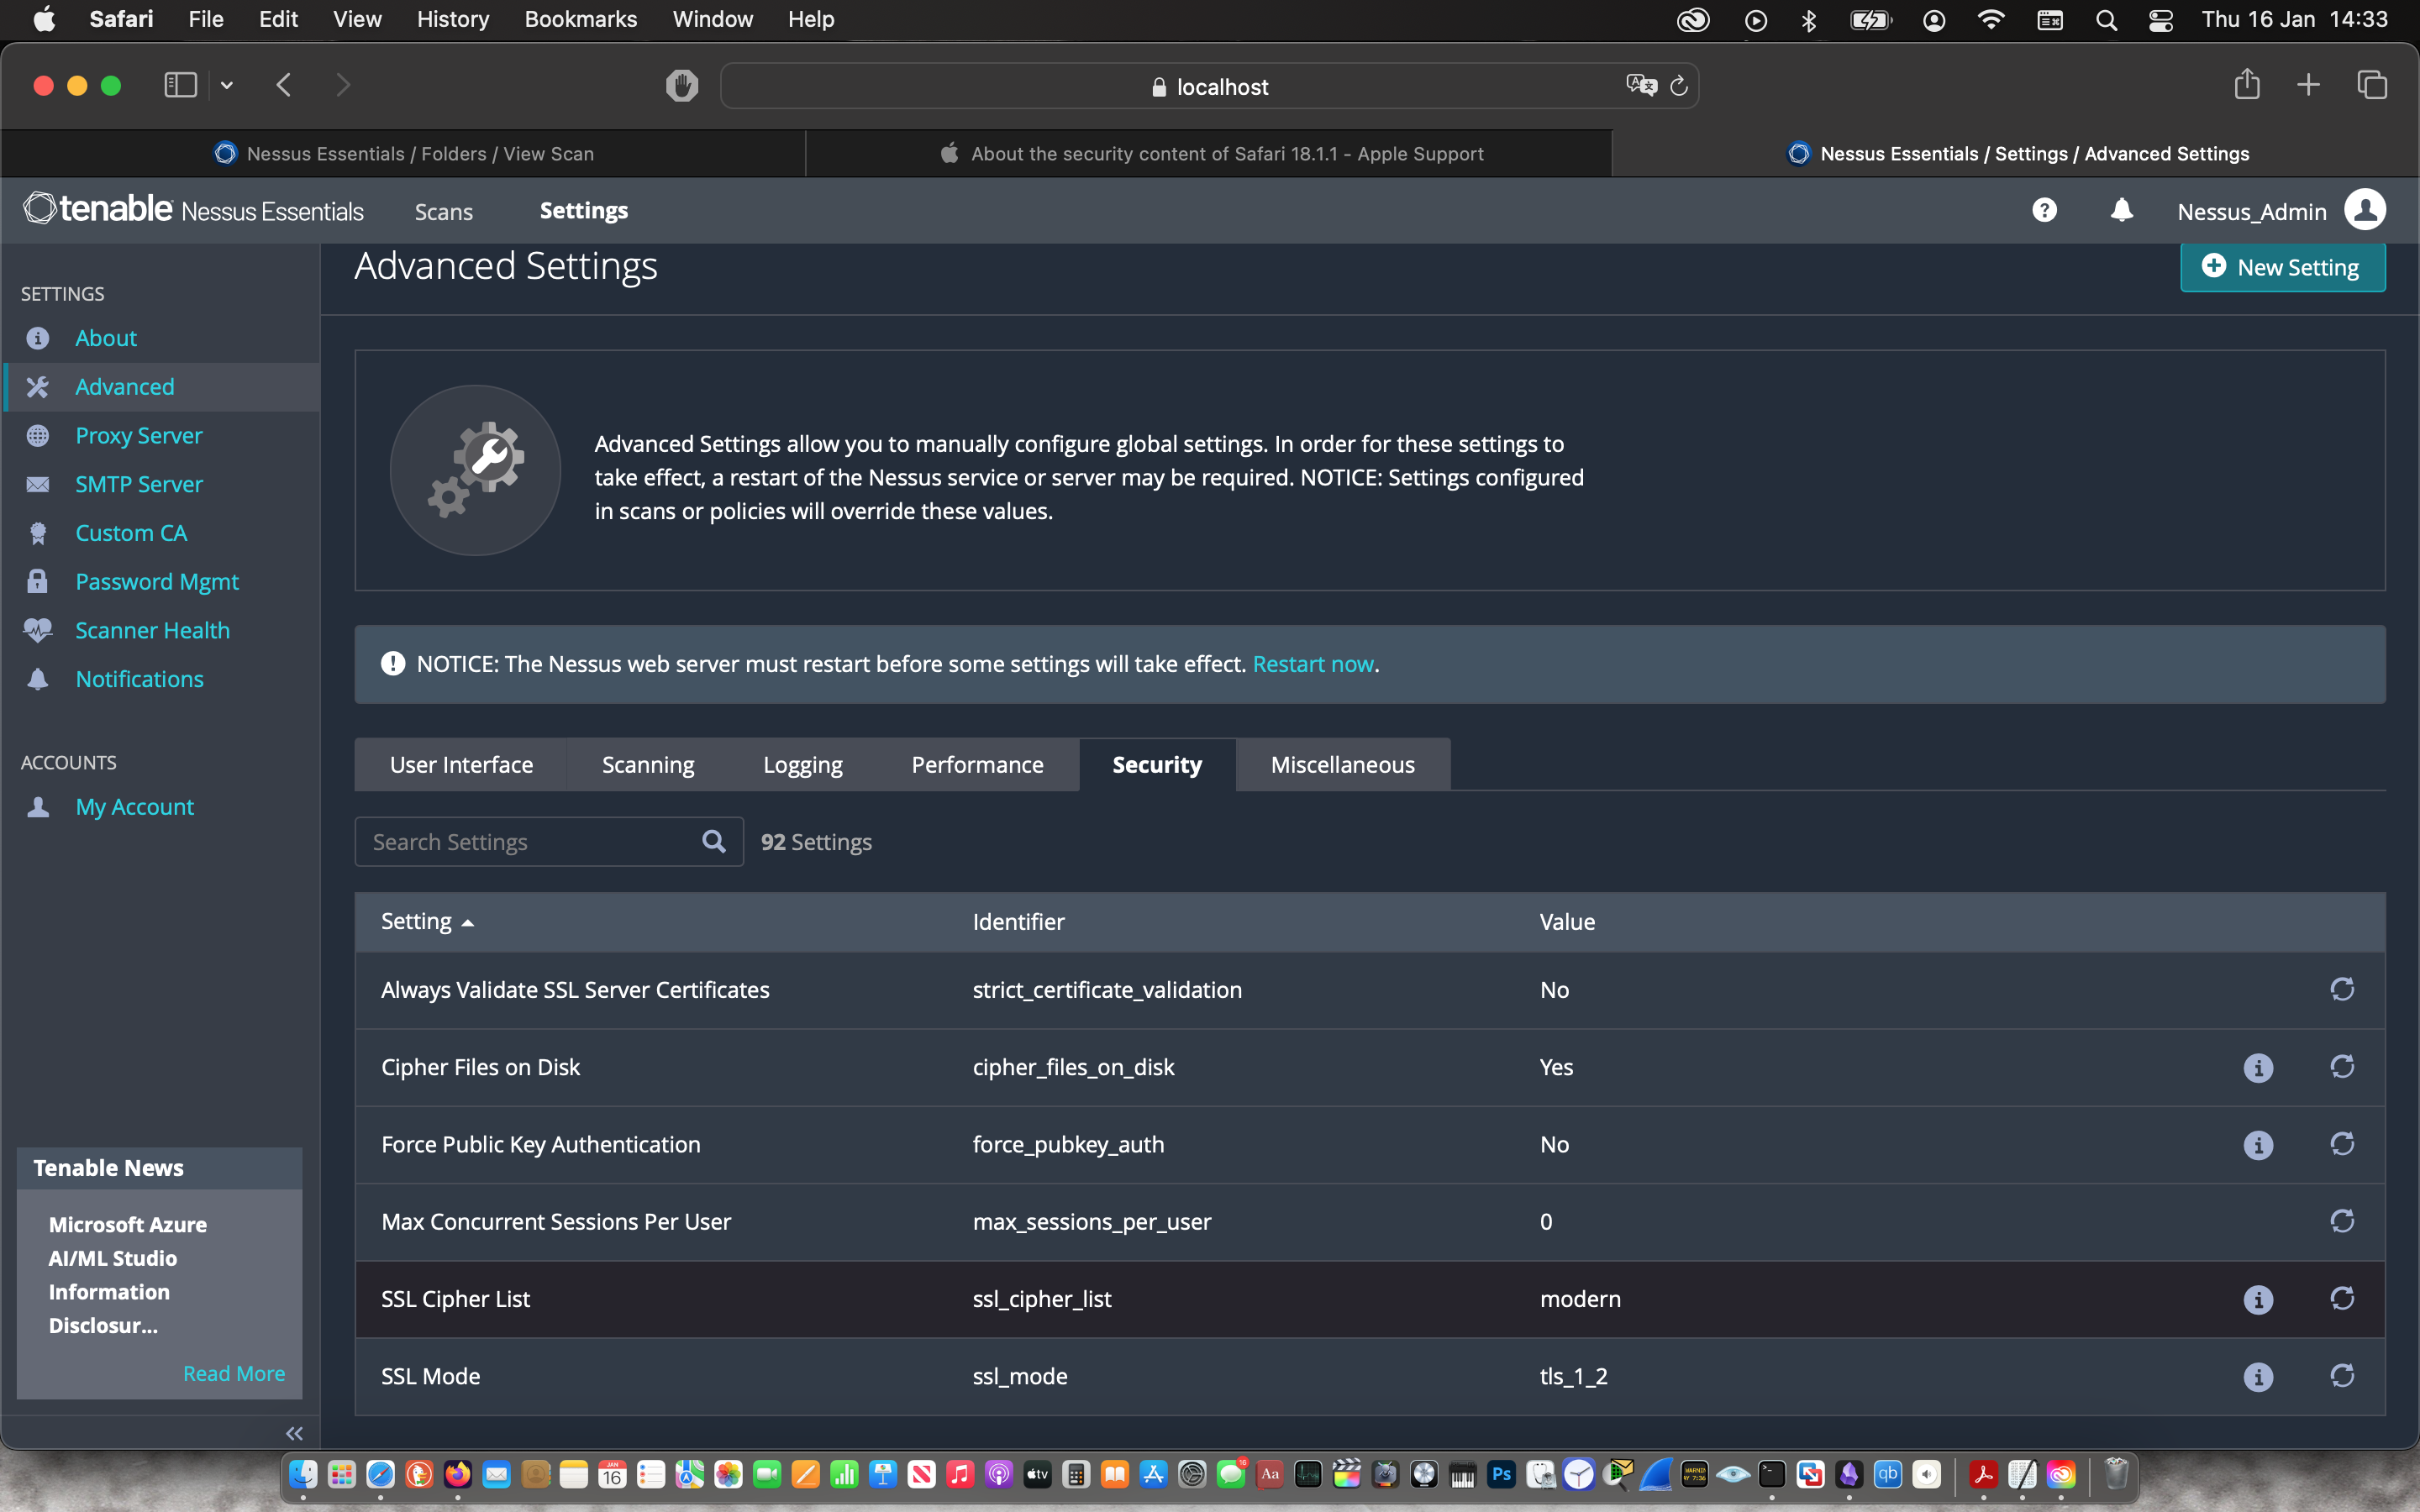
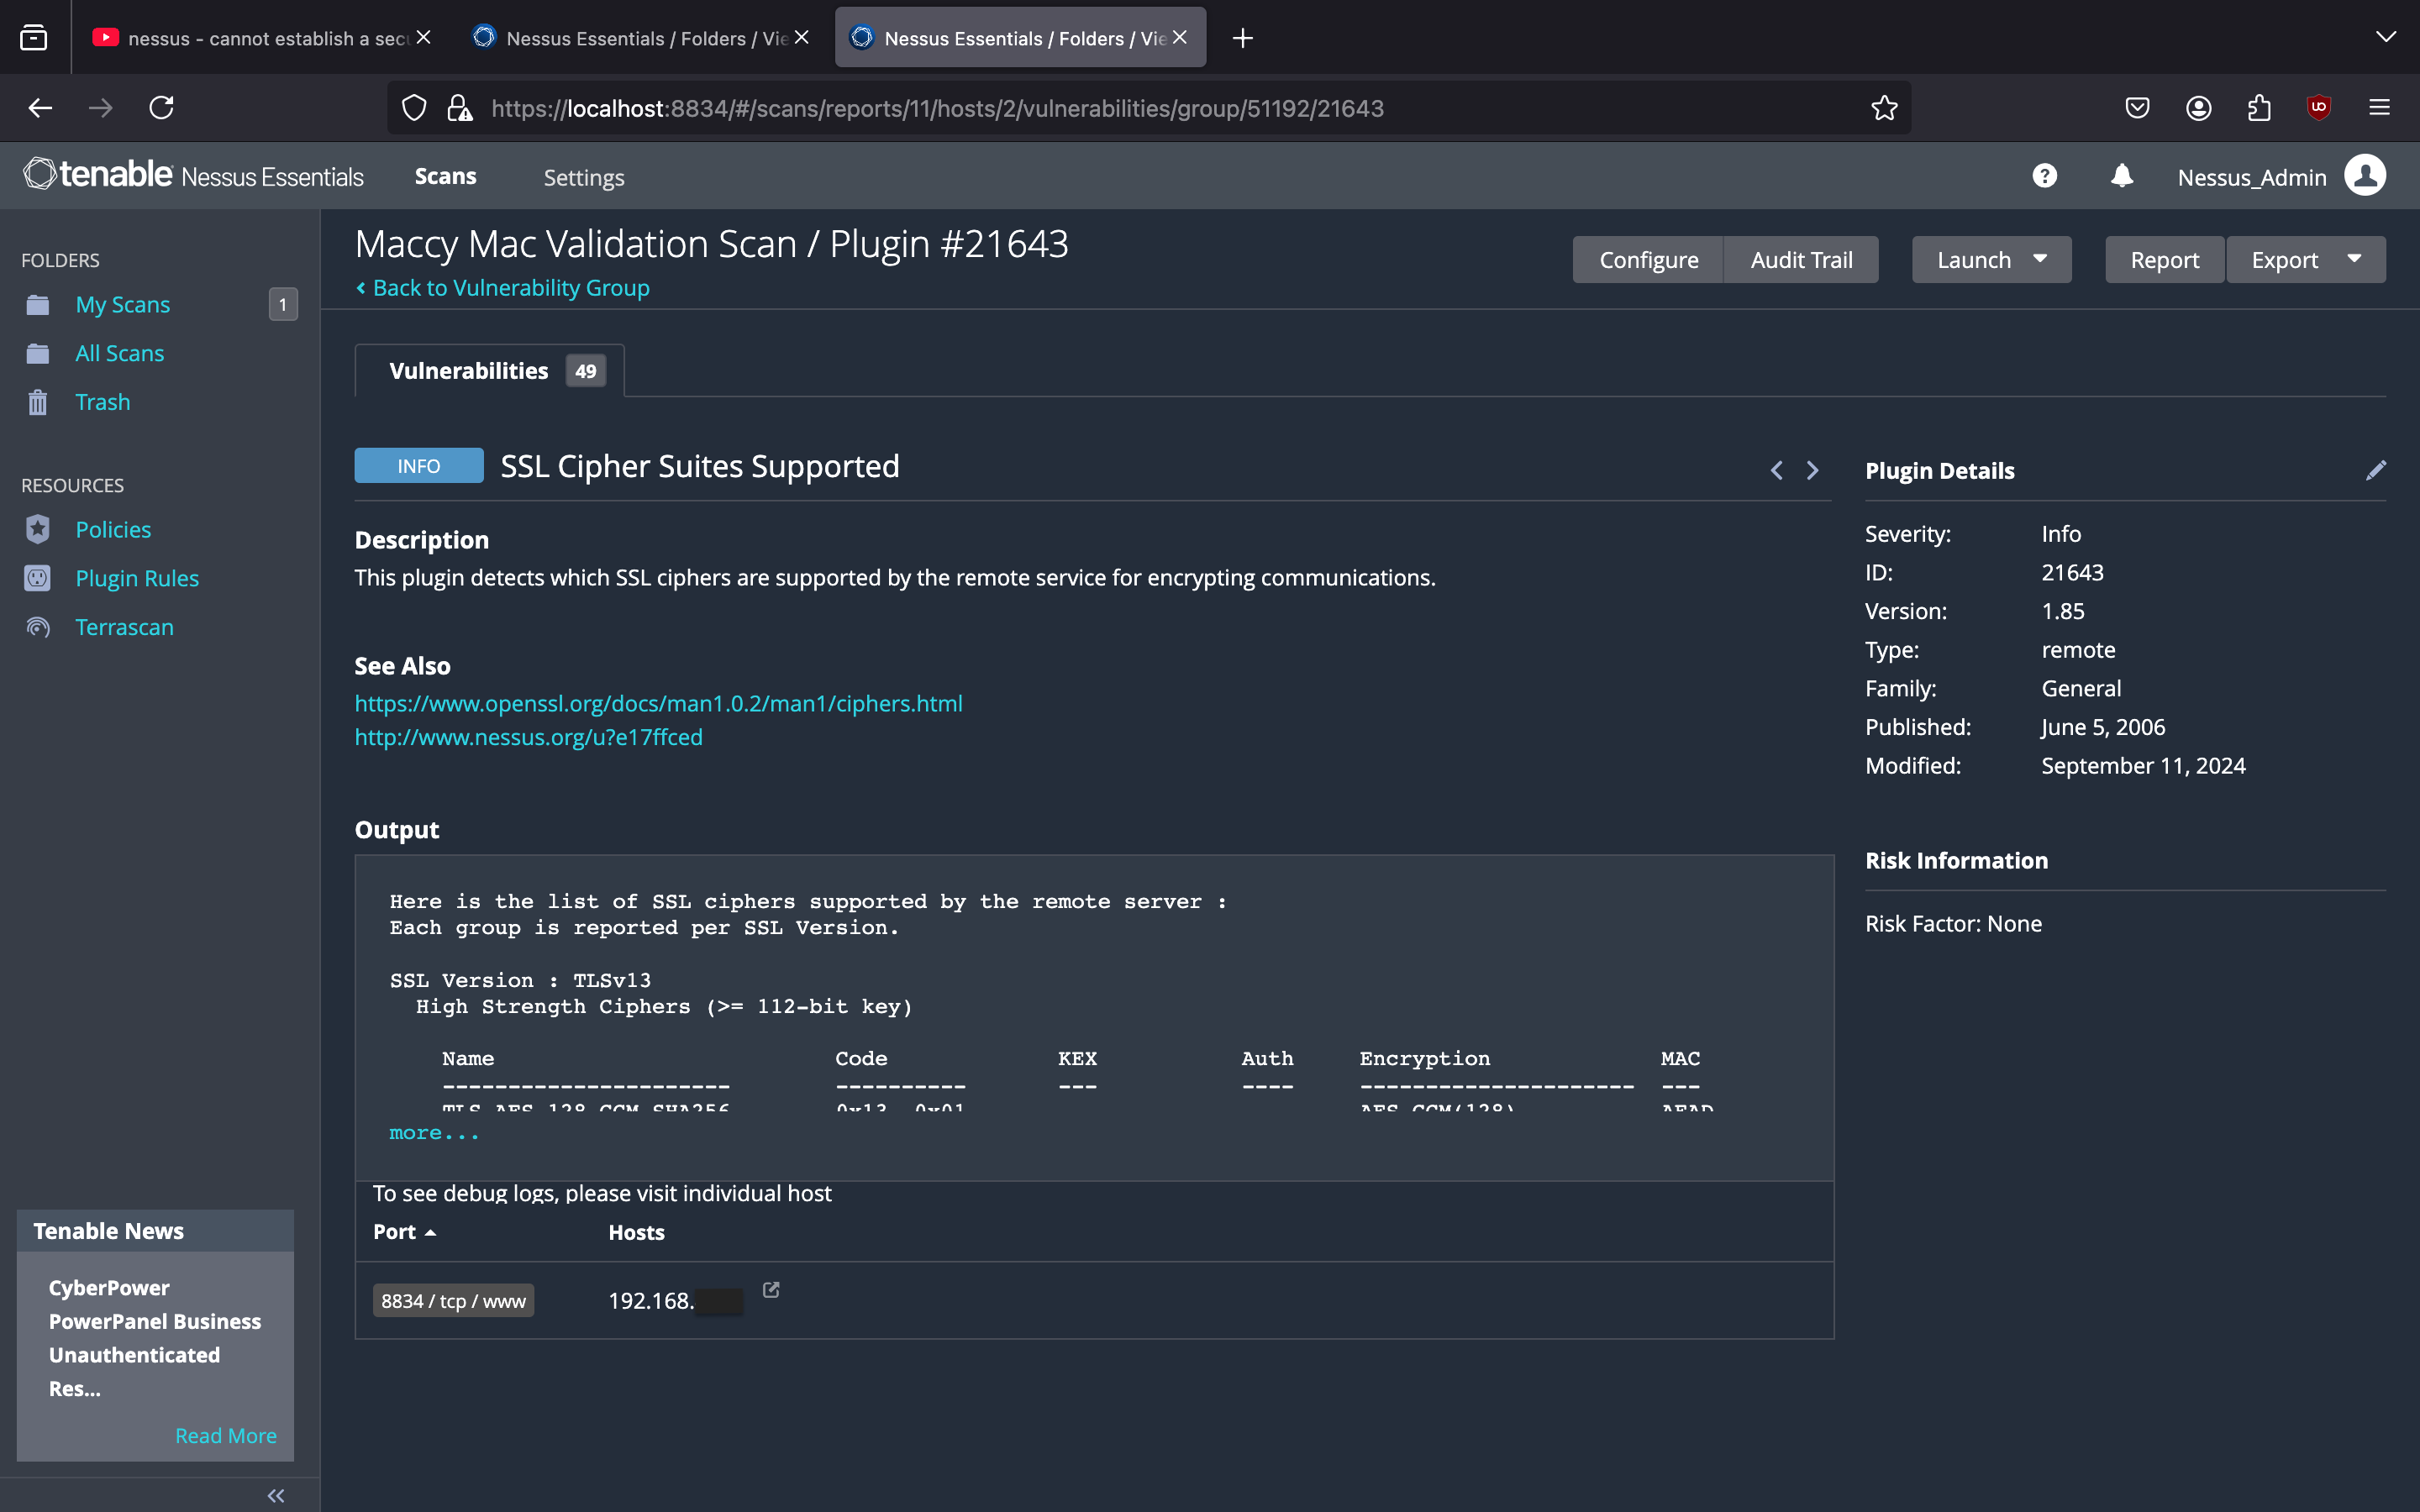
- SSL Medium Strength Cipher Suites Supported in Nessus configuration
 |
 |
Remediation 1
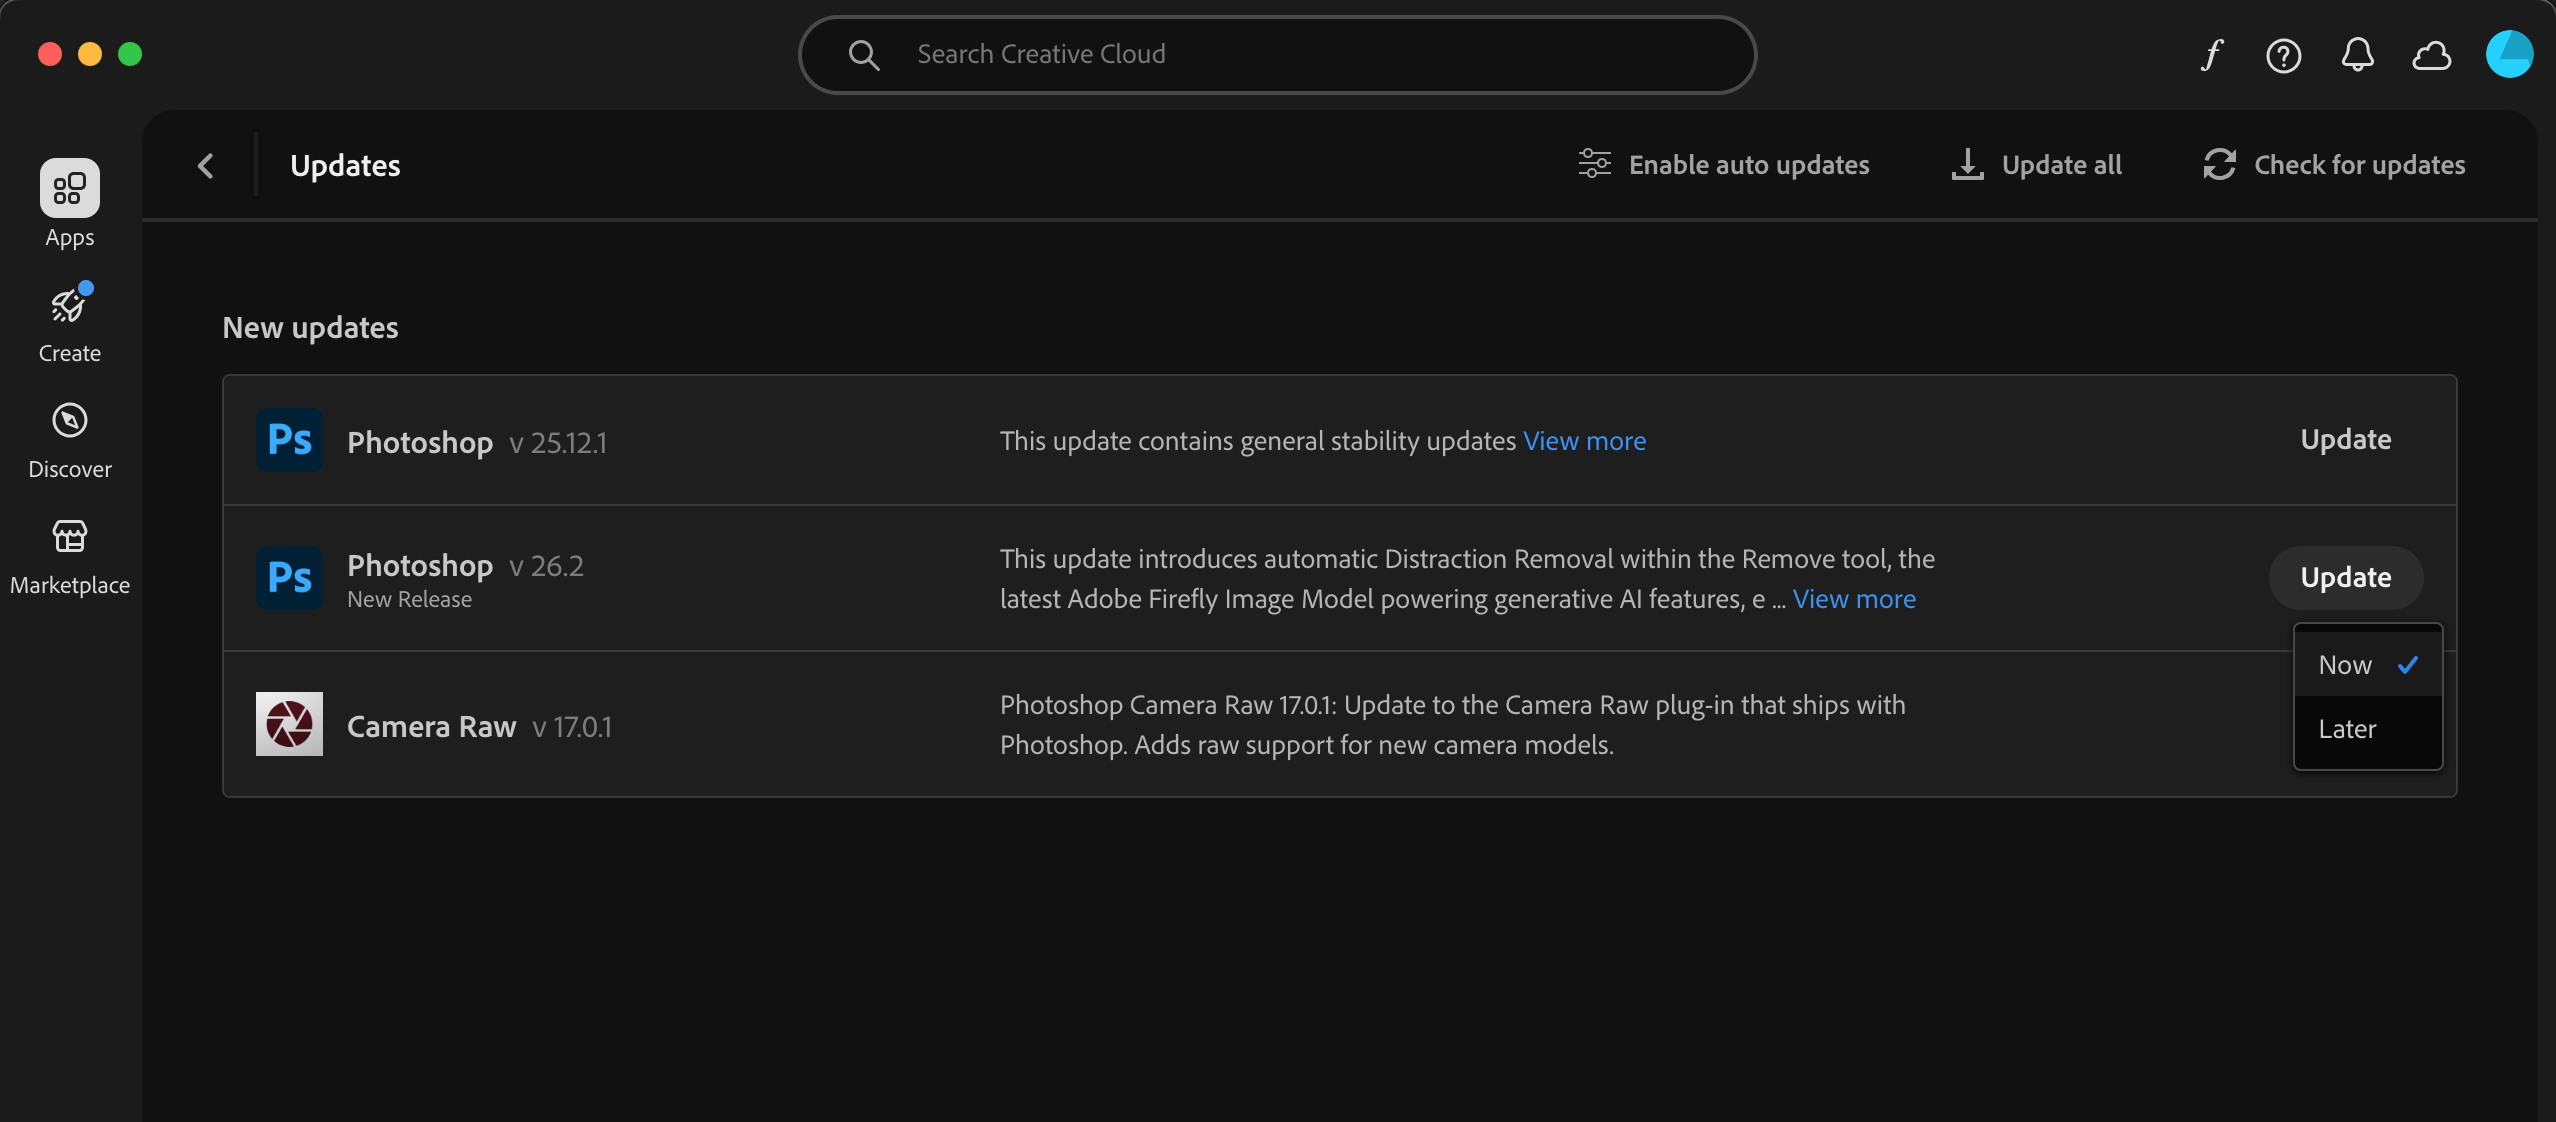
- Install Adobe Photoshop patch provided by the vendor
 |
 |
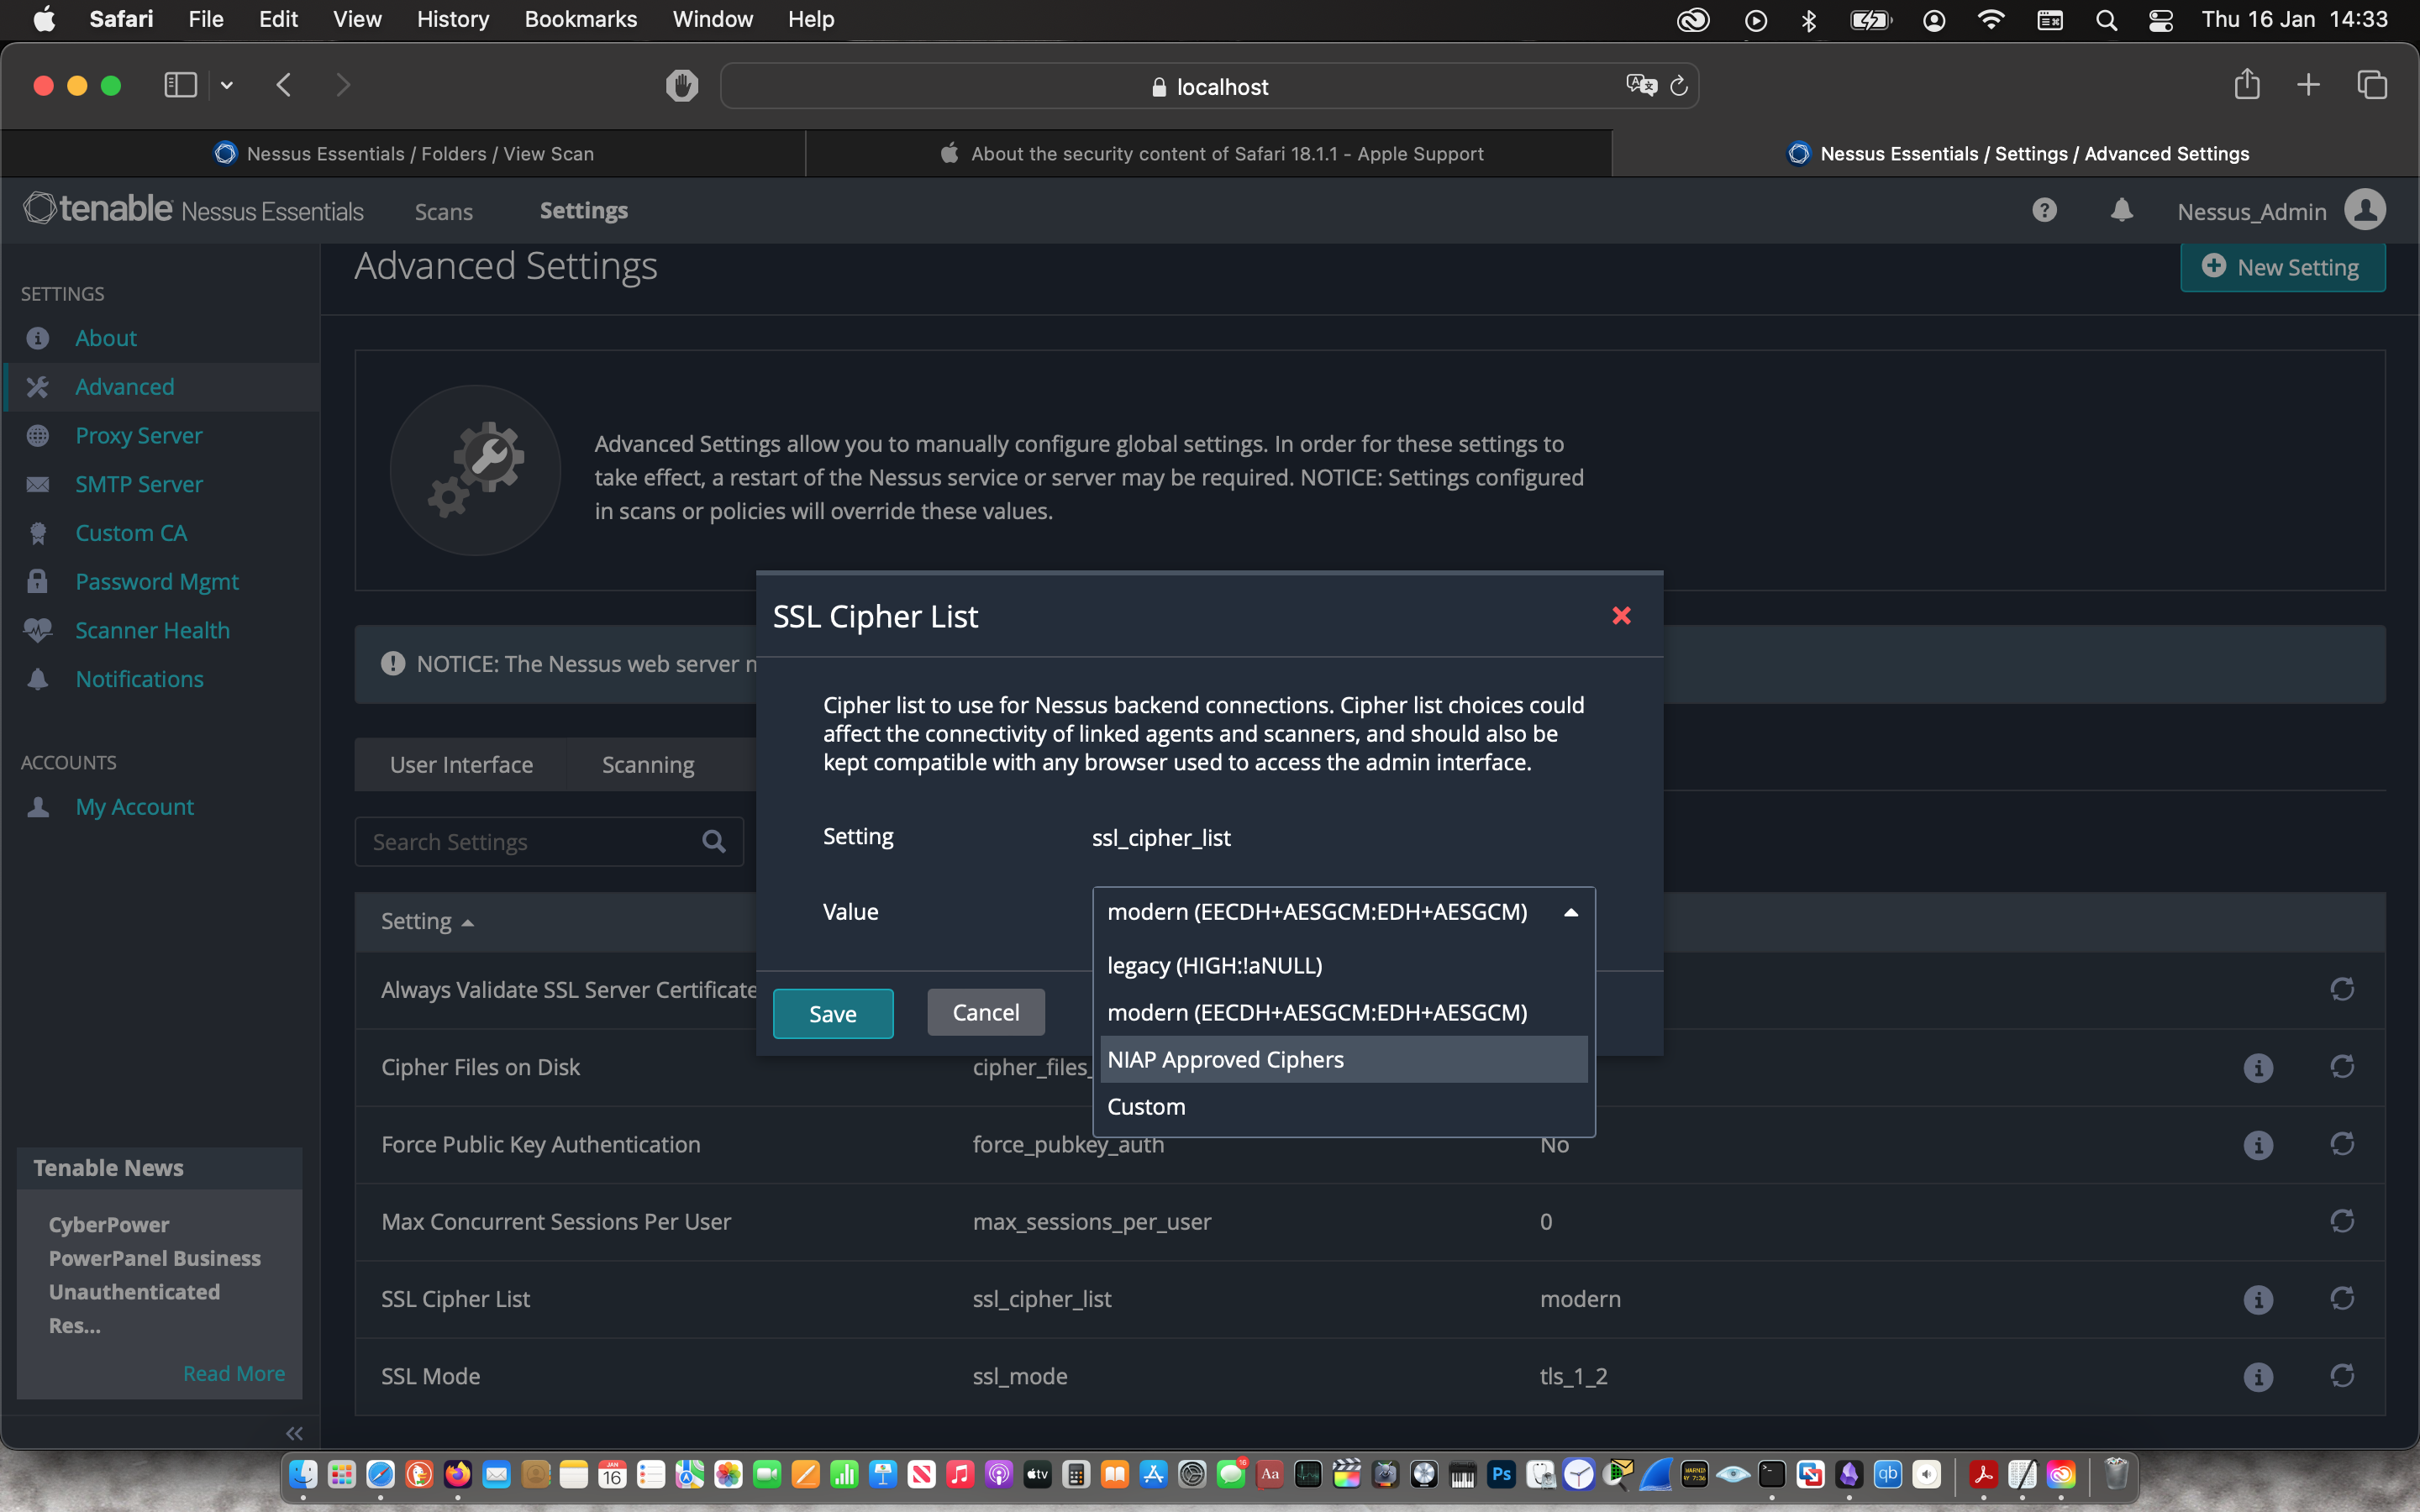
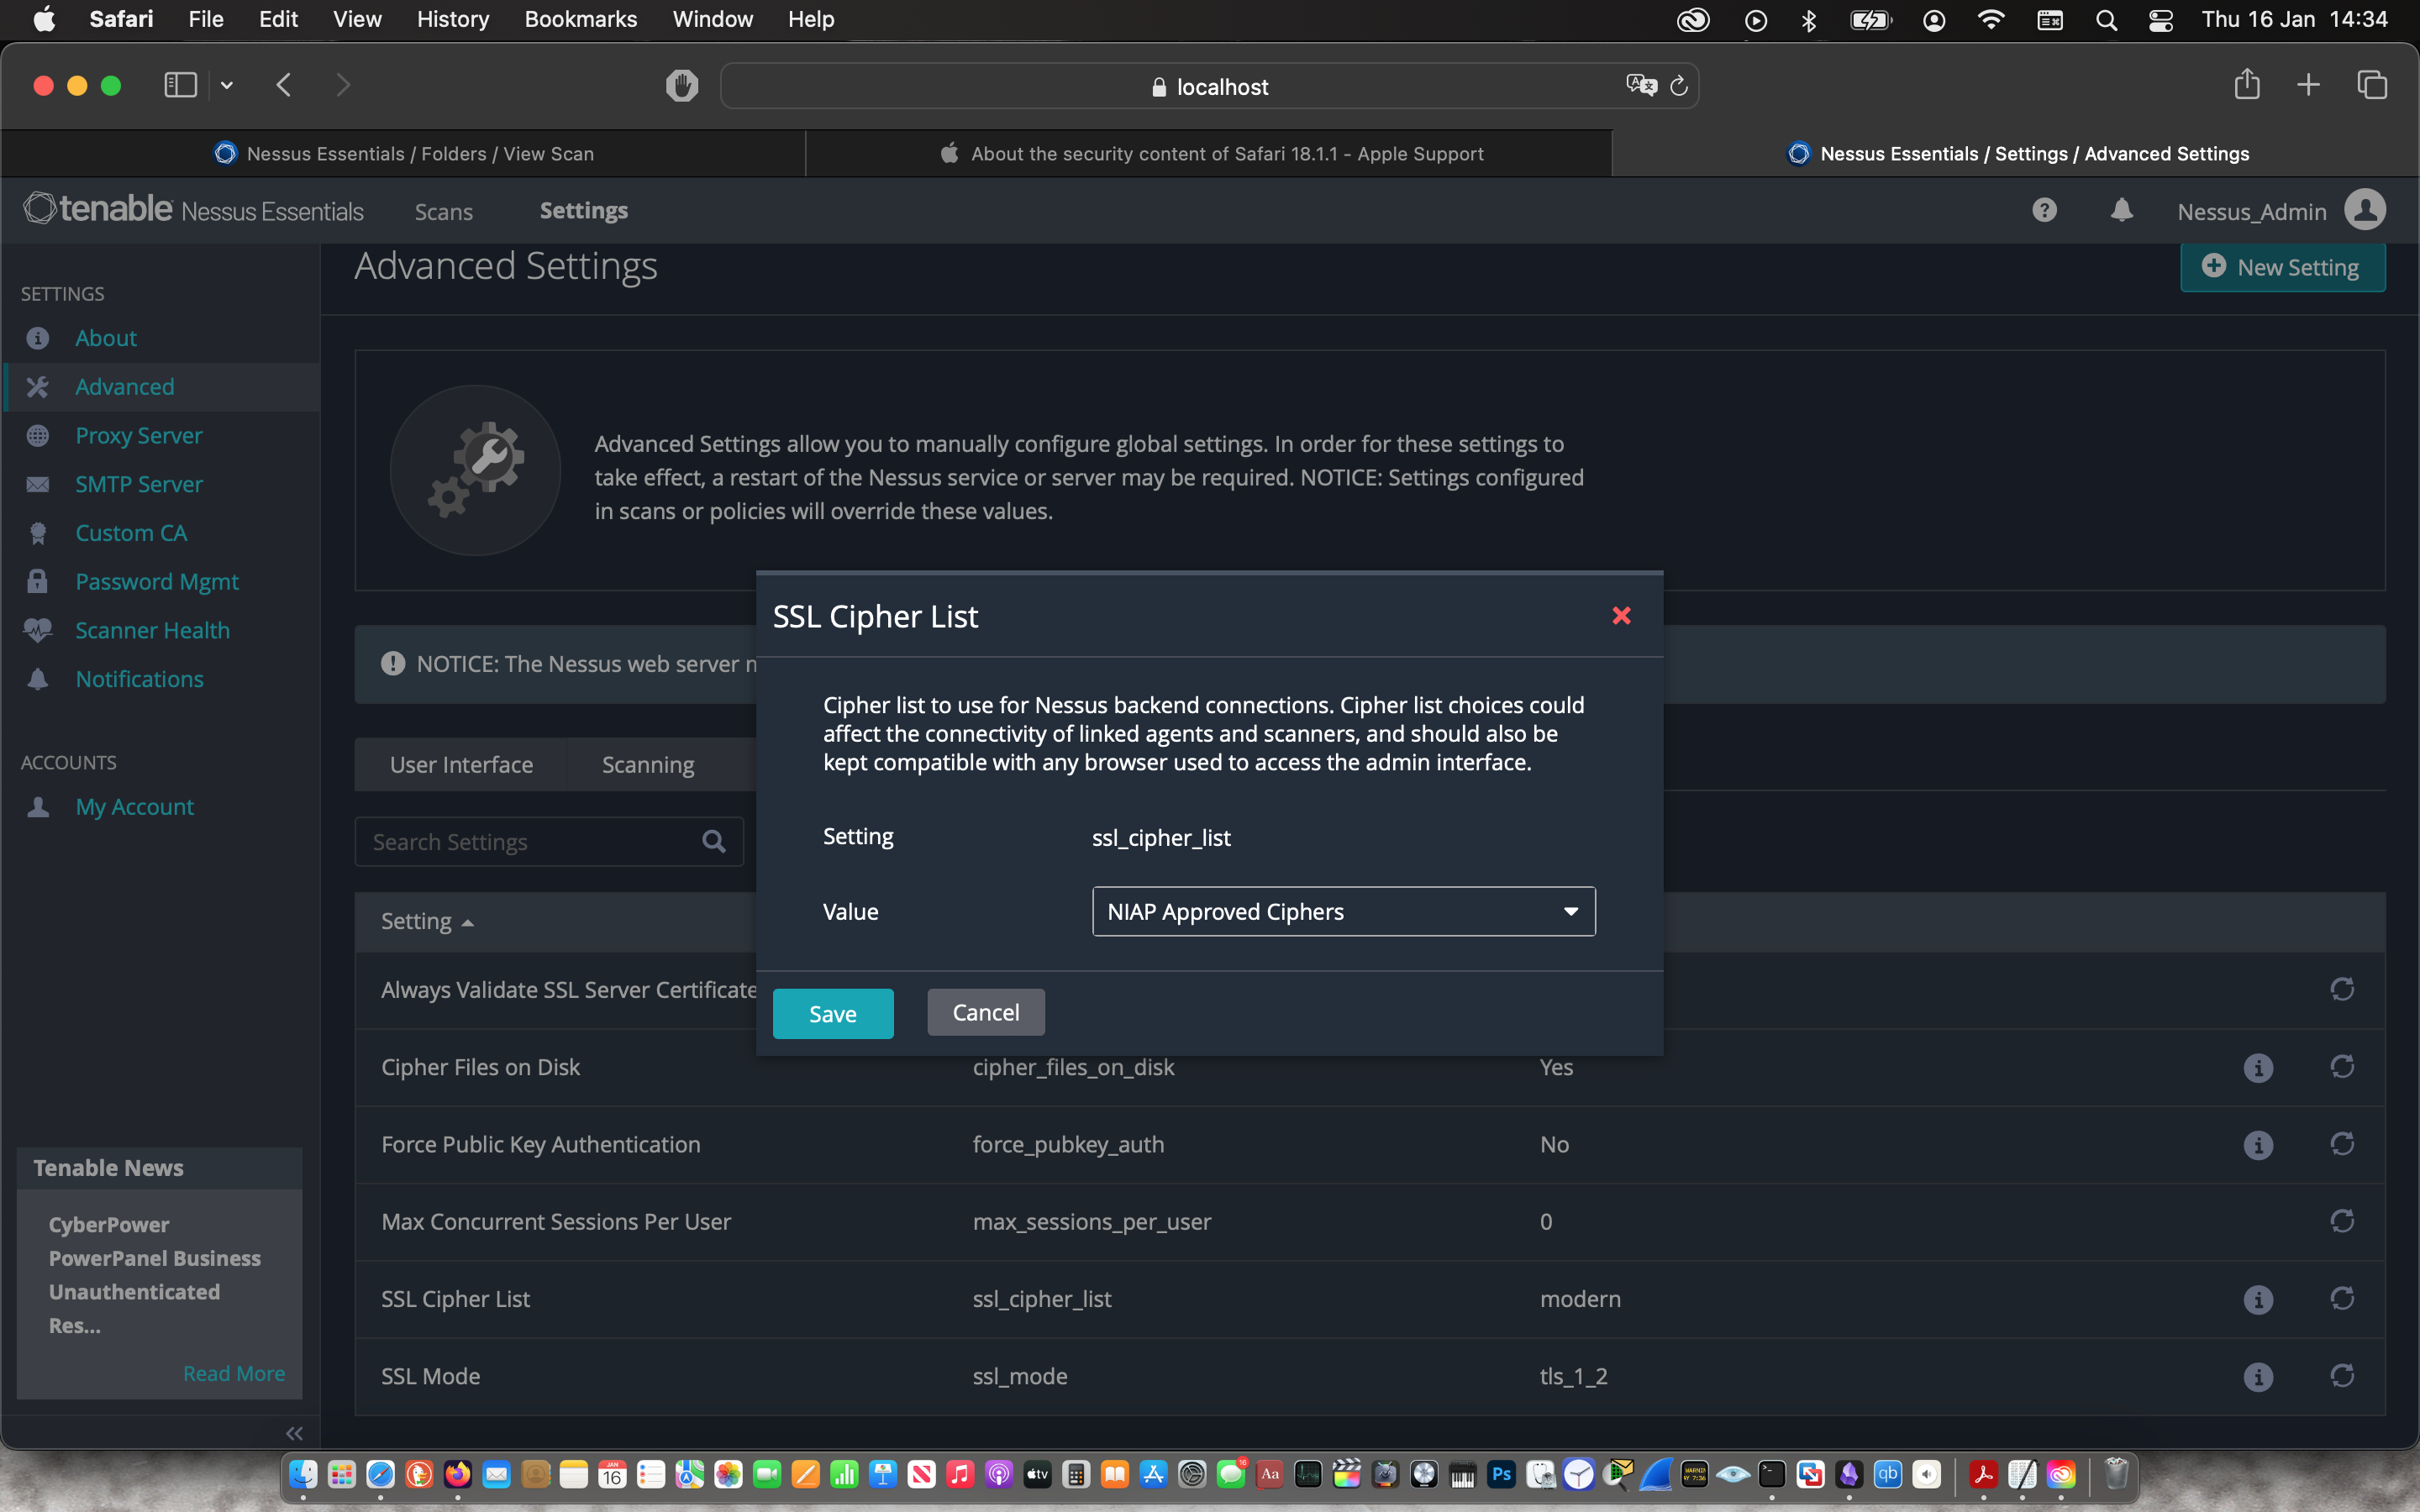
Remediation 2 Changed the Nessus configuration of the SSL Cipher List to only allow “NIAP Approved Ciphers”
 |
 |
Then I started another basic network scan that I named the “Maccy Mac Validation Scan” with the target being my laptop. Under the “Assessment” tab, I changed the Scan Type to “Scan for all web vulnerabilities (quick)” before saving and starting the vulnerability scan.
 |
 |
 |
 |
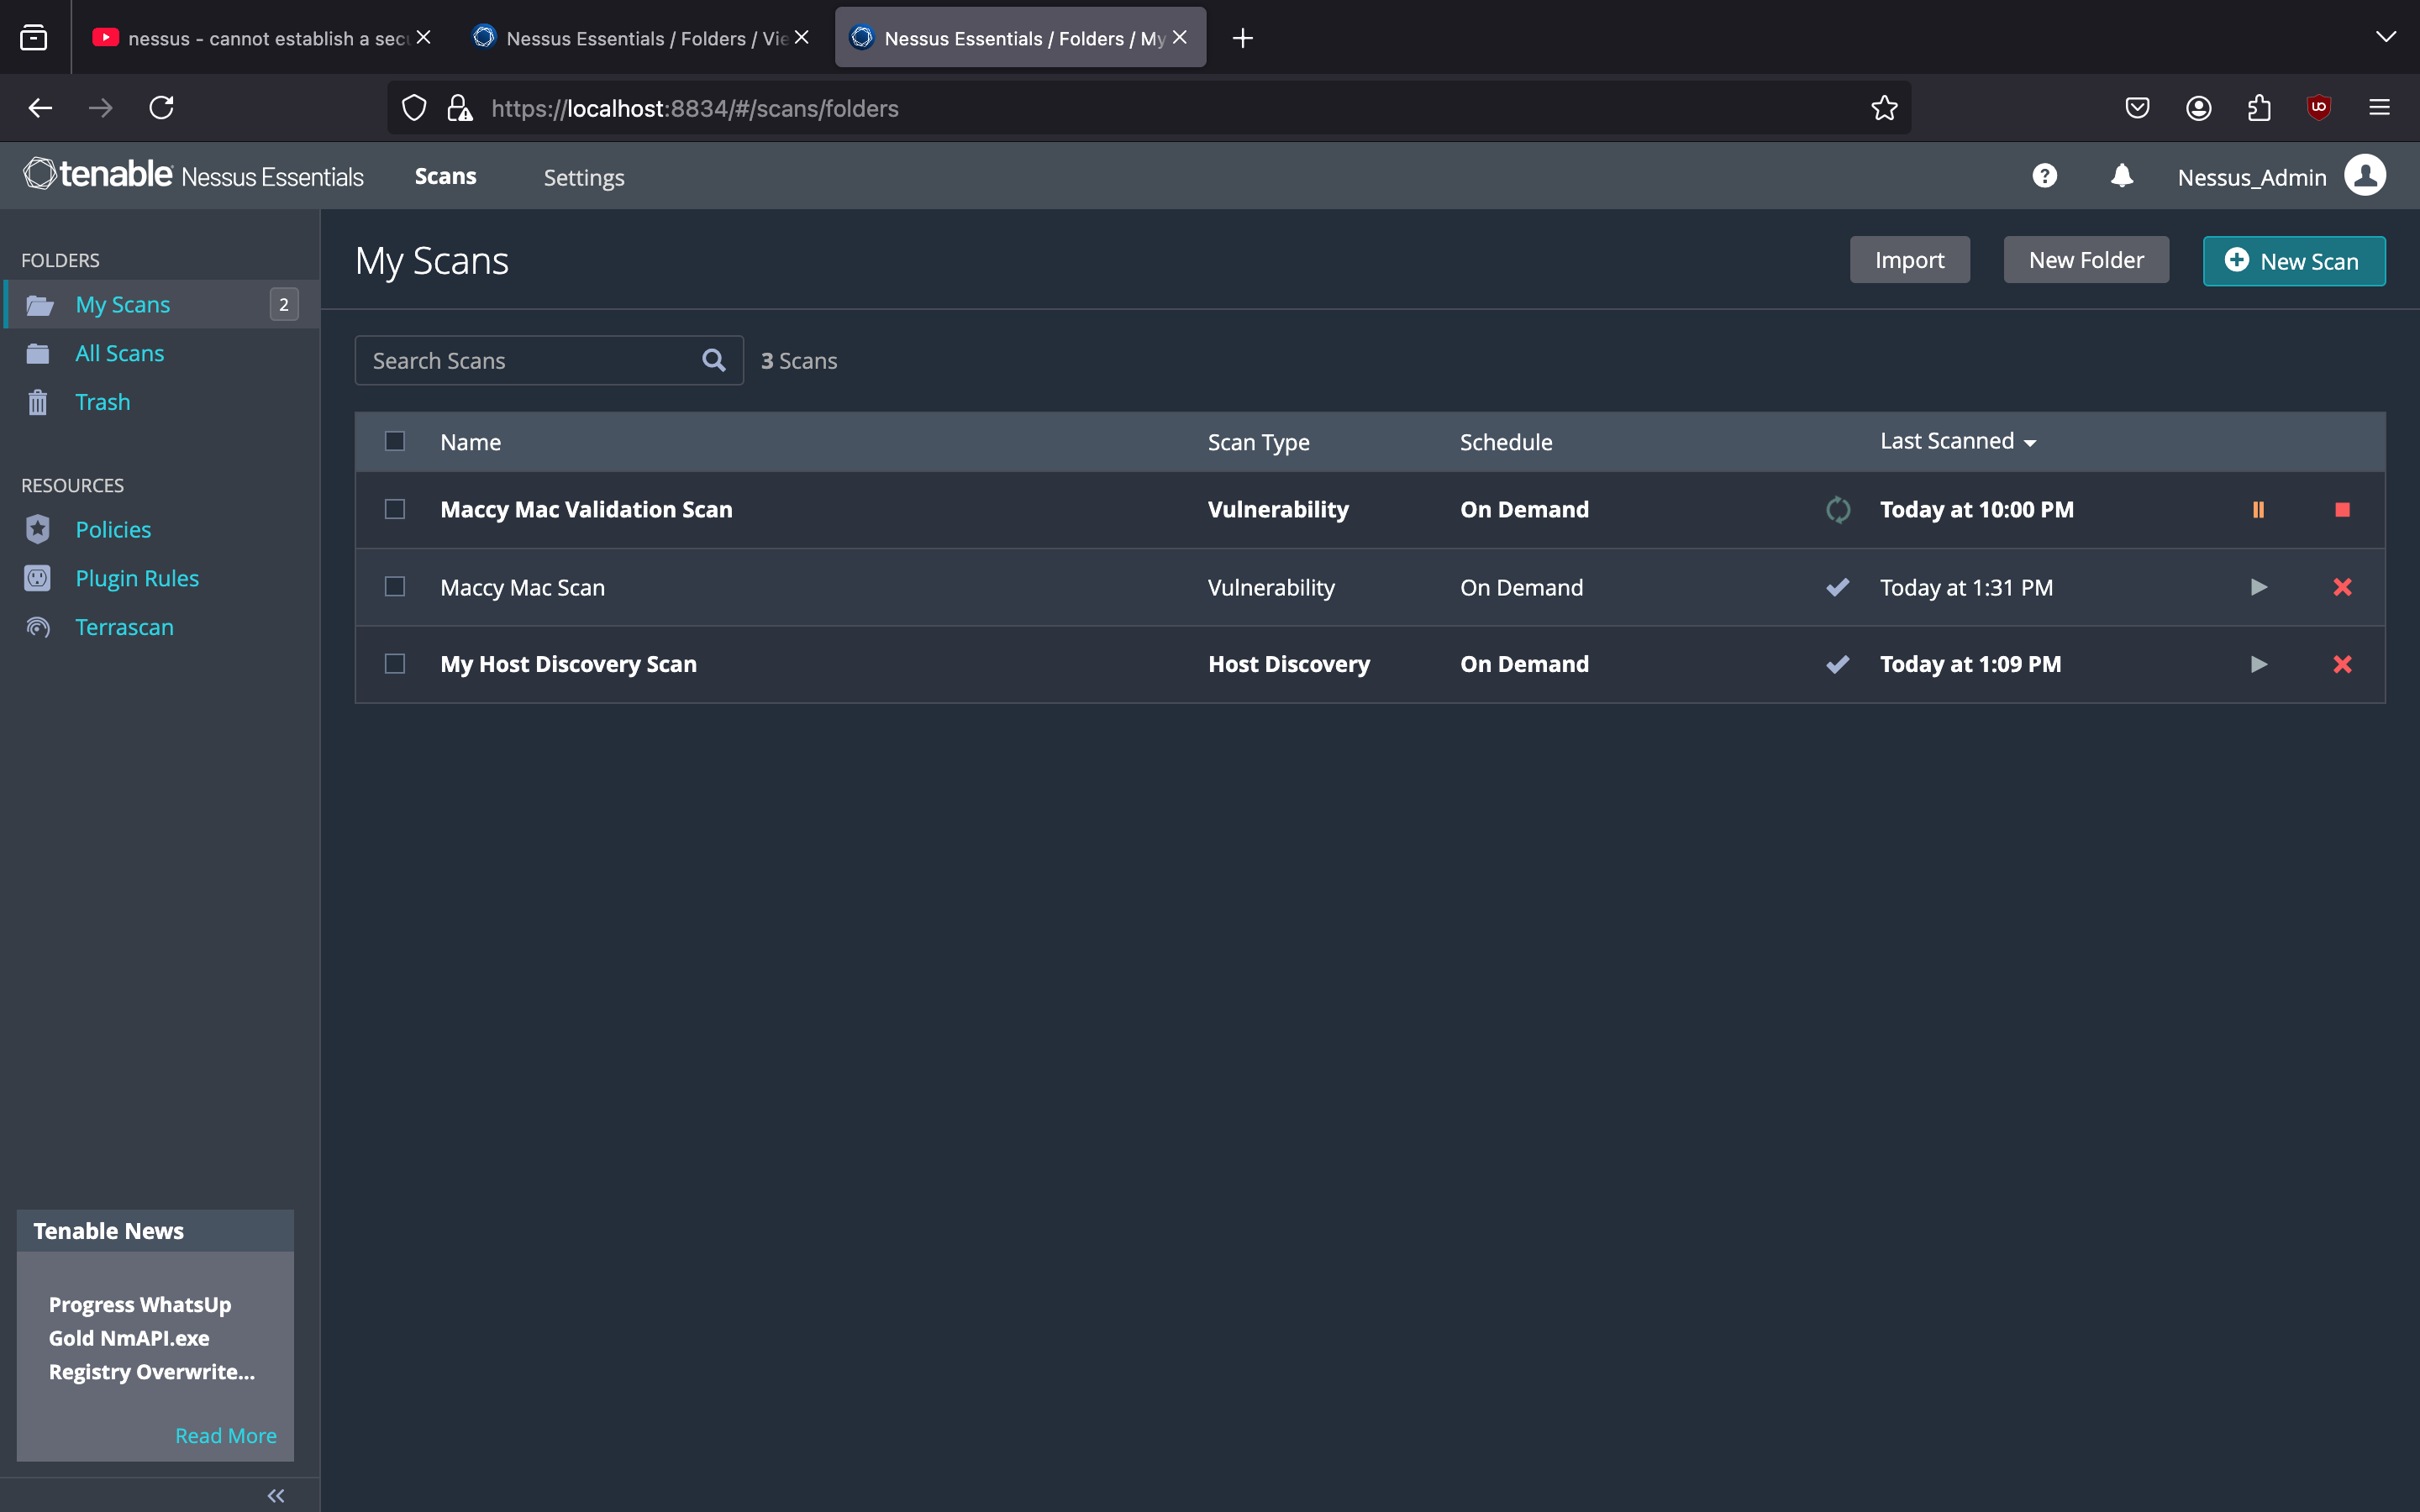
The scan was ready after 7 mins and the vulnerabilities were remediated.
 |
 |